Written by
Yuri ZhangSummary: This article delineates how to copy a directory/folder/file in four ways including advanced methods- CMD and PowerShell. By extension, iBoysoft DiskGeeker makes room for all kinds of duplications.
Whether you're backing up sensitive data, organizing your projects, or transferring files to a new device, mastering the art of copying files quickly can save you both time and hassle.
Windows offers several methods, allowing you to move large sets of data, maintain folder structures, and ensure file integrity—all with just a few clicks or commands. Now let's explore the quickest and most reliable ways to copy directories, folders, and files.
How to copy a directory/folder/file swiftly
Tired of waiting forever to copy your files and folders? There's a faster, smarter way to do it.
1. Using File Explorer
You may have known this method for a long while, but be patient, and browse downward, there will be more intriguing ways to copy directories, files, or folders. Here's the most basic approach:
- Open File Explorer.
- Select the file or folder you want to copy.
- Right-click on the selected item and choose Copy from the context menu. (Alternatively, you can use the Ctrl+C shortcut to copy the item.)
- Navigate to the location where you want to paste the copied file.
- Right-click in the destination folder and choose Paste. (Alternatively, use the Ctrl+V shortcut to paste.)
2. Drag and drop for copying
Find the source and destination of files or folders. Hold down the Ctrl key, then click and drag the file or folder to the destination location. The Ctrl key ensures you're copying, not moving, the item.
If you need to copy multiple files, hold down Shift key while select the second or third other files, then you can hold down the Ctrl key, then click and drag the files or incorporate them into one folder first and drag to the destination location.
3. Using Command Prompt/CMD (for advanced users)
To copy files or directories, xcopy command line is typical, while robocopy is more robust than xcopy, especially for large directories or over networks.
- Open Command Prompt by typing cmd in the Start menu search box and pressing Enter.
- To copy a file, type the following command and press Enter:xcopy "C:\path\to\source\file.txt" "C:\path\to\destination\"
- To copy an entire folder (including subfolders and files), use this command (/s copies subdirectories but not empty ones, /e copies all subdirectories, including empty ones, choose one.):xcopy "C:\path\to\source\folder" "C:\path\to\destination\folder" /s /e
- Copying files or directories with robocopy command:robocopy "C:\path\to\source\folder" "C:\path\to\destination\folder" /e
For example, let's say you want to copy a file called report.txt from your Documents folder to a backup folder on your external drive E:\Backup.
So the source path is: C:\Users\YourUsername\Documents\report.txt showed in File Explorer destination path is: E:\Backup\. Then the command you use should be:xcopy "C:\Users\YourUsername\Documents\report.txt" "E:\Backup\"
In the same way, you can replace the source path and destination path through PowerShell.
4. Using PowerShell (advanced)
If you prefer using PowerShell, the Copy-Item command is helpful.
- Open PowerShell by searching for it in the Start menu.
- Use the following command to copy a file:Copy-Item "C:\path\to\source\file.txt" -Destination "C:\path\to\destination\"
- To copy a folder and its contents(-Recurse copies all files and subfolders within the folder.):Copy-Item "C:\path\to\source\folder" -Destination "C:\path\to\destination\folder" -Recurse
These methods cover a variety of ways to copy files or folders in Windows. You can choose the one that fits your workflow best. After reproduction, puzzled about batch rename? read Smart Techniques on Batch Renaming Files in Windows.
Share this article and keep reading the free bonus which most people don't realize.
Use iBoysoft DiskGeeker to optimize directories, folders, files uses
When copying files or directories in Windows, insufficient disk space is a common issue that can halt the process. You may encounter error messages like "There is not enough space on the destination disk" or "Copying files to the destination has failed." To resolve this, use the all-powerful iBoysoft DiskGeeker to analyze your PC's space and tidy it up lightly.
1. How to clean system junk files with iBoysoft DiskGeeker
It find and delete junk files from the system to boost PC performance, including items in the Recycle Bin, temporary directory, thumbnail cache, Windows update patch, Windows prefetch file, user temporary folder, and Windows system log.
Step 1: Download and launch iBoysoft DiskGeeker for Windows.
Step 2: Click "System cleanup" from the Space analyzer module.
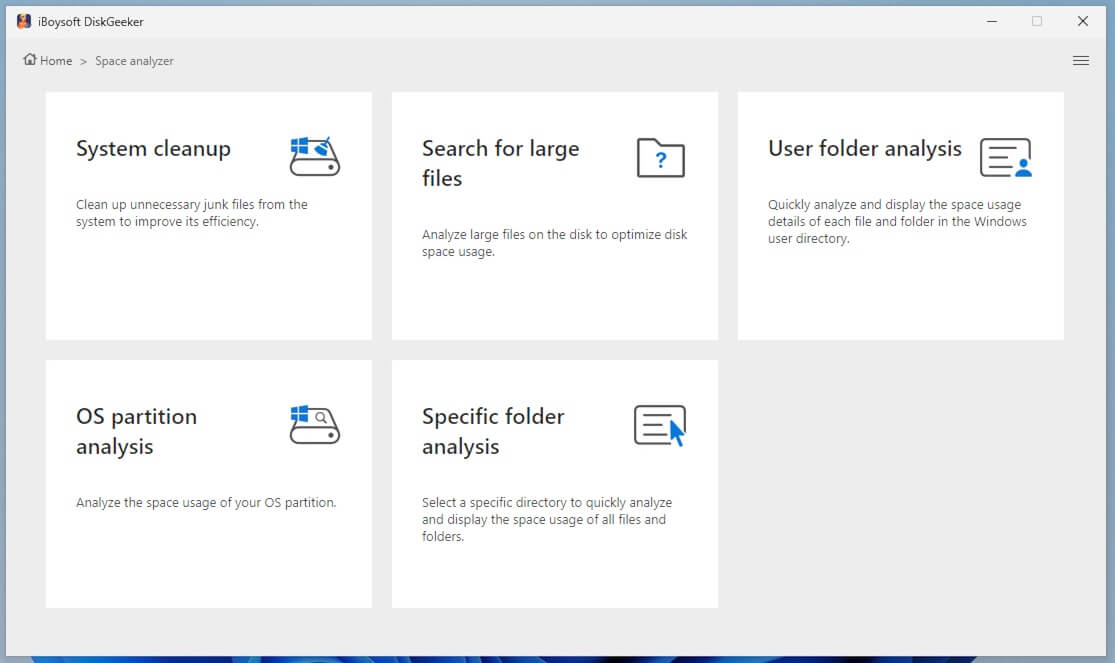
iBoysoft DiskGeeker will immediately search for junk files from the system. (Initial scanning may take a while.)
Step 3: Select the junk files you don't want. (You can click the view button next to each file to view its whereabouts and content.)
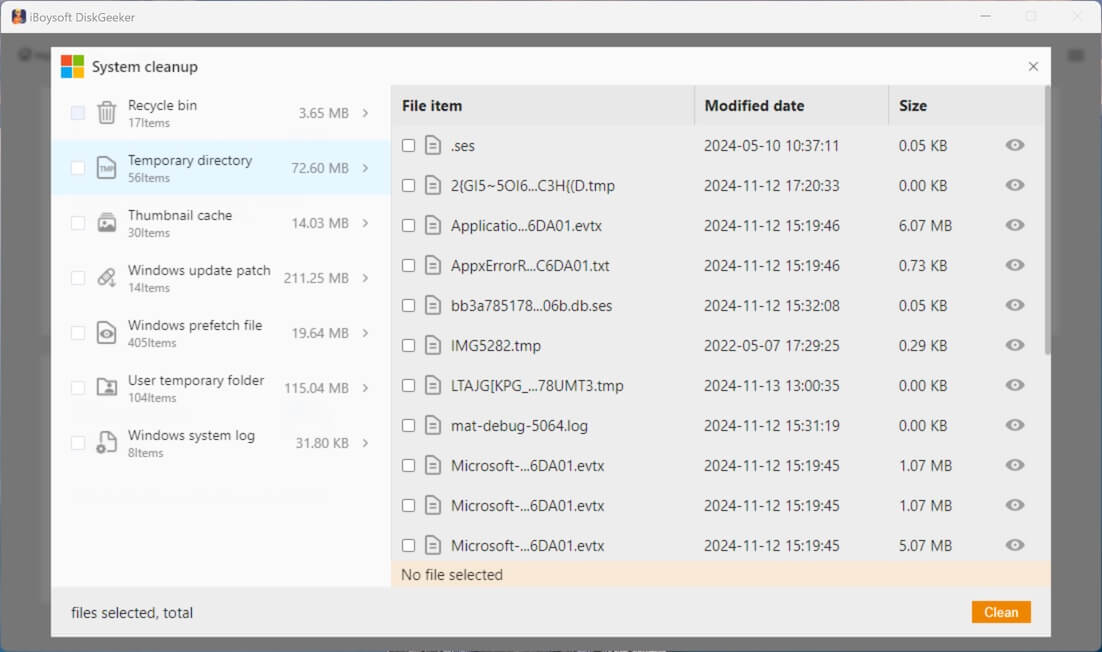
Step 4: Click the Clean button to directly delete them from your computer.
2. How to find large files with iBoysoft DiskGeeker
Analyze large files on partitions to optimize disk space usage and make room for incoming copying files.
Step 1: Click "Search for large files" from the Space analyzer module.

Step 2: Select a Partition to scan for large files.
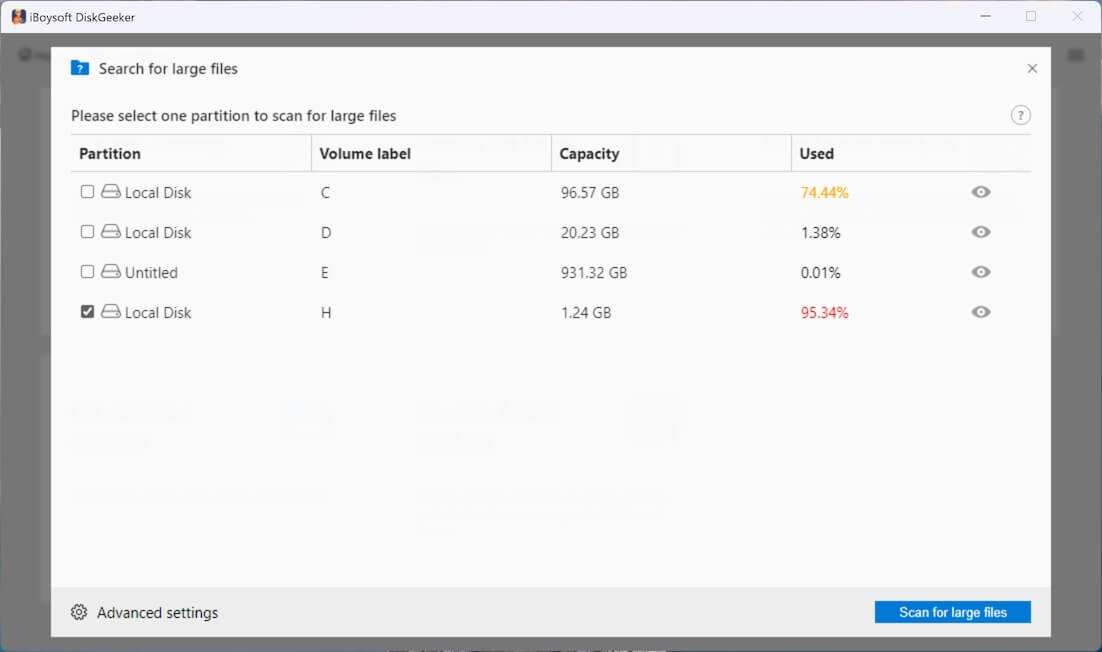
(For the initial large file searching, you need to go to "Advanced settings" at the bottom left corner to set the minimum file size for scanning. You can also add the file extension to prevent the tool from searching for certain files.)
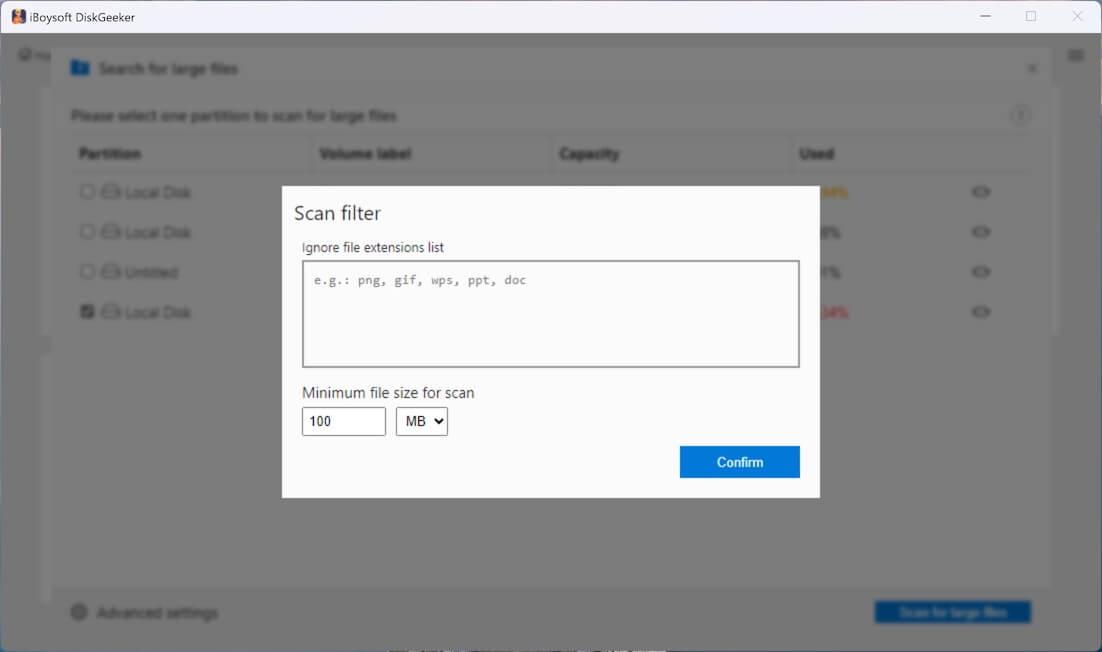
Step 3: Click "Search for large files" to start scanning.
Step 4: Click the view button to check the searched large files, choose those you want to delete, and click "Clean up."
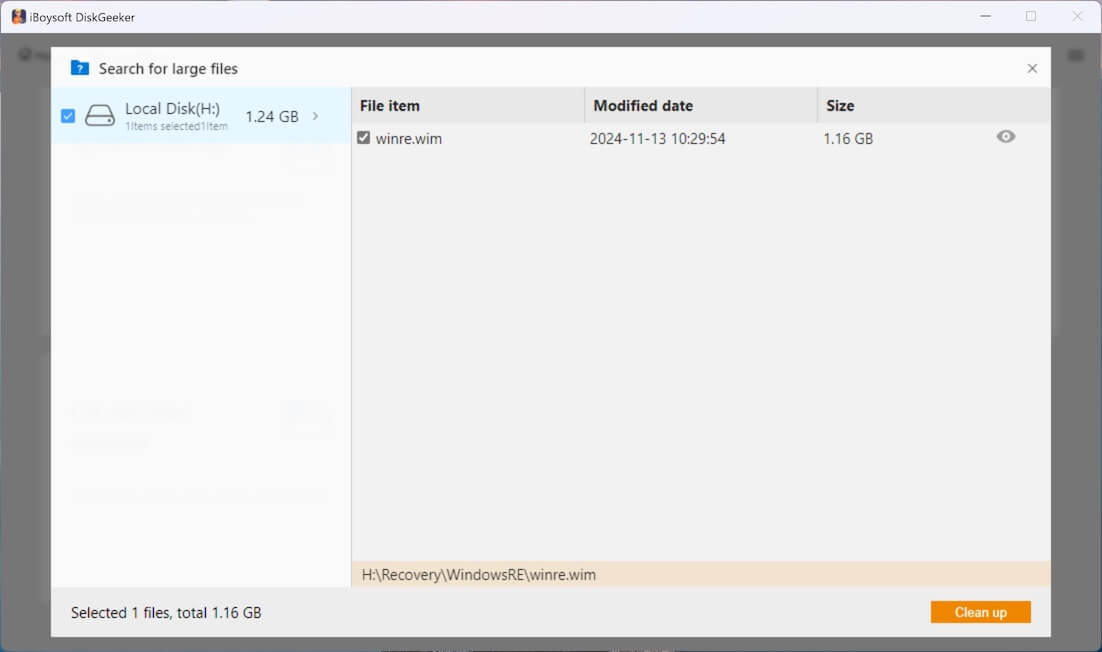
Don't be intimidated by seemingly too many pictures, just practice it, you'll find the knack. Spread this!
3. How to analyze disk space with iBoysoft DiskGeeker
Analyzing the space usage of your system partition, user directory, or a specific folder by displaying all files, helps you more conveniently manage space.
Step 1: Click "User folder analysis" in the Space analyzer section.

Step 2: iBoysoft DiskGeeker will automatically analyze the files in the selected location.
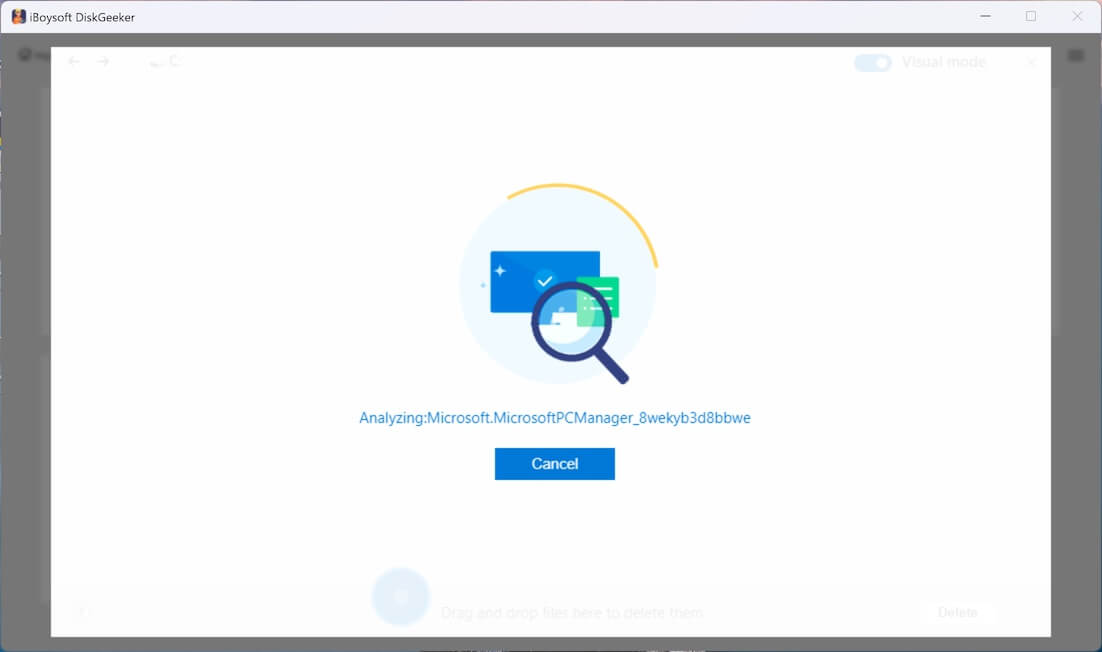
Step 3: Check the scanned results by clicking the listed folders. (The scanned results can be displayed in two modes: Visual mode and Non-visual mode.)
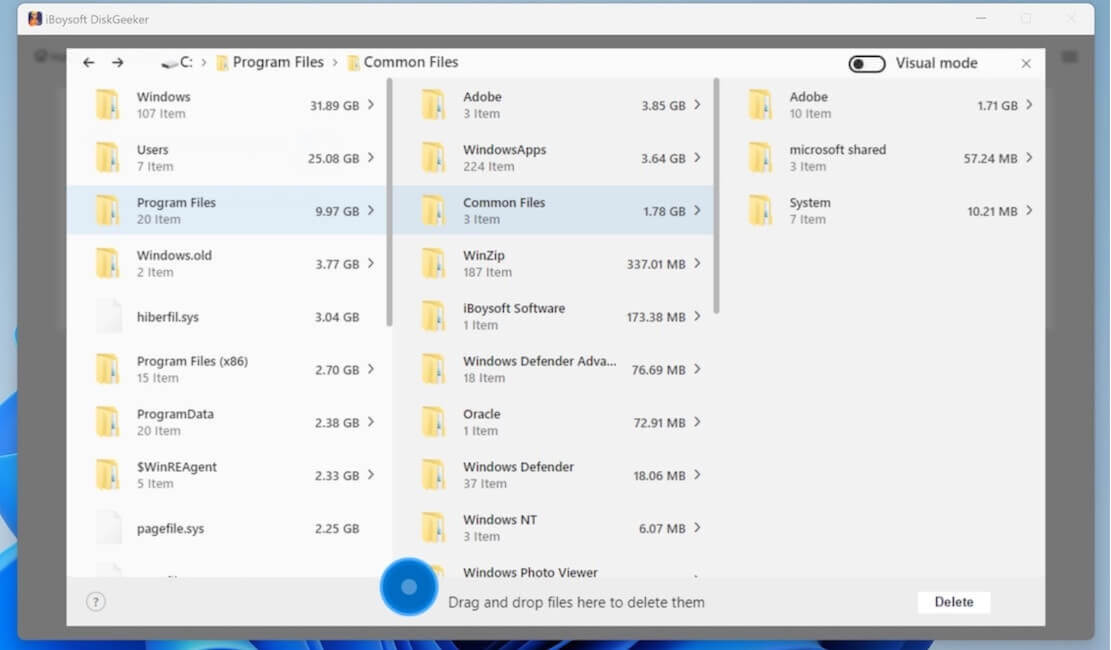
In visual mode: The left and right views are the same level directories, and the right view is a visual presentation of the files in the left view. Turn off the Visual mode button in the upper right corner, you can only see the text table of contents.
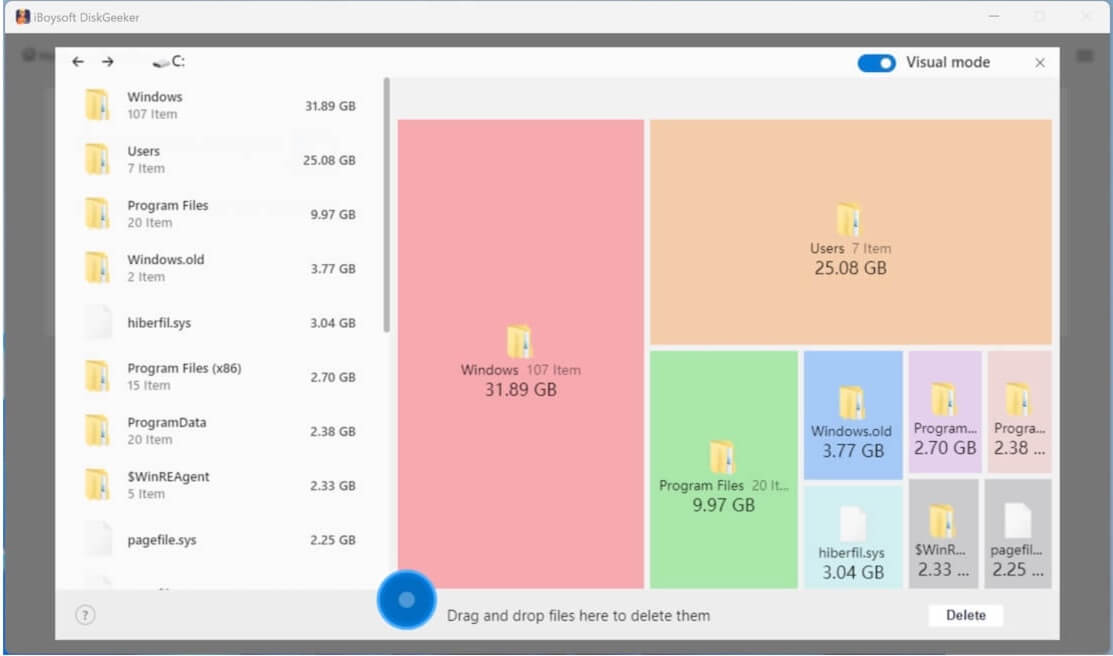
In non-visual mode: The software displays the preceding and following levels of directories of the current path (a total of three levels of directories). When there are less than three levels of directory structure, it displays all path structures.

Step 4: Select unwanted files and drag them to the Trash Bin/blue circle at the bottom. (The Trash Bin shows the total size of these files.)
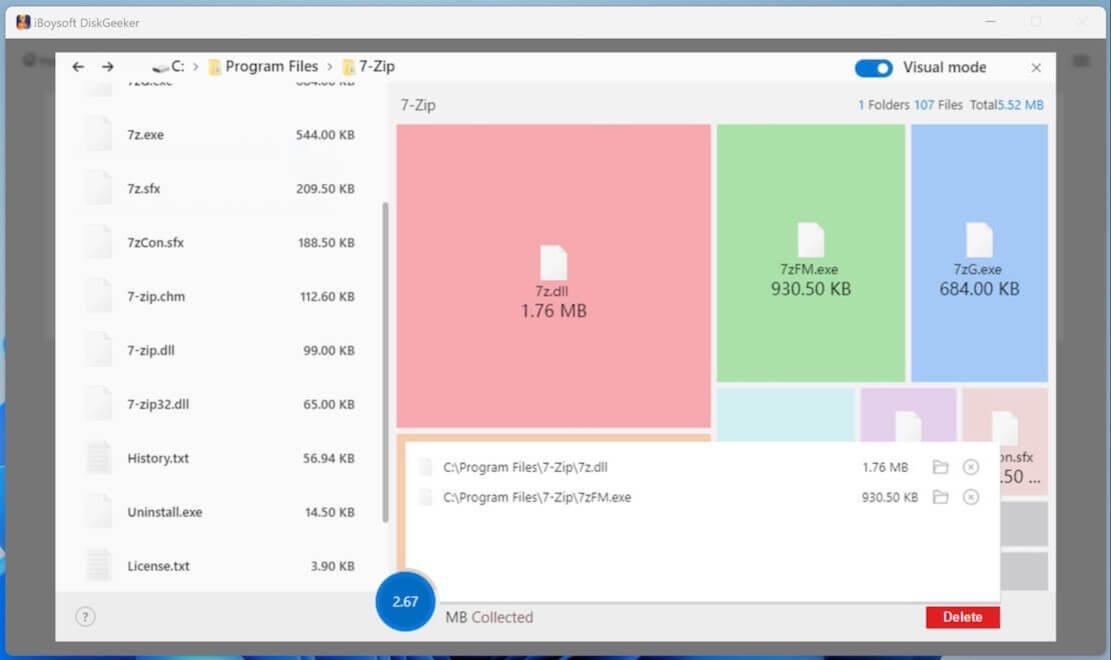
If you regret it, click the cross mark in the blue circle next to the file to move it out.
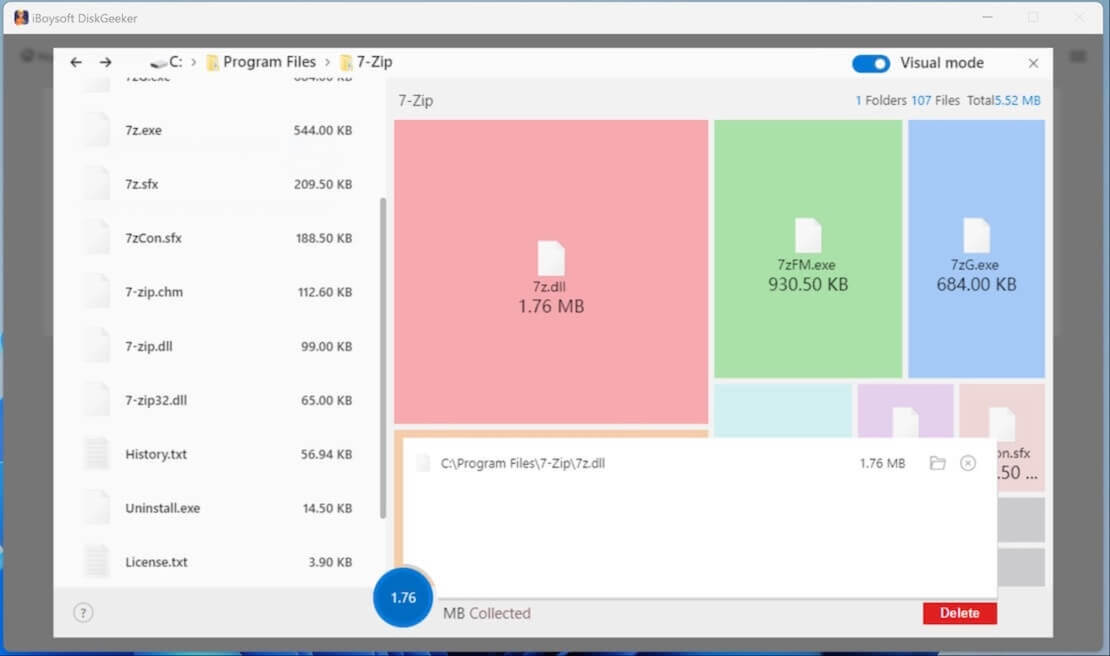
Step 5: Click "Delete" to permanently remove the files.
(A prompt will appear if the deletion is successful. Remember to refresh that folder to show the latest state.) Also read Kill Stubborn Processes on Windows 7/8/10/11 with Confidence
Share this article since the guide is fit for both computer novices and adepts.
