Written by
Yuri ZhangSummary: This post accounts for how to fix BitLocker recovery issues of pop-out BitLocker recovery screen and loop or corruption. Using repair tools and Command Prompts are great ways to help.

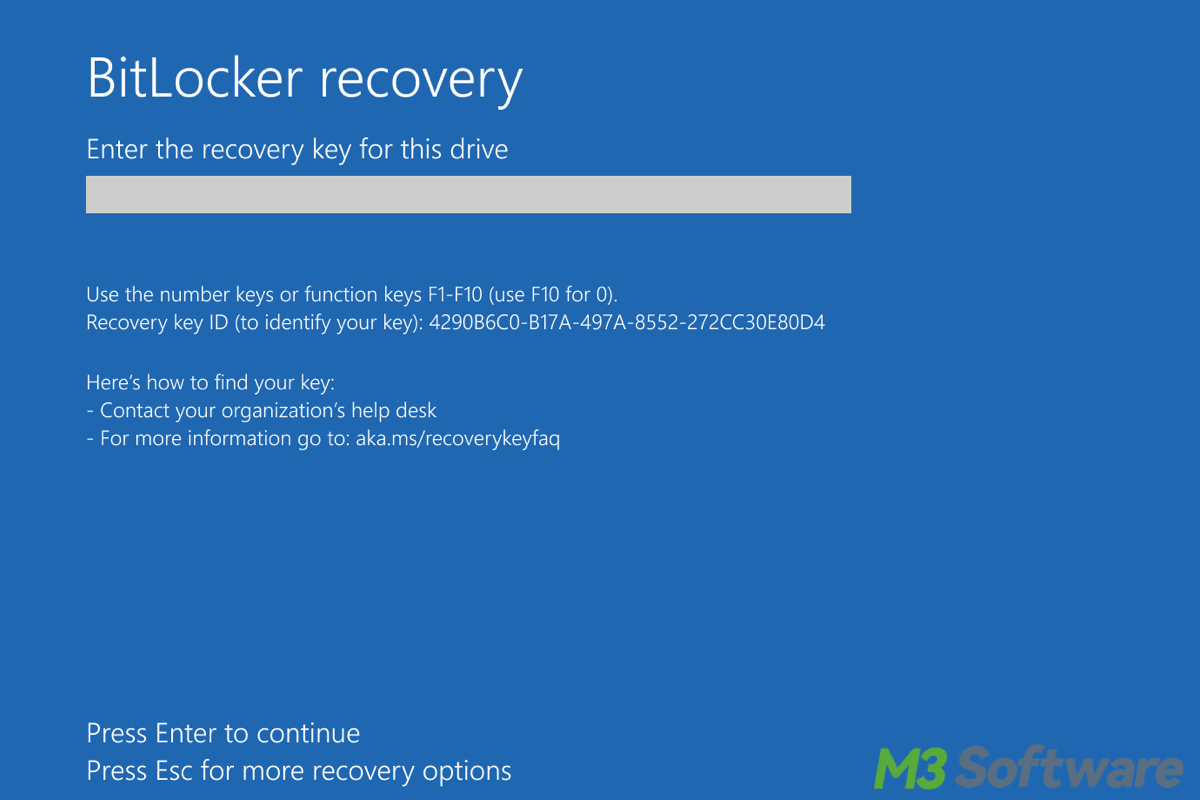
BitLocker is a strong encryption feature built into Windows that protects your data from unauthorized access. While it's a great security tool, there are times when users encounter issues during the BitLocker recovery process. Whether you've lost access to the recovery key or the recovery prompt keeps appearing repeatedly, this guide will walk you through how to fix BitLocker recovery issues effectively.
Understanding BitLocker recovery
Before diving into solutions, it's important to understand why BitLocker prompts for recovery in the first place. BitLocker triggers recovery when it detects a potential security issue with your system. Common causes include:
- Changes in hardware (such as the addition of a new disk)
- Modifications in the boot configuration
- Damaged hard drive
- Reinstallation of Windows
- Issues with the TPM (Trusted Platform Module)
If you face these scenarios, BitLocker may ask for the recovery key to ensure your data is safe.

If you've forgotten your recovery key, the first step is to retrieve it using methods by referring to How to Recover the BitLocker Key. Still, you can refer to Troubleshooting Automatic BitLocker Recovery Screen.
Share this if you find it helpful.
Fix BitLocker recovery loop
This situation occurs when you are continuously asked for the recovery key every time you reboot, even after successfully entering the key once. If you keep being prompted for the BitLocker recovery key every time you reboot, the cause may be related to TPM or hardware changes. Here's how to address this issue with several solutions:
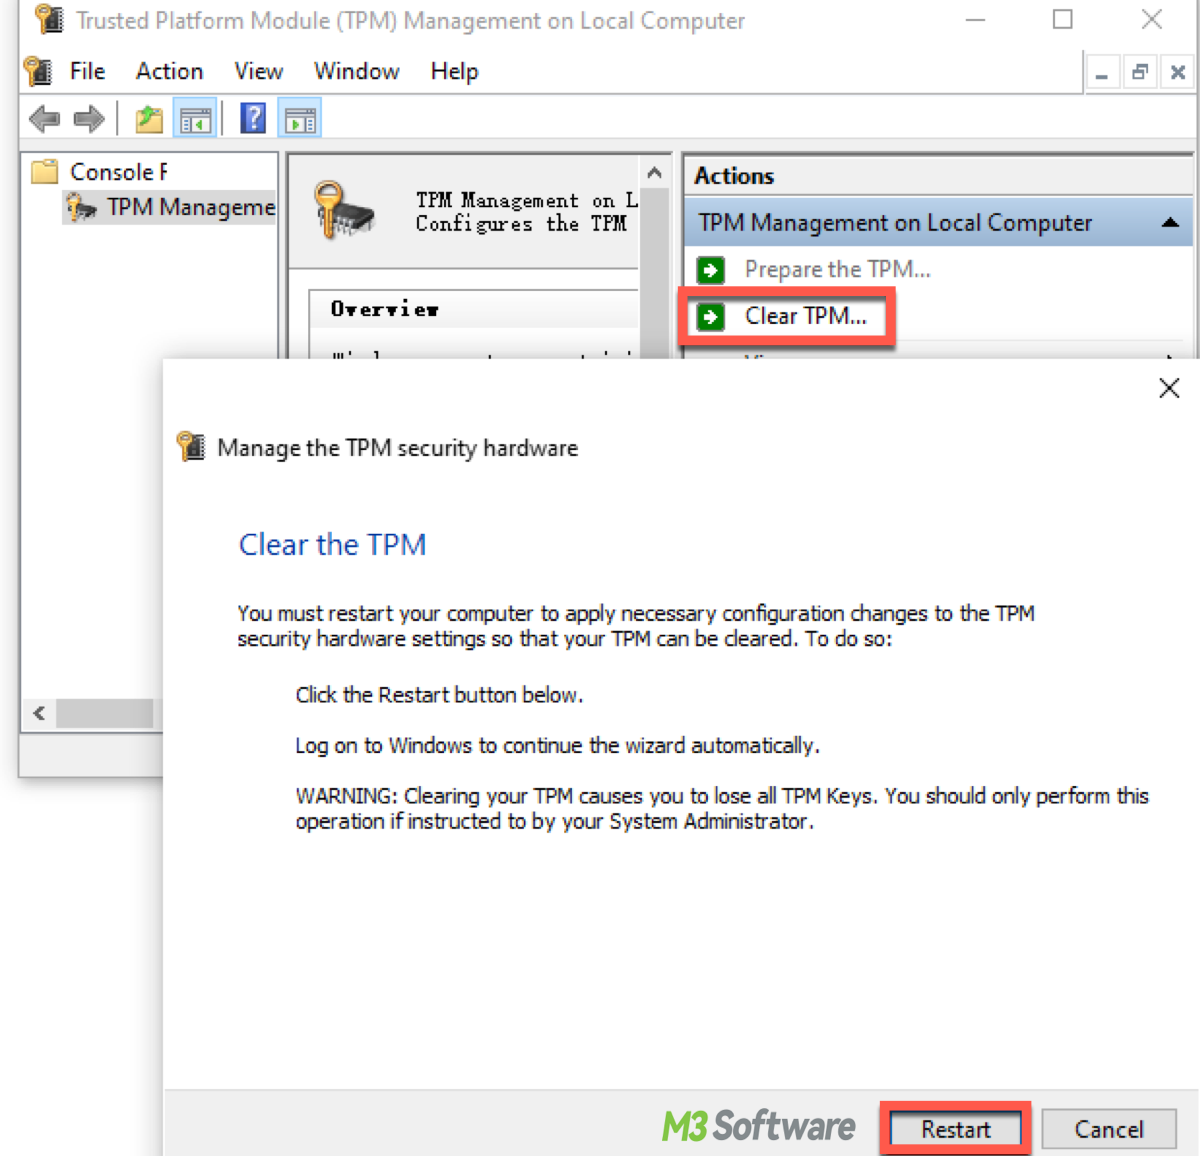
Solution 1. Clear the TPM
Often, the TPM can cause recovery loops due to hardware or configuration changes. Clearing the TPM usually resolves this loop. For more detailed cache clearing, please refer to How to Clear Cache on Windows 10 or 11 Gracefully.
- Open the Start Menu and type tpm.msc, then hit Enter.
- In the TPM management console, click Clear TPM.
- Follow the on-screen instructions, and your computer will restart.
After clearing the TPM, the BitLocker recovery prompt should disappear.

Solution 2. Ensure boot configuration is correct
Issues with the boot configuration can result in a BitLocker recovery loop. Fixing the boot order or correcting the boot configuration using the command provided helps in most cases. Temporarily disabling BitLocker and then re-enabling it ensures that the encryption settings are refreshed, which also can stop the loop.
- Open Command Prompt as an administrator.
- Type the following command:bcdedit /set {default} bootmenupolicy standard
- Press Enter and restart your computer.
Tips: If none of the above methods work, try disabling and re-enabling BitLocker: Open the Start Menu, search for Manage BitLocker, and select it. Click Turn off BitLocker and wait for the decryption process to complete. Once complete, restart your computer and enable BitLocker again.
Repair corrupted drives
In some cases, the recovery issues might stem from a corrupted drive. You can try repairing the drive as follows:
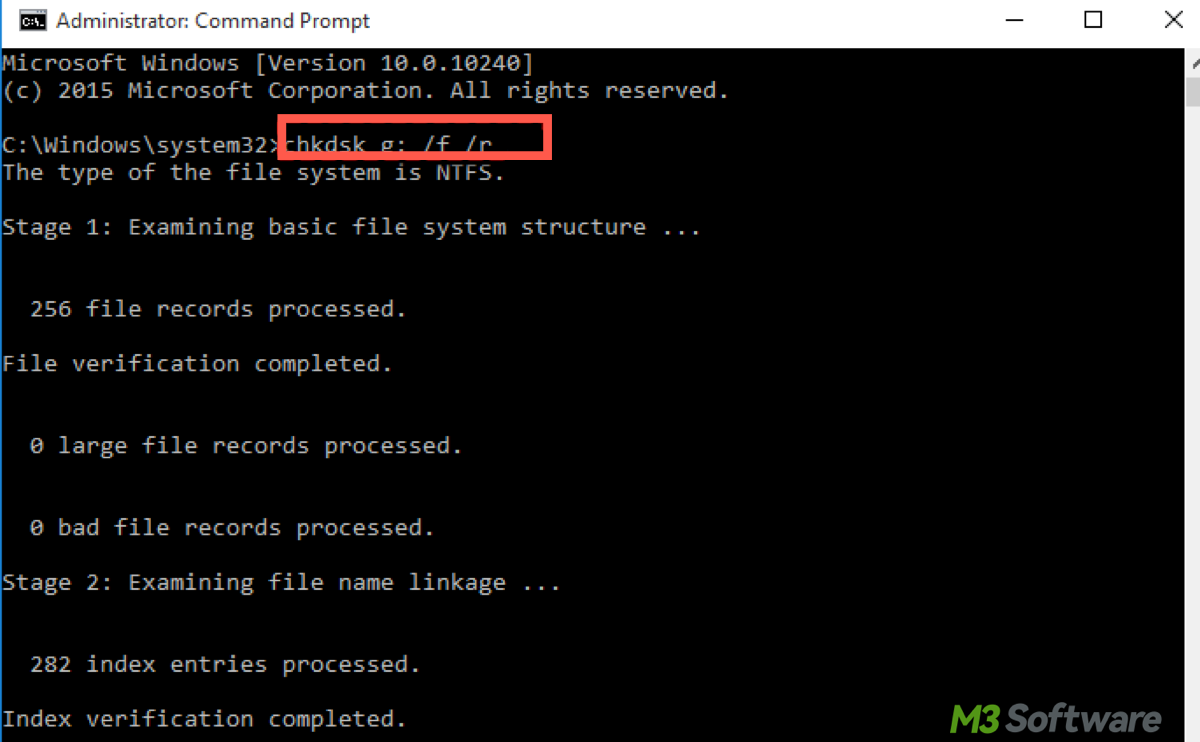
Solution 1. Use CHKDSK
- Open Command Prompt as an administrator.
- Type the following command and press Enter:chkdsk X: /f /r
- Replace X: with the letter of the drive encrypted by BitLocker. This process may take some time, depending on the size and condition of the drive.

Solution 2. Run BitLocker Repair Tool
Windows provides a BitLocker Repair Tool to recover data from a corrupted drive:
- Open Command Prompt as an administrator.
- Enter the following command:repair-bde X: Y: -rp <YourRecoveryKey>
- Replace X: with the encrypted drive letter, Y: with the letter of the output drive where the repaired data will be stored, and <YourRecoveryKey> with the 48-digit recovery key. This will attempt to recover and copy the data to the new output drive.
Prevent future BitLocker recovery issues
To minimize the chances of being prompted for recovery, consider the following tips:
Ensure your BitLocker recovery key is stored in multiple safe locations, such as your Microsoft account, a USB drive, or a printed copy. Having the recovery key accessible helps you quickly get out of a loop while fixing the underlying issue. Besides, regularly updating Windows and your device's firmware ensures compatibility with BitLocker and reduces the risk of recovery prompts due to system changes.
If you plan to modify your system hardware, such as adding new storage or modifying the boot sequence, temporarily suspend BitLocker encryption. Once the changes are complete, re-enable BitLocker to avoid any recovery triggers by opening Manage BitLocker from the Start Menu. Then select Suspend Protection and confirm. After making the changes, resume BitLocker protection.
Conclusion
If you continue to experience BitLocker issues after trying these solutions, you may need to contact Microsoft support or your IT administrator. They may be able to provide specialized tools or guidance to resolve more complex BitLocker problems.
The methods mentioned in the article are specifically designed to address situations involving the BitLocker recovery loop or the BitLocker recovery screen. These two situations commonly arise when BitLocker prompts you to enter a recovery key repeatedly or shows the recovery screen after rebooting, without letting you boot normally.
The above methods generally apply to all Windows computers, including those from manufacturers like Lenovo, HP, Dell, ASUS, and others, as long as the computer uses BitLocker encryption.
Spread these insights and help others to fix BitLocker recovery issues.
