Written by
Yuri ZhangSummary: This article will address common causes of BitLocker access denied errors, including when enabling, disabling BitLocker, or accessing BitLocker-protected drives, possible scenarios are covered in all aspects.
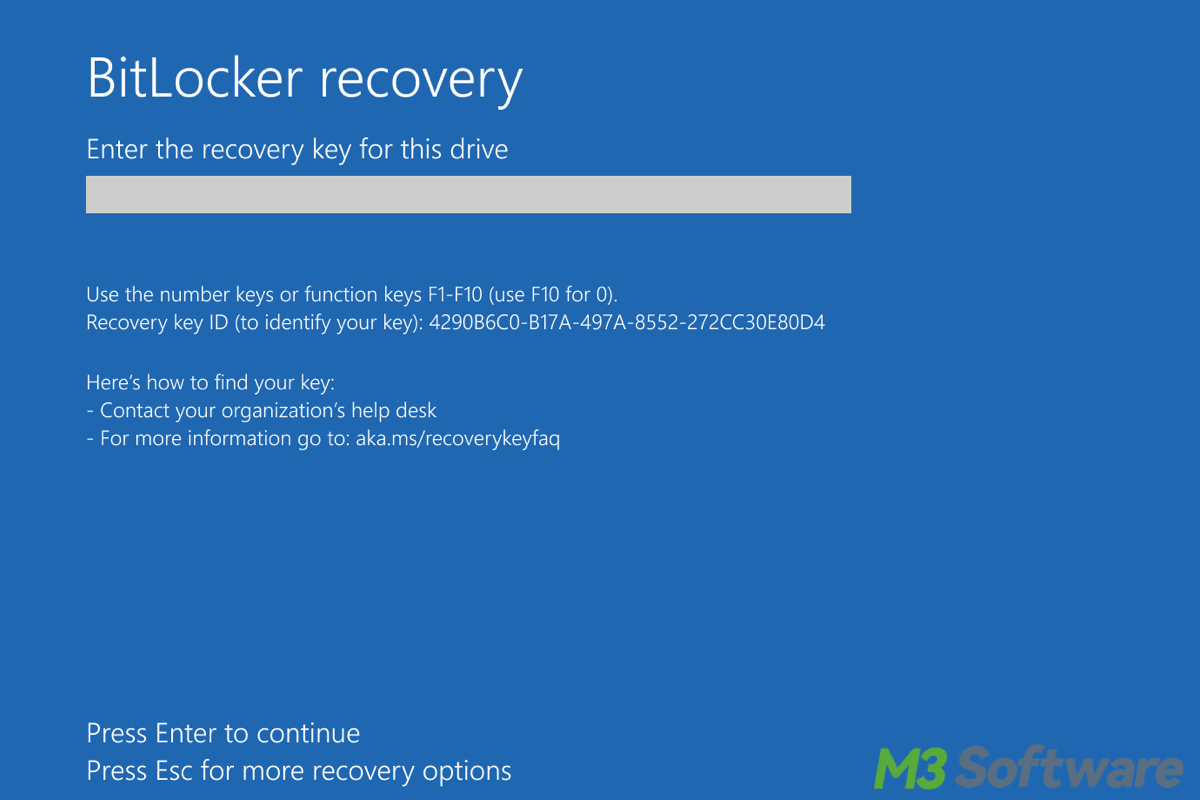
BitLocker is a muscular encryption tool built into Windows that protects data by encrypting drives. However, users often encounter "Access Denied" errors when enabling, disabling, or accessing BitLocker-protected drives.
Let's delve into the reasons behind BitLocker access denied, how to fix them, and the specific Windows versions that support BitLocker features and can be used to solve these problems.
Common issues and solutions for BitLocker access denied
BitLocker Access Denied errors can manifest in a few distinct signs or error messages, each of which points to a different underlying issue. Understanding these signs is crucial in diagnosing and resolving the problem.
Scenario 1: Access to this drive is denied because the drive is encrypted with BitLocker
This often occurs when attempting to access a drive that is encrypted with BitLocker but is either locked or the encryption is not properly configured. The next step is to make sure you have the proper BitLocker password or recovery key. If you're on a managed network, ensure that BitLocker settings are correctly applied and that you have the necessary permissions to access the drive.
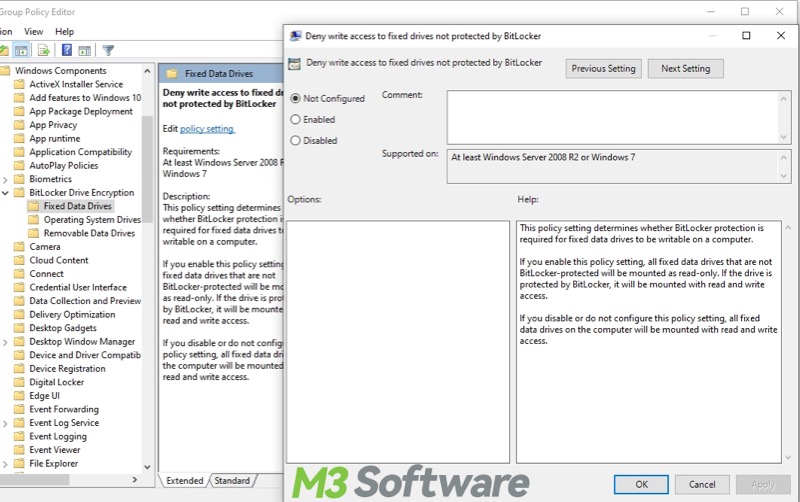
BitLocker settings may be restricted by Group Policies, especially in corporate or managed environments. The solution is to open Local Group Policy Editor and ensure that policies like "Deny write access to BitLocker-protected drives" are set to Not Configured or Disabled. Here are detailed steps:
- Press Windows key + R, type gpedit.msc, and press Enter to open the Group Policy Editor.
- In the left panel, go to: Computer Configuration > Administrative Templates > Windows Components > BitLocker Drive Encryption.
- Find and double-click "Deny write access to BitLocker-protected drives".
- Set it to Not Configured or Disabled.
- Click Apply and then OK.
- Close the Group Policy Editor and restart your computer (optional).
This will disable the policy that prevents writing to BitLocker-encrypted drives.
Scenario 2: Similarly to scenario 1, to unlock the drive, you need to enter the BitLocker recovery key
This occurs either due to a failed TPM check or after a system change like BIOS/UEFI updates or when the system does not recognize the usual unlock method (password, PIN, or TPM) and prompts for the recovery key instead. If you've forgotten the password, retrieve the recovery key using iBoysoft Data Recovery to scan and recover it from your files. The file is typically named BitLocker Recovery Key or something similar and is often saved as a .txt file.
In this case, you'll need to enter the BitLocker password or provide the recovery key to unlock the drive. You can also unlock the drive via Command Prompt using manage-bde commands as follows:
- Press Windows key, type cmd, right-click Command Prompt, and select Run as administrator.
- Type the following command (replace X with your drive letter and YOUR-RECOVERY-KEY with your recovery key):manage-bde -unlock X: -recoverypassword YOUR-RECOVERY-KEY
- Press Enter and the drive will unlock if the recovery key is correct.
Scenario 3: The system cannot find the drive specified or access denied when trying to enable or disable BitLocker
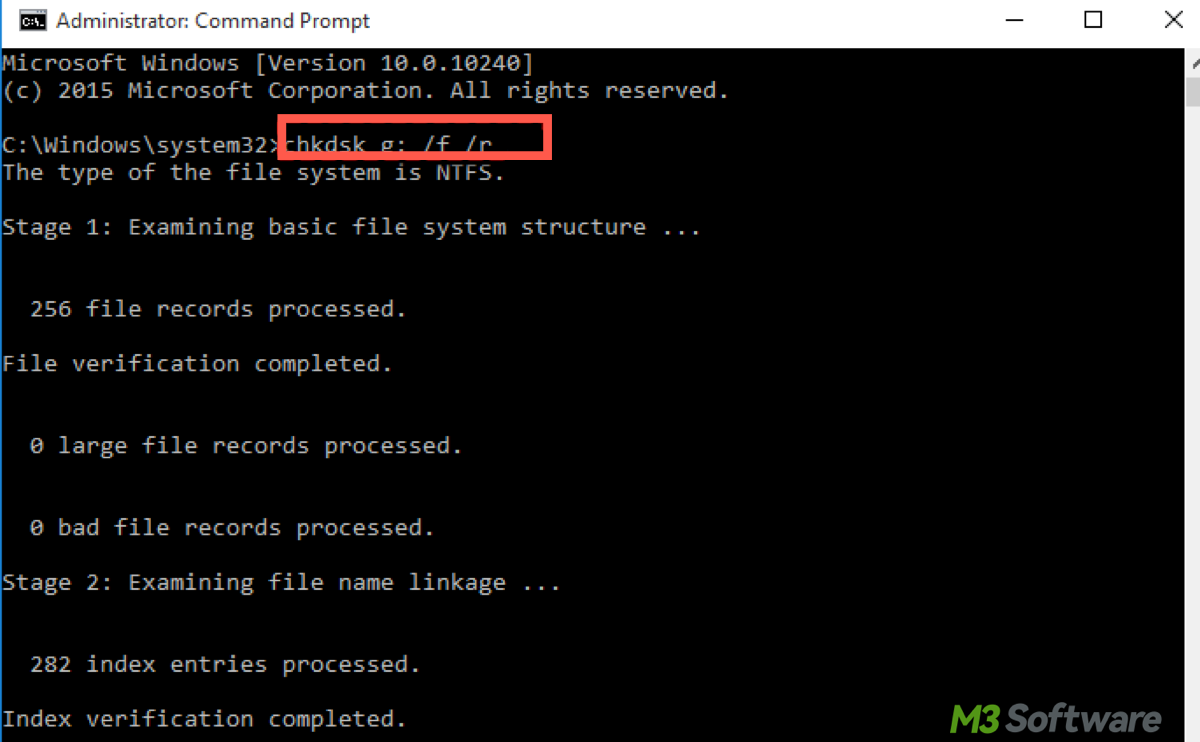
This may happen if BitLocker cannot locate or access the disk or partition due to file system errors, missing system files, or corrupted partitions. The way out is to run chkdsk to check for and repair any file system errors, or ensure that the disk is properly formatted (preferably GPT) through the steps below:
- Press Windows key, type cmd, right-click Command Prompt, and select Run as administrator.
- Type the following and press Enter(C: is the drive you want to check, you can replace it with another drive letter if needed, /f tells chkdsk to fix any errors it finds):chkdsk C: /f
- If asked to schedule the check, type Y and press Enter.
- Restart your computer to let chkdsk run.
BitLocker requires a GPT (GUID Partition Table) formatted disk. If your disk uses MBR (Master Boot Record), you won't be able to enable BitLocker, you need to convert the disk from MBR to GPT using the command mbr2gpt /convert in Command Prompt:
- Open Command Prompt as Administrator as mentioned earlier.
- Run this command (replace <disk_number> with the disk number):mbr2gpt /validate /disk:<disk_number>
- For example, if you're converting Disk 0, the commands would be:mbr2gpt /validate /disk:0
- If validation is successful, convert the disk with the following command line:mbr2gpt /convert /disk:<disk_number>
- After conversion, restart your PC and ensure BIOS is set to UEFI boot mode.
Share this to help more meeting with BitLocker access denied.
Scenario 4: You don't have permission to access this device
This often occurs with external drives or USB drives encrypted with BitLocker. Permissions issues, lack of administrative access, or Group Policy settings may block access.
The solution is to ensure that the external drive is properly unlocked, you have administrative permissions, and no security policies block access to removable media. Use manage-bde to unlock external drives via Command Prompt as mentioned earlier. What's more, you can use the command powercfg -h off in Command Prompt to disable hibernation as follows:
- Press Windows key, type cmd, right-click Command Prompt, and select Run as administrator.
- Type this command and press Enter:powercfg -h off
- Close Command Prompt.
Scenario 5: You do not have permission to enable BitLocker on this drive
For permission issues, BitLocker requires administrative privileges to function. If you're not logged in as an Administrator, you'll encounter an "Access Denied" error. The solution is simple: Make sure you are logged in with an Administrator account. Check your account type in Control Panel > User Accounts.
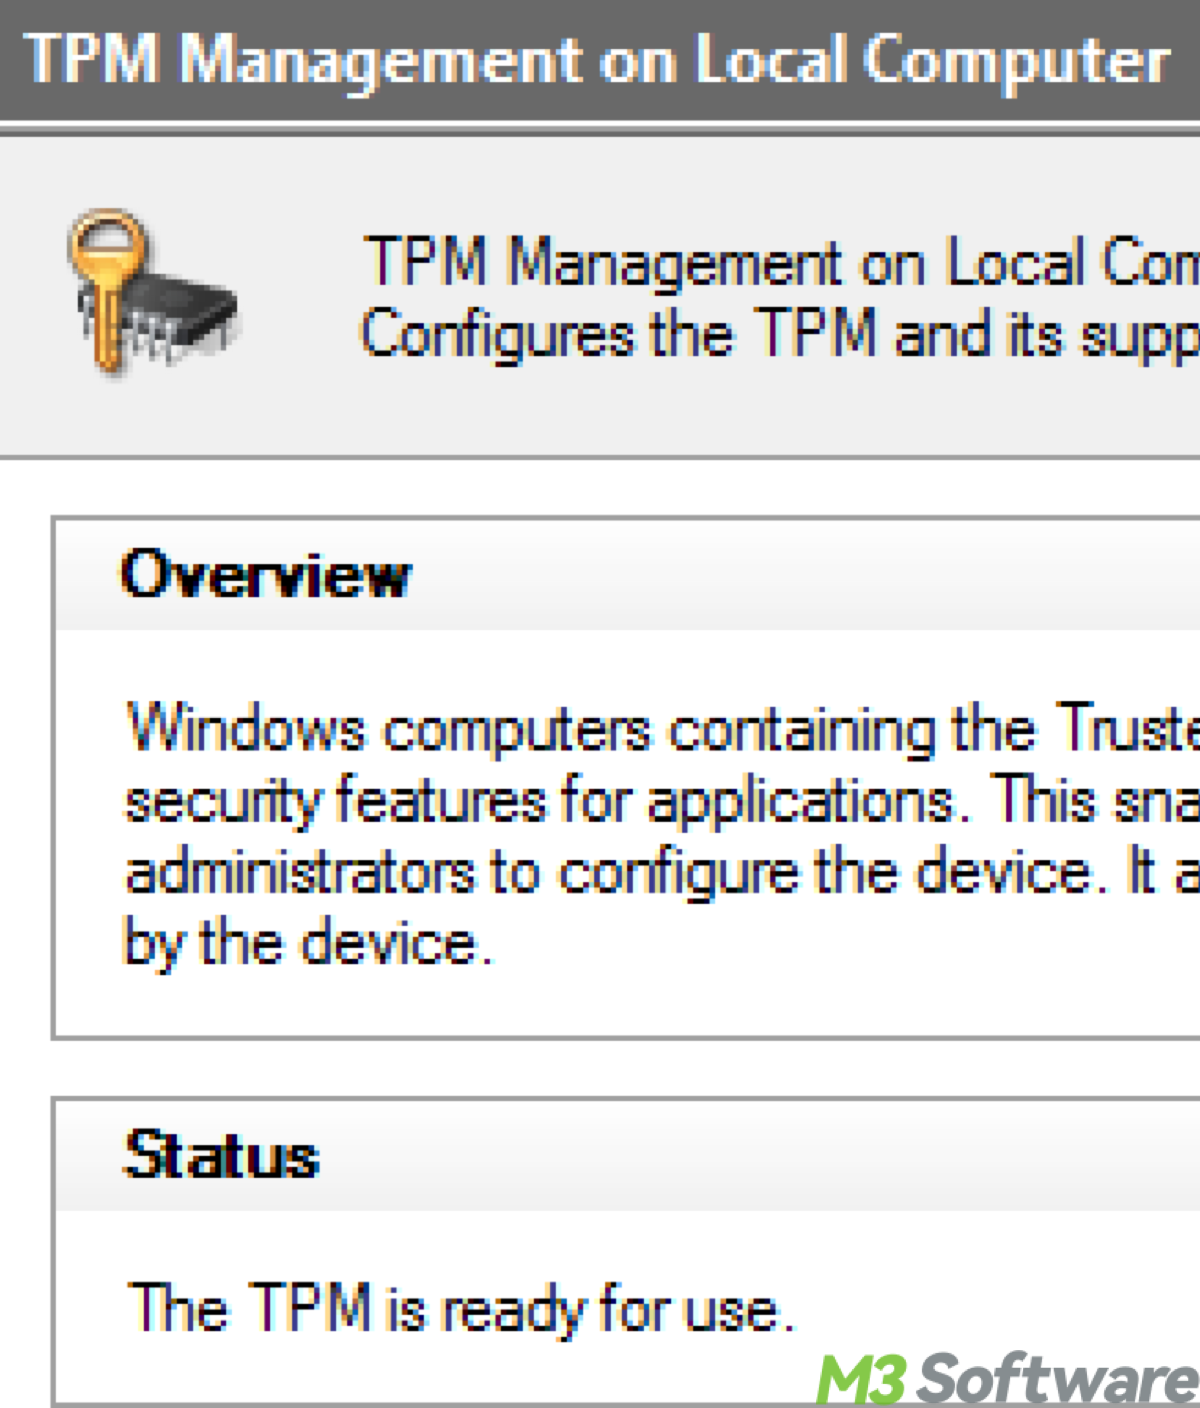
Also, problem-solving methods include verifying that TPM is enabled in BIOS/UEFI. BitLocker relies on TPM to store encryption keys securely. If TPM is not enabled or recognized, enabling BitLocker may fail. Here's how to check:
- Press Windows key, type tpm.msc, and press Enter.
- If it says "The TPM is ready for use", TPM is enabled. If not, move to the next step.
- Restart your PC and press the BIOS/UEFI key (usually F2, Del, or Esc).
- In BIOS/UEFI, find and enable TPM (usually under Security or Advanced).
- Save changes and exit.
- Boot back into Windows and try enabling/disabling BitLocker again.
Scenario 6: The BitLocker encryption service cannot be started due to a system error
This error is often tied to problems with the BitLocker service, system corruption, or conflicts with other software. Solution: Restart the BitLocker Service via Services (services.msc), or try using System File Checker (sfc /scannow) to repair system files, the details are as follows:
- To restart BitLocker Service, press Windows key + R, type services.msc, and press Enter.
- Find BitLocker Drive Encryption Service, right-click, and select Restart (or Start if it's stopped).
- To run System File Checker, press Windows key, type cmd, right-click Command Prompt, and select Run as administrator.
- Then type following command.sfc /scannow
- Press Enter and wait for the scan to complete. Restart your PC if prompted.
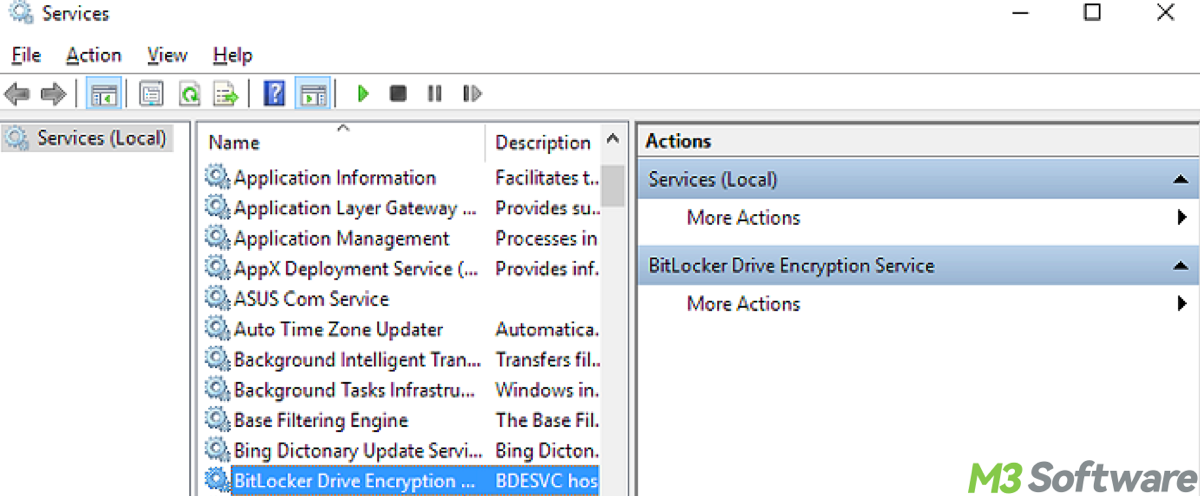
This should restart the BitLocker service and fix any system file issues. Share to help more.
Scenario 7: A policy is preventing BitLocker from being enabled. Access is denied
This error is common in managed environments (e.g., corporate networks) where Group Policies are set to restrict the use of BitLocker. If you're on a corporate network, you'll need to consult your IT administrator to check the Group Policy settings. For personal machines, ensure that the BitLocker policy in Local Group Policy Editor is not configured to prevent encryption.
Tips: It is also possible that antivirus or security software conflicts caused BitLocker inaccessibility. Third-party antivirus programs or other disk encryption software can interfere with BitLocker and prevent it from being enabled or disabled. The solution is to temporarily disable or uninstall any third-party security software and attempt to enable BitLocker again.
Bonus tip: advanced troubleshooting with command-line tools
If you continue to face "Access Denied" errors, you can try Command Prompt to enable or disable BitLocker manually:
To check BitLocker status:manage-bde -status X:To enable BitLocker:manage-bde -on X: -RecoveryPasswordTo disable BitLocker:manage-bde -off X:
Conclusion
BitLocker is an essential security feature in Windows, but various factors can prevent it from being enabled or disabled, such as insufficient permissions, TPM settings, disk partition styles, or conflicts with third-party software.
This issue is typically resolved by ensuring you have the right Windows version (Pro, Enterprise, or Education editions), administrative rights, and proper TPM settings. Additionally, checking for Group Policy restrictions, ensuring the disk is formatted with GPT, and resolving any conflicts with security software are key steps.
If you're still facing access problems, you can use Command Prompt for advanced troubleshooting and manual management of BitLocker. It is not an empty cliche, always ensure that you back up important data and store your recovery keys safely.
Also read Solved! Starting BitLocker Access Is Denied
Wind down and spread this article if you find it useful.
