Written by
Yuri ZhangWith BitLocker enabled on your device, its encryption status guarantees security. Harnessing the power of PowerShell can streamline the process, especially for system administrators or tech-savvy users managing multiple devices.
You may know How to Enable BitLocker on Windows in several ways, nevertheless, in this article we will specifically talk about how to enable BitLocker with PowerShell no matter whether with or without TPM and how to enable BitLocker remotely using PowerShell.
Why choose PowerShell instead of CMD
You might wonder, why not just choose CMD, the more familiar and frequently used tool?
Well, PowerShell offers its own distinct advantages. Enabling BitLocker with a PowerShell script and enabling it through Command Prompt (CMD) with manage-bde achieve the same end goal—encrypting a drive with BitLocker.
However, they differ in terms of commands, scripting flexibility, and remote management capabilities. Here's a breakdown table of differences between CMD and PowerShell for BitLocker:
| Aspect | CMD (manage-bde) | PowerShell (Enable-BitLocker) |
| Command | manage-bde commands (e.g., manage-bde -on C:) | PowerShell cmdlets (e.g., Enable-BitLocker) |
| Remote Management | Limited (remote execution is complex) | Directly supports remote execution via Invoke-Command |
| Automation & Scripting | Limited error handling and control flow | Supports advanced scripting, error handling, and pipeline capabilities |
| Ease of Use | Simple but less flexible for automation | Flexible, ideal for automated deployment and management |
| Integration with Windows | System utility built into Windows | Part of PowerShell's BitLocker module, integrated for modern management |
| Feedback and Monitoring | Requires manual progress checking | Can get real-time status updates using Get-BitLockerVolume |
Note: In PowerShell and Command Prompt (CMD), there are indeed commands that appear similar, but they are actually distinct in terms of syntax, functionality, and purpose. Although some commands may look similar and serve equivalent functions, they often work differently due to the nature of PowerShell's object-oriented scripting environment compared to CMD's text-based environment.
Prerequisites to enable BitLocker with PowerShell
Enabling BitLocker with PowerShell offers more control and flexibility compared to the Command Prompt, especially for automation or multiple systems within a network. It has some precautions as follows:
1. Make sure you have administrative access to the remote system. Press Win + S to open the search bar, type PowerShell, then click on Windows PowerShell or Windows PowerShell (Admin) to open it with administrator privileges.
2. PowerShell remoting needs to be enabled on the remote machine. You can enable it by running the following cmdlet in PowerShell, then press Enter: Enable-PSRemoting -Force 3. Ensure Trusted Platform Module (TPM) is enabled if you want to enable BitLocker without requiring a password at boot.
Steps to enable BitLocker remotely using PowerShell
1. Press Win + S, type PowerShell, then click on Windows PowerShell (Admin) on your local machine.
2. Run the PowerShell command remotely by using Invoke-Command to connect to the target machine:
(Replace "RemoteComputerName" with the name or IP address of the target computer. The Enable-BitLocker cmdlet takes parameters like -MountPoint for the drive letter (e.g., "C:"), -EncryptionMethod (e.g., XtsAes256 for AES encryption), and -UsedSpaceOnly if you want to encrypt only the used space.)Invoke-Command -ComputerName "RemoteComputerName" -ScriptBlock {
Enable-BitLocker -MountPoint "C:" -EncryptionMethod XtsAes256 -UsedSpaceOnly
} -Credential (Get-Credential)
3. Monitor encryption progress (Optional): To monitor the encryption progress, you can use the Get-BitLockerVolume cmdlet:Invoke-Command -ComputerName "RemoteComputerName" -ScriptBlock {
Get-BitLockerVolume -MountPoint "C:"
} -Credential (Get-Credential)
Share this and help more to master the techniques on using PowerShell to enable BitLocker.
Unified steps to enable BitLocker with or without TPM
When you don't need remote service, below is a coordinated approach to enable BitLocker in PowerShell, either with TPM or another method.
Note: When with TPM, use the -TpmProtector parameter, which relies on the Trusted Platform Module (TPM) chip for security. This allows the drive to unlock automatically if the device is in a trusted state without requiring a PIN or password. When without TPM, use other protectors, such as a password or PIN, specified with -PasswordProtector or -RecoveryPasswordProtector.
Enabling BitLocker with PowerShell generally involves the following key steps:
- Open PowerShell as Administrator by presssing Win + S, type PowerShell, then click on Windows PowerShell (Admin).
- Choose your protector type, if using TPM, use the -TpmProtector parameter. If Not Using TPM, use -PasswordProtector or another method (e.g., -RecoveryPasswordProtector for a recovery password).
- Run the Enable-BitLocker command by typing the following command and press Enter, when with TPM:Enable-BitLocker -MountPoint "C:" -EncryptionMethod XtsAes256 -TpmProtectorWhen without TPM (using Password), the command below enables BitLocker on the C: drive with AES 256-bit encryption and prompts you to enter a password to unlock the drive.Enable-BitLocker -MountPoint "C:" -EncryptionMethod XtsAes256 -PasswordProtector
- Optionally, add a recovery password by entering the following command:Add-BitLockerKeyProtector -MountPoint "C:" -RecoveryPasswordProtector
Warning: Adding a recovery password in step 4 is a good fallback, especially if TPM is used, in case you need to unlock the drive from another device.
How to tell if BitLocker is enabled in Powershell
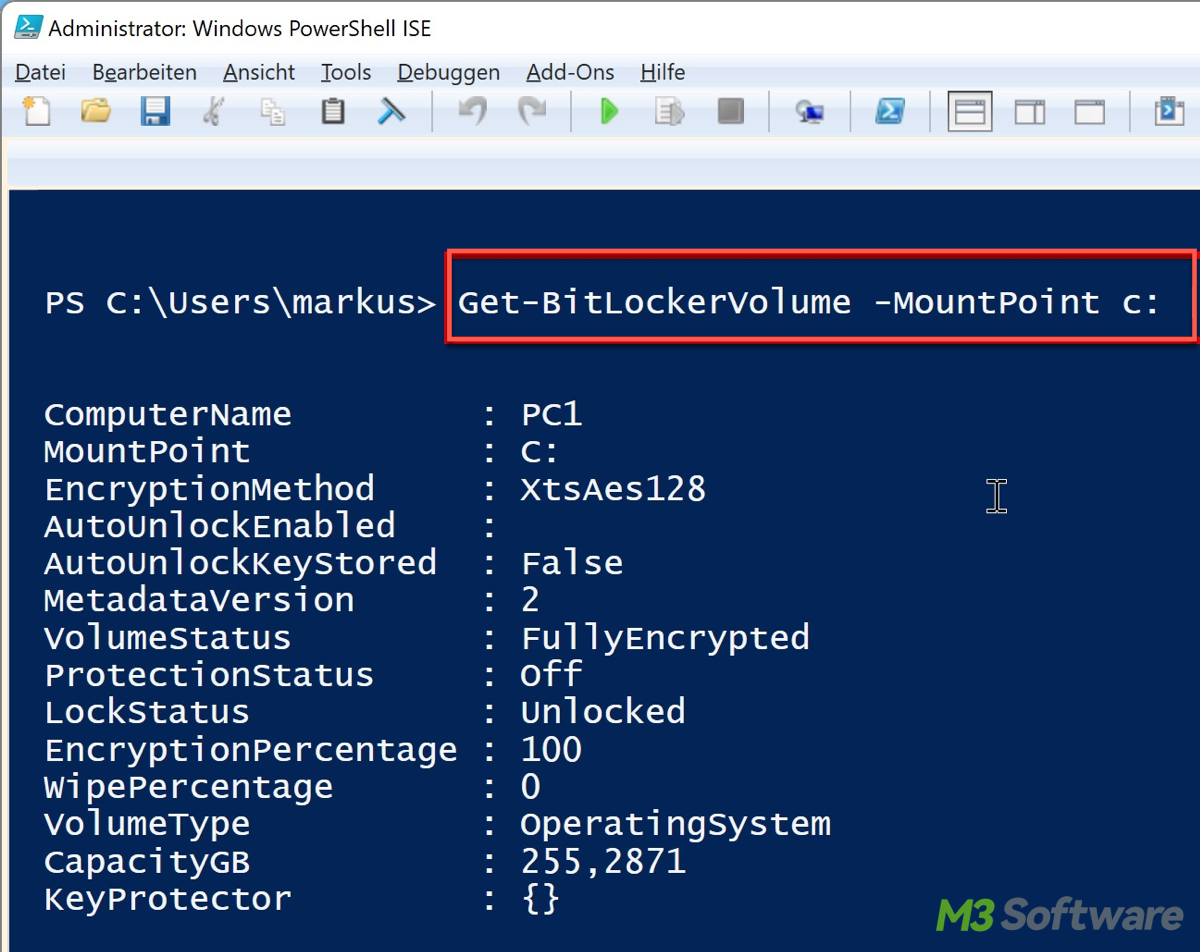
To check if BitLocker is enabled on a drive using PowerShell, you can use the Get-BitLockerVolume cmdlet. This cmdlet provides information about the BitLocker status of each drive, including whether encryption is active. These encryption status monitoring steps are optional, too.
1. Open PowerShell as Administrator by presssing Win + S, type PowerShell, then click on Windows PowerShell (Admin).
2. Run the Get-BitLockerVolume command (Replace "C:" with the drive letter you want to check) and press Enter:Get-BitLockerVolume -MountPoint "C:"This will show information about encryption status, encryption method, and percentage completed. If BitLocker is not enabled, the ProtectionStatus will show as Off.

Check all drives for BitLocker status
To check the BitLocker status on all drives, run Get-BitLockerVolume without specifying a drive letter:Get-BitLockerVolume
This will return the BitLocker status for all drives on the system.

How to disable BitLocker with PowerShell
Conversely, to disable BitLocker with PowerShell, you can use the Disable-BitLocker cmdlet. This cmdlet decrypts the drive and removes BitLocker protection. Here's a clear guide:
1. Open PowerShell as Administrator on the machine where you want to disable BitLocker.
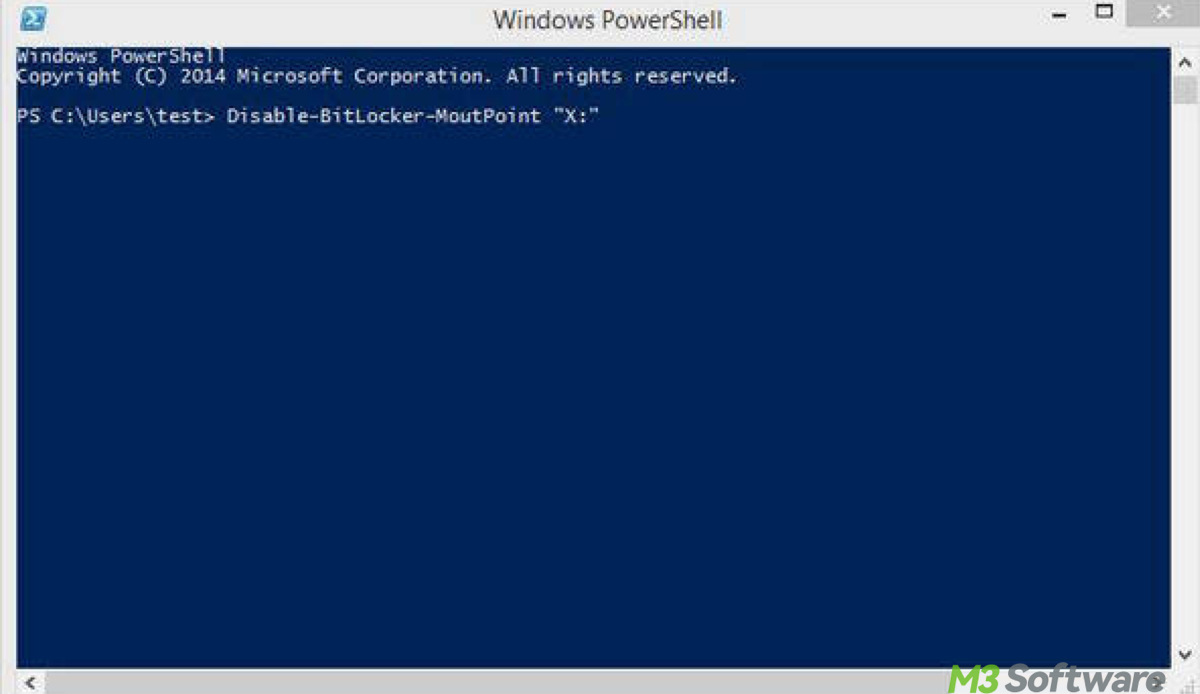
2. Run the Disable-BitLocker command for the target drive (Replace "C:" with the drive letter of the volume you want to disable BitLocker on.).Disable-BitLocker -MountPoint "C:"

Conclusion
Both Command Prompt and PowerShell can enable BitLocker but differ in ease of remote execution and script integration, with PowerShell generally being better suited for remote and automated management tasks.
Unlike CMD, PowerShell's Get-BitLockerVolume can help you monitor the decryption process in real time. PowerShell allows you to handle conditions, such as checking the encryption status before attempting to disable BitLocker, which makes it suitable for automated scripts. Using PowerShell to enable or disable BitLocker provides more flexibility and better integration for managing encryption and decryption tasks, particularly in automated or remote scenarios.
Also read How to Spot BitLocker Recovery Key Precisely and How to access BitLocker Recovery Key with Active Directory
Share this comprehensive article and leave your precious footprint.
