
Written by
Yuri ZhangSummary: This guide specifies how to format and manage a new drive using DiskPart while also highlighting how iBoysoft DiskGeeker can make these tasks easier, faster, and more secure in Windows.
Getting a new drive or disk? Can't wait to use it? Wait a second. How do you know it's new, or what to do when it's problematic? Formatting a new drive in Windows gets it ready to store files and work properly with your system.
This article will also walk you through how to wipe a disk, create new partitions, and get your new drive ready for use via DiskPart. Now, let's dive into how to format new drives via DiskPart in Windows and why we should do so.
The necessity to format the new drive via DiskPart
You might want to format a new drive in DiskPart for Windows for several reasons:
- New drives, especially unformatted ones, need to be initialized and formatted before use. DiskPart allows you to configure the drive by creating partitions and assigning file systems (like NTFS or exFAT) that are compatible with Windows.
- If the drive was previously used or is second-hand and contains old data, formatting it with DiskPart gives you a fresh start by erasing all existing files and settings.
- DiskPart lets you customize the partition style (MBR or GPT) and the file system format (NTFS, exFAT, etc.), which is essential for compatibility with your needs.
- If a drive is corrupted or acting strangely, reformatting through DiskPart can resolve issues, providing a clean slate.
In rare cases, a new drive isn't recognized in Windows File Explorer until it's properly formatted and partitioned, which DiskPart can also help with.
How to format and manage new drives using DiskPart
Windows offers two well-known tools to assist formatting. DiskPart, a command-line tool, and Disk Management, a graphical user interface (GUI) tool.
Whether you're working on a new hard drive or a solid-state drive (SSD), the process can be streamlined with the right tools. Here's how to utilize DiskPart:
- Click the Start button.
- Type cmd, then right-click on "Command Prompt" and choose "Run as administrator."
- In the black window that opens, type the following command and press Enter.diskpart
- To show all available drives, use the command and press Enter.list disk
- (Tip: You'll see a list of all your hard drives and USB drives; then, look at the size column to help find your new drive.)
- To choose the new drive, press Enter after typing: (Replace X with the number of your new drive — for example, select disk 2)select disk X
- To create a new partition, run the command:create partition primary
- To format the drive using NTFS (Windows standard), run:format fs=ntfs quick
- Or use this if you want to use the drive on both Windows and Mac:format fs=exfat quick
- To assign a drive letter, use the command: (This makes the drive show up in File Explorer with its own drive letter (like D: or E:).assign
- To exit DiskPart, type the following command and press Enter:exit
You've now formatted and prepared your new drive! Share and let others also master the knack.
Why choose DiskPart instead of Disk Management?
While Disk Management offers a user-friendly, visual experience for those unfamiliar with command-line interfaces, DiskPart holds greater flexibility and control over disk management tasks. It's specifically functional for advanced operations like wiping drives or handling disks in a server environment. Disk Management is more sufficient for initializing, partitioning, and formatting new drives for everyday use.
(Optianl) How to wipe a drive through DiskPart in Windows
This is very powerful. Double-check that you're selecting the correct drive. Wiping a drive will erase everything permanently, and you can't undo it. Here's a step-by-step guide:
- Same as above: go to Start, search for cmd, right-click, and run as administrator.
- To start DiskPart, type or copy:diskpart
- To show your disks, use:list disk
- Select the disk you want to wipe: (Replace X with the correct disk number.)select disk X
- Wipe the drive: (Quick method, this removes all partitions. It's fast, but the data might be recoverable with special tools.)clean
- Or wipe securely (Slower, but safer, this writes zeros across the entire drive, making your data very hard to recover)clean all
- Exit DiskPart. (Remember to press Enter after typing each command.)exit
Share and don't get distracted by other things. Here comes the bonus part.
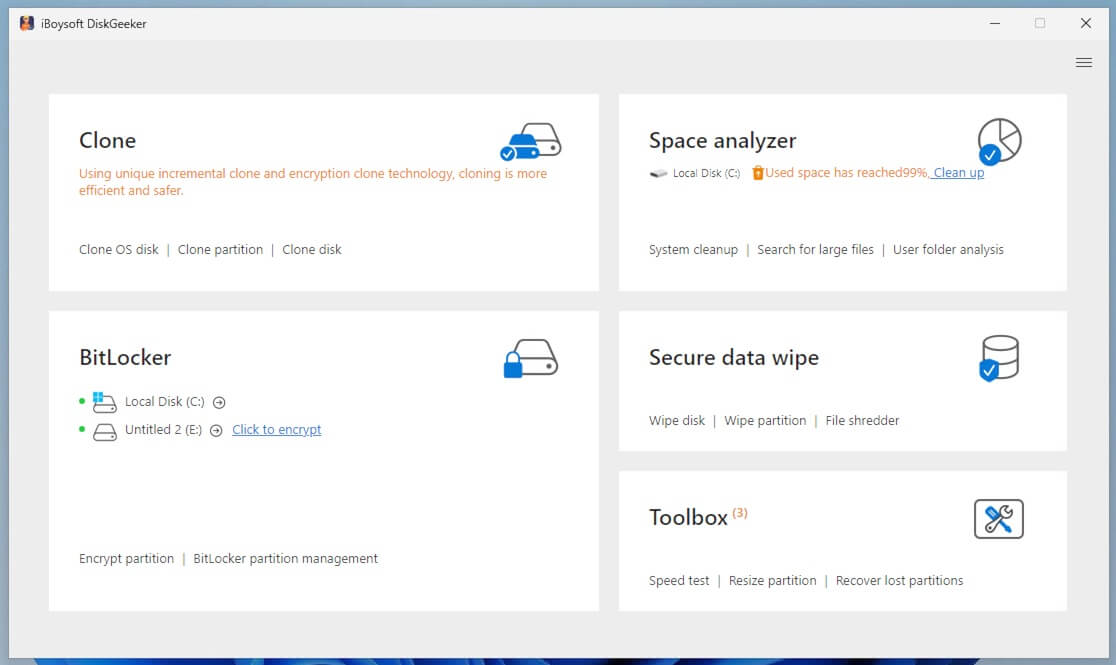
How to wipe drive with iBoysoft DiskGeeker for Windows
Formatting the drive is crucial for making it usable. Both Disk Management and DiskPart offer straightforward formatting options.
Nevertheless, iBoysoft DiskGeeker allows you to format the drive securely, making it a greater and easier option to ensure that no remnants of old data are left behind before you start using it. Here's how:
Step 1: Download and launch iBoysoft DiskGeeker on your Windows device.
Step 2: Click "Secure data wipe" and then select a desired mode.
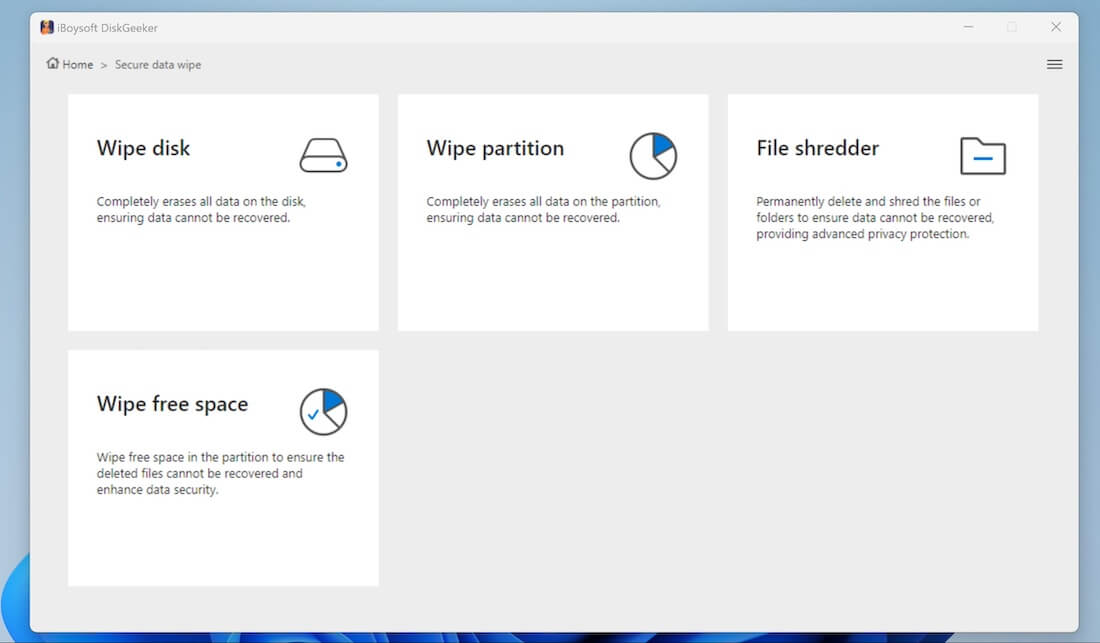
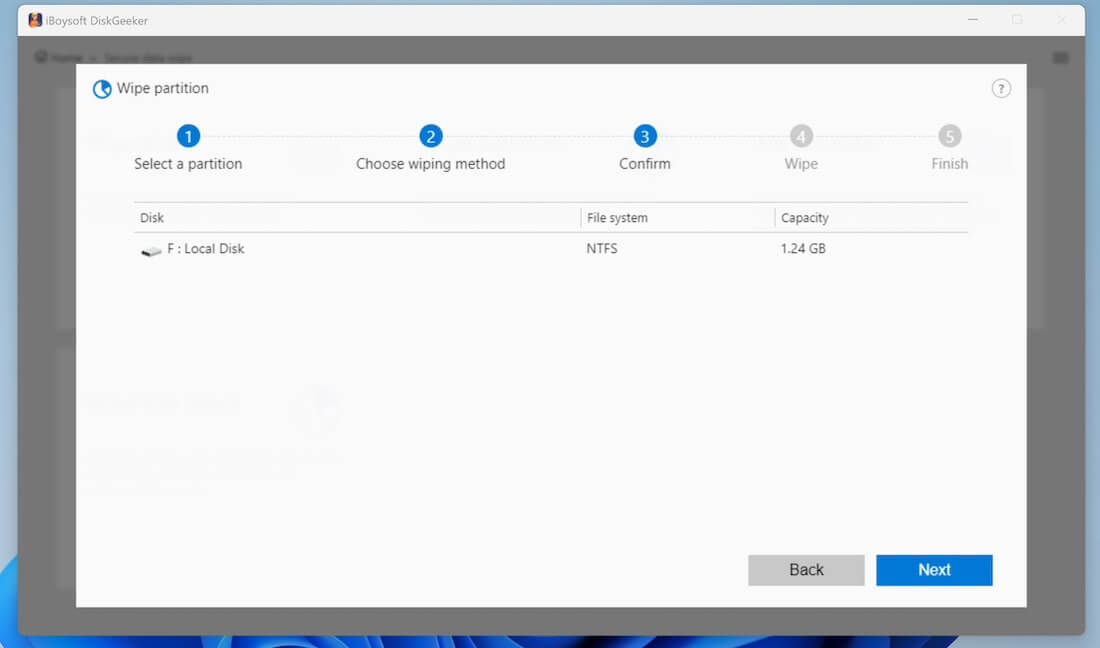
Step 3: Select the disk, partition, or free space you want to wipe.
Step 4: Confirm the disk, partition, or free space you want to wipe and click "Next."
You'll see the "Clear indexes" option at the bottom when wiping free space. Check it to clear the properties of the deleted or lost files on the free space, including their names, locations on the disk, and others, to completely wipe them.
Step 5: Choose a wiping method and click "Next." (For free space wiping, you don't need to choose a wiping method.)

Step 6: Click "Wipe" on the confirmation window to start wiping data.

Step 7: Wait for the secure data wipe process to complete.
Tips: You may notice other functions on its main interface. Yeah, whoo! 🙌🔥 iBoysoft DiskGeeker takes the formatting process even further by offering features like Disk Space Analyzer and Disk Speed Test so you can get insights into the performance and health of your drive before you start using it.
Final thought
For users who prefer more control, DiskPart allows you to format and manage partitions via the command line. While powerful, DiskPart lacks some of the advanced features available with iBoysoft DiskGeeker.
iBoysoft DiskGeeker offers additional tools such as Disk Wipe to securely erase data, ensuring that no sensitive information is recoverable before you dispose of or repurpose a drive.
For added security, consider using iBoysoft DiskGeeker to enable BitLocker encryption. This will ensure that your data is protected from unauthorized access, especially if you're using the drive to store sensitive information.
Related articles
How to Repair Windows 11/10/8/7 Using DISM
How to Delete Files from an SD Card on Windows Without Limit
How to Keep Device Drivers Updated on Windows System
Spread these insights and have enough know-how to handle the new drive.