
Written by
Wilsey YoungSummary: This post elaborates on what Secure Boot is on Windows and how it works. The steps to enable the Secure Boot feature and check the Secure Boot state on Windows are also included in this article. -From m3datarecovery.com
As the cyber threats from malicious or unauthorized software continue to grow in nowadays cyber environment, a lot of Windows users tend to place reliance on the reliable built-in security features in the Windows OS. Secure Boot, in this case, often comes into the spotlight.
Secure Boot can play a critical role in adding an extra layer of security to the Windows operating system. This guide provides basic information on what Secure Boot is, how it works, and steps to enable it on a Windows computer.
What is Secure Boot?
Secure Boot is a built-in security feature on Windows designed to safeguard your computer system against malware or malicious software designed to load during the system boot. Therefore, Secure Boot ensures that only trusted and validated software is allowed to load in the boot process.
Secure Boot significantly adds an extra layer of protection to the Windows system boot process, as some untrusted, invalidated, or unauthorized malware, such as bootkits and rootkits, aim to infiltrate and tamper with the system before the Windows OS and an antivirus application are loaded.
Starting with Windows 8, Secure Boot was introduced as a part of the UEFI (Unified Extensible Firmware Interface) firmware. When it comes to Windows 11, Secure Boot has become the prerequisite for the Windows 11 installation. 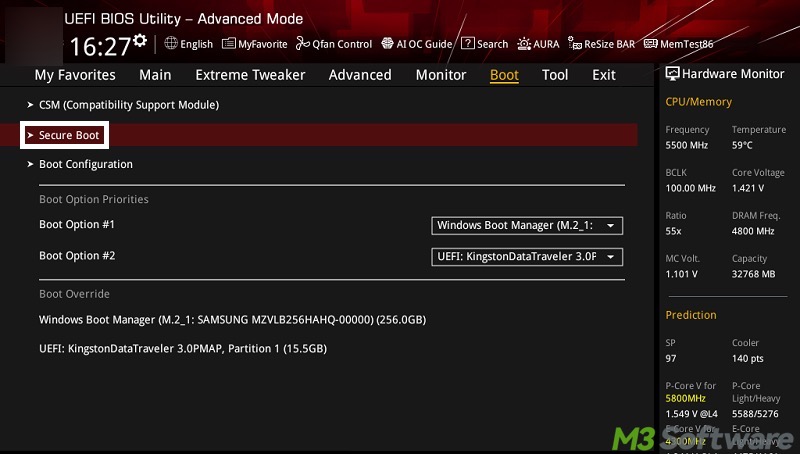
When BitLocker is enabled on your Windows PC, you may encounter the error related to Secure Boot:
Click the buttons below to share this post!
How does Secure Boot work?
Here's how the Secure Boot works to verify the integrity and validity of the software ready to load during the system boot:
- UEFI Firmware and Keys: When the system starts up, UEFI firmware uses public keys to check if the bootloader possesses a valid digital signature.
- Digital Signature Verification: The digital signatures of the software files ready to load will be compared with the trusted public keys. If everything matches, the system boot proceeds. Otherwise, the system boot will not continue.
- Trusted Bootloaders: The authenticity of Windows OS, such as Windows 11, can be verified by the UEFI firmware, as long as the system is digitally signed by a trusted certificate authority.
- Secure Boot Database: The UEFI firmware has three primary databases where trusted signatures are stored, including the Authorized Signature Database, Forbidden Signature Database, and Key Exchange Key, etc. If any bootloader doesn't have a valid signature, it will be rejected by UEFI firmware.
How to enable Secure Boot Windows 11?
Although Secure Boot is enabled by default on Windows 11 or other versions of Windows OS, there might be cases where you need to manually turn it on. The steps below show how:
- Restart your Windows PC.
- As your computer starts up, press the Del or F10 key that takes you to the UEFI/BIOS settings. This key may vary depending on the motherboard manufacturer.
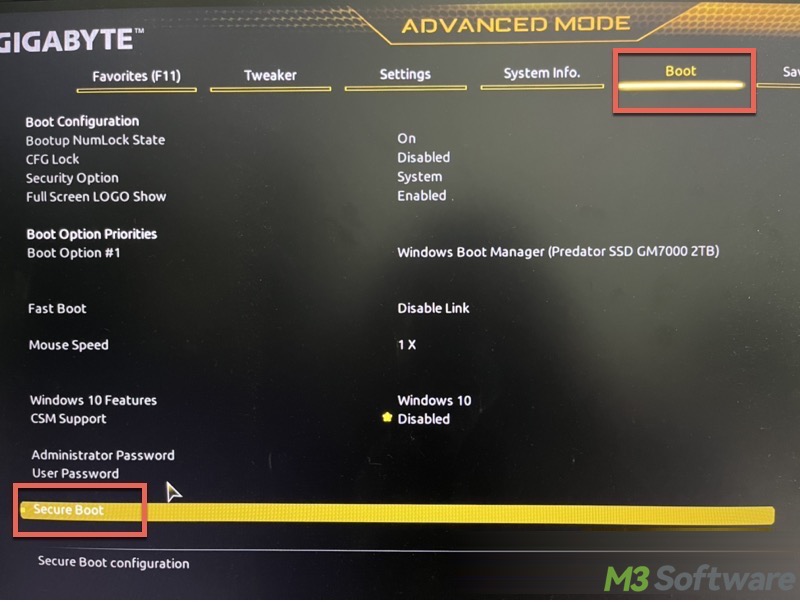
- In the UEFI/BIOS page, go to the Boot or Security tab.
- Find Secure Boot and hit the Enter key on your keyboard.
- Select Enabled.
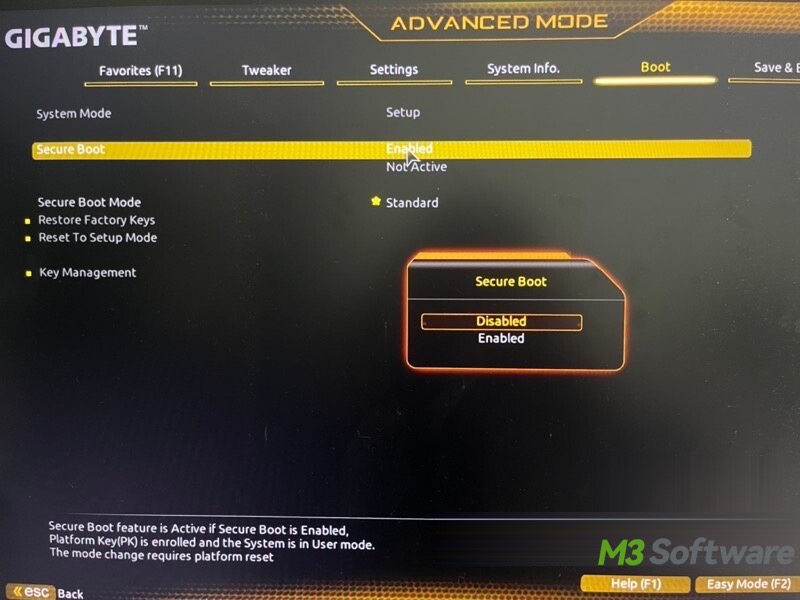
- After enabling Secure Boot, save the changes by pressing the key indicated on your screen to save and exit.
Now you can check if the Secure Boot is successfully enabled, and here's how:
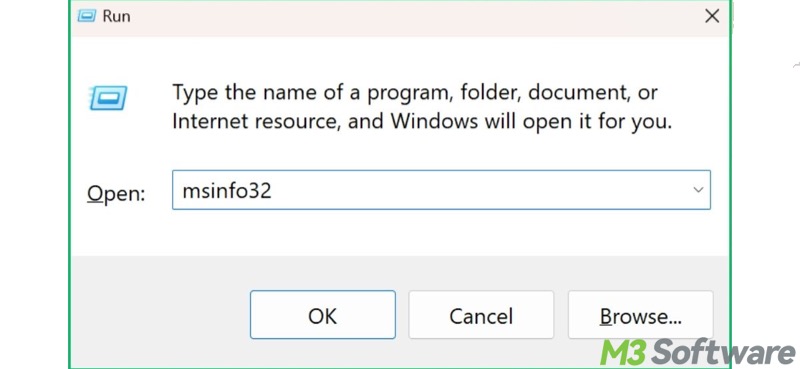
- Press the Win+R keys to launch the Run dialog box.
- Type msinfo32 into the box and press the Enter key on your keyboard.
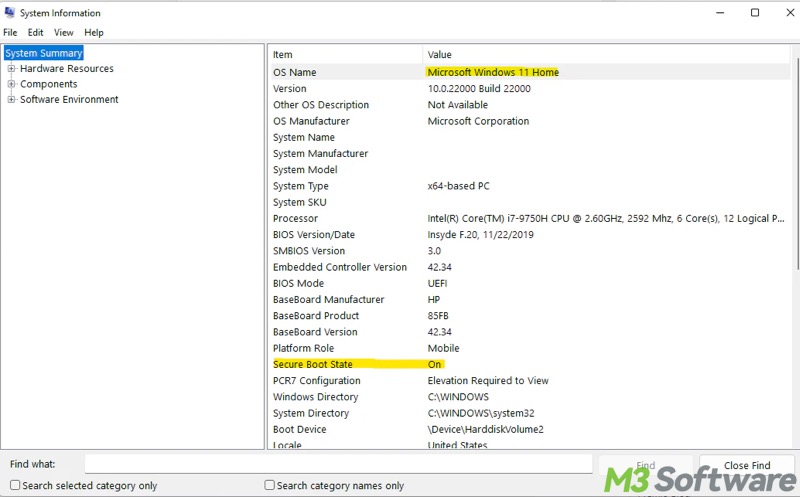
- Secure Boot state should show On if Secure Boot is enabled.
You can share this post with your friends!