Written by
Wilsey YoungManaging multiple disk partitions in the Windows operating system may cause a lot of trouble, and merging partitions can help you manage the disk partitions efficiently, and enhance your computer's performance and storage organization.
This post shows you how to merge partitions via the Disk Management tool in the Windows 11 operating system, and it also discusses the common reasons for a Windows user to merge partitions in Windows. A partition backup is necessary before you start partition merge, and you can download iBoysoft DiskGeeker for Windows to make a copy of the partition without losing data.
You can click the buttons below to share this article:
Preparation before merging partitions
To prevent the failure of merging partitions and potential data loss due to partition merge, before you begin, make sure everything below is all set:
- Check for sufficient partition space: The target partition must have enough space to accommodate the data from the source partition.
- Back up your data: Merging partitions may lead to data loss. Ensure all important data in the partition is backed up to an external drive or cloud storage.
Backing up all the contents in partitions could be time-consuming and troublesome. You can free download iBoysoft DiskGeeker for Windows, which contains one of the best disk cloning features, and it can help you make a true copy of a selected partition or disk with the same layout by cloning the valid data to save time, meanwhile, sector-by-sector clone is supported as well.
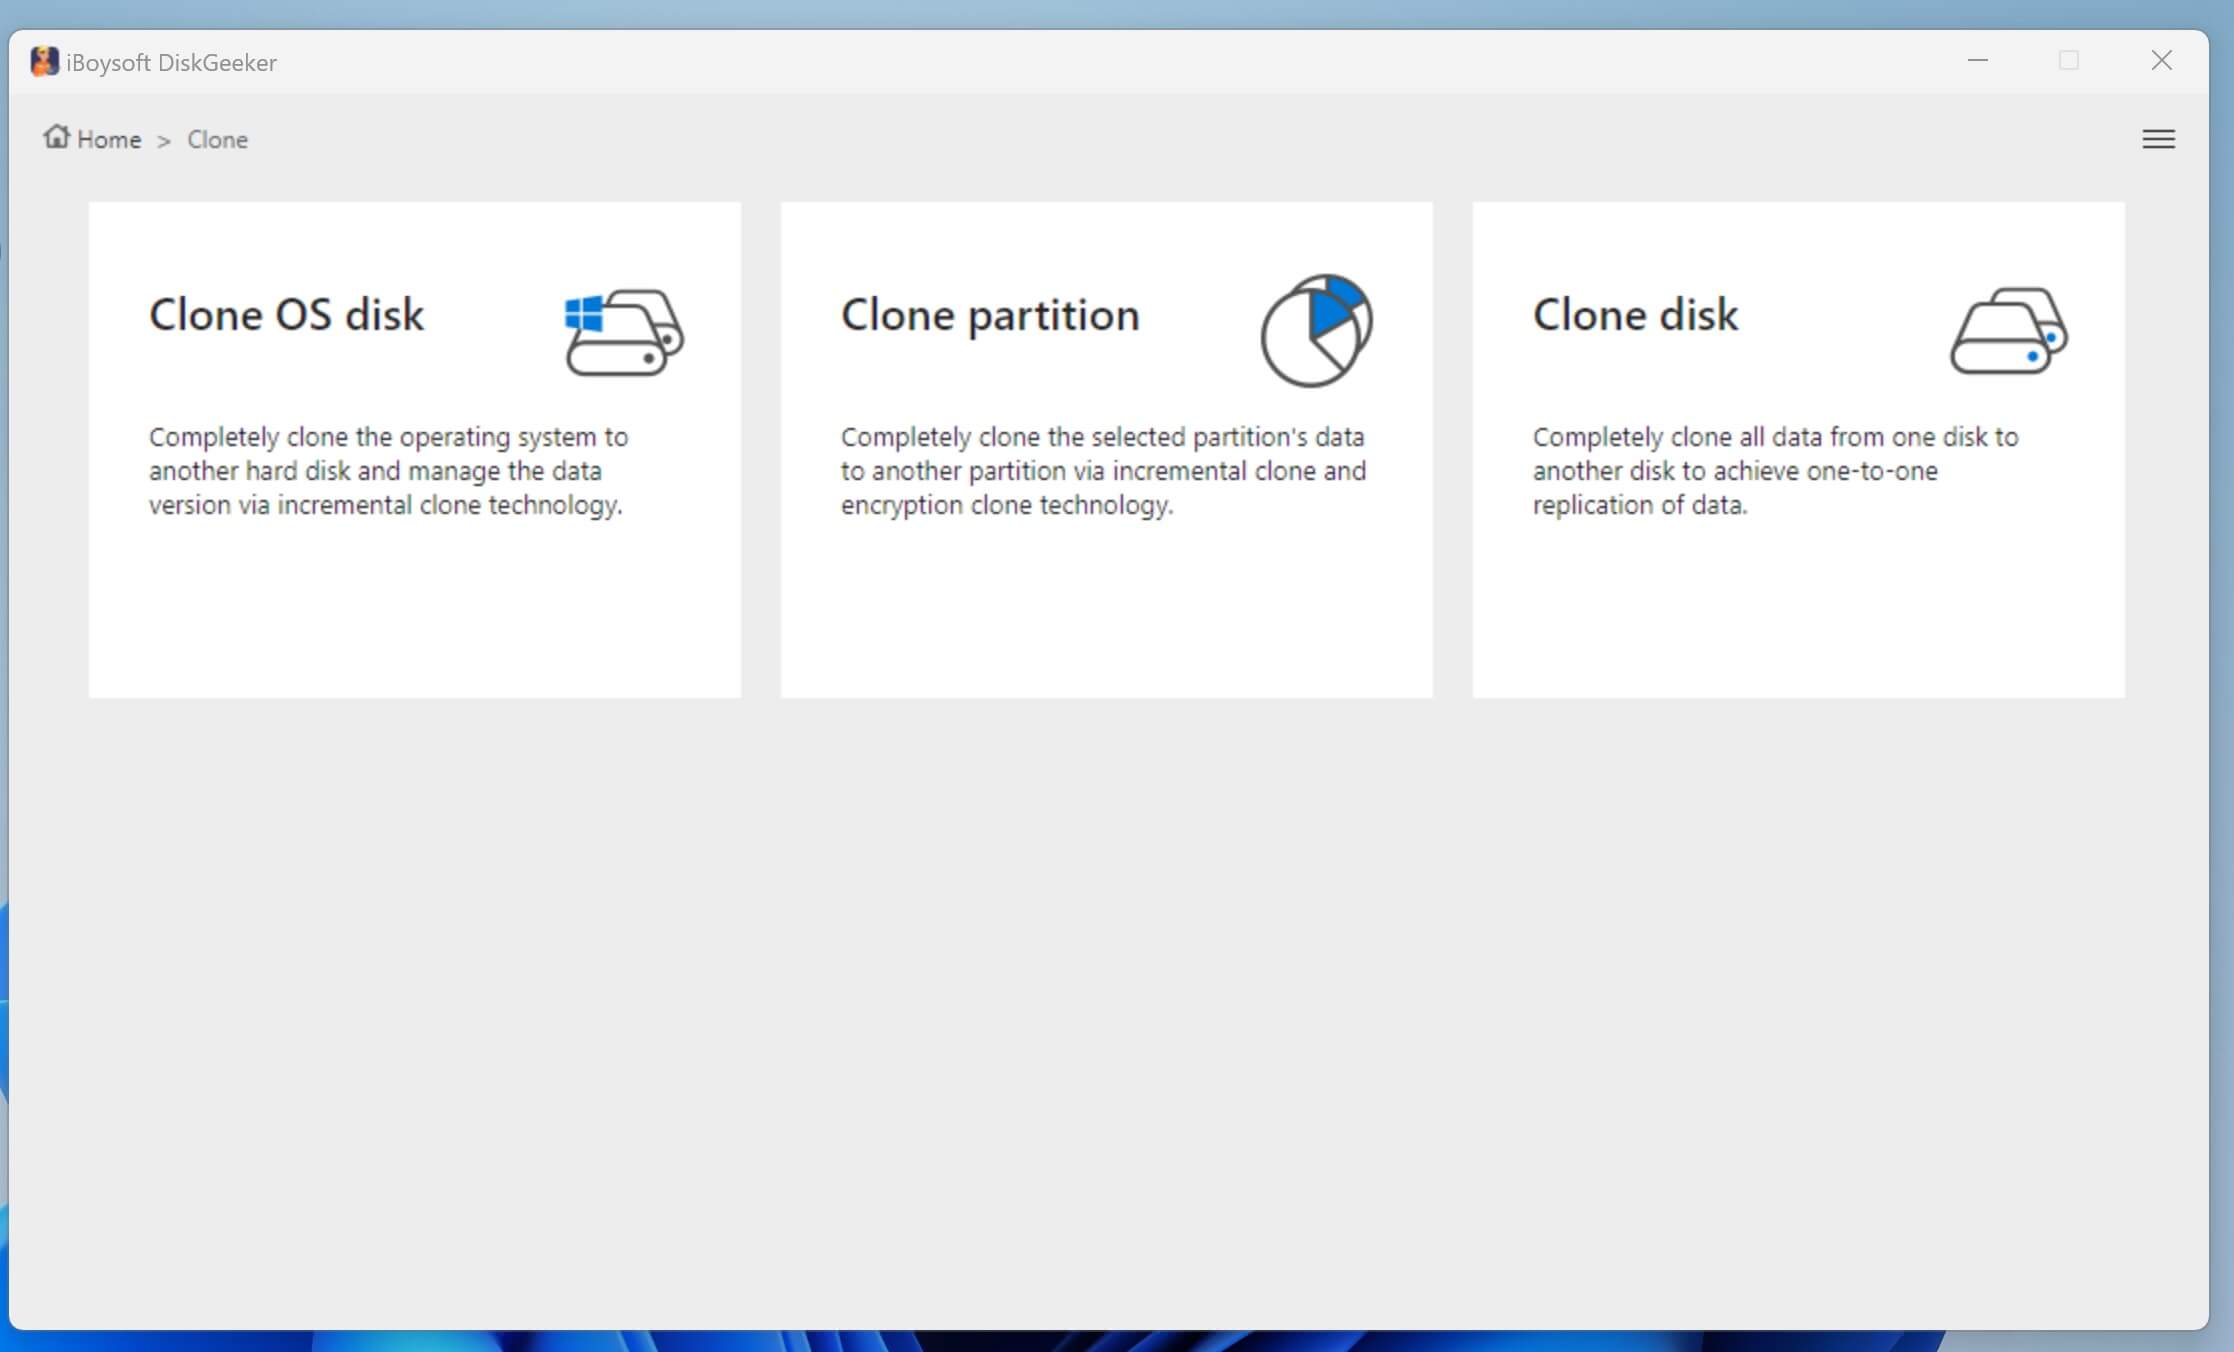
- Download, install, and launch iBoysoft DiskGeeker for Windows, and choose “Clone”.

- Select the “Clone partition” module.
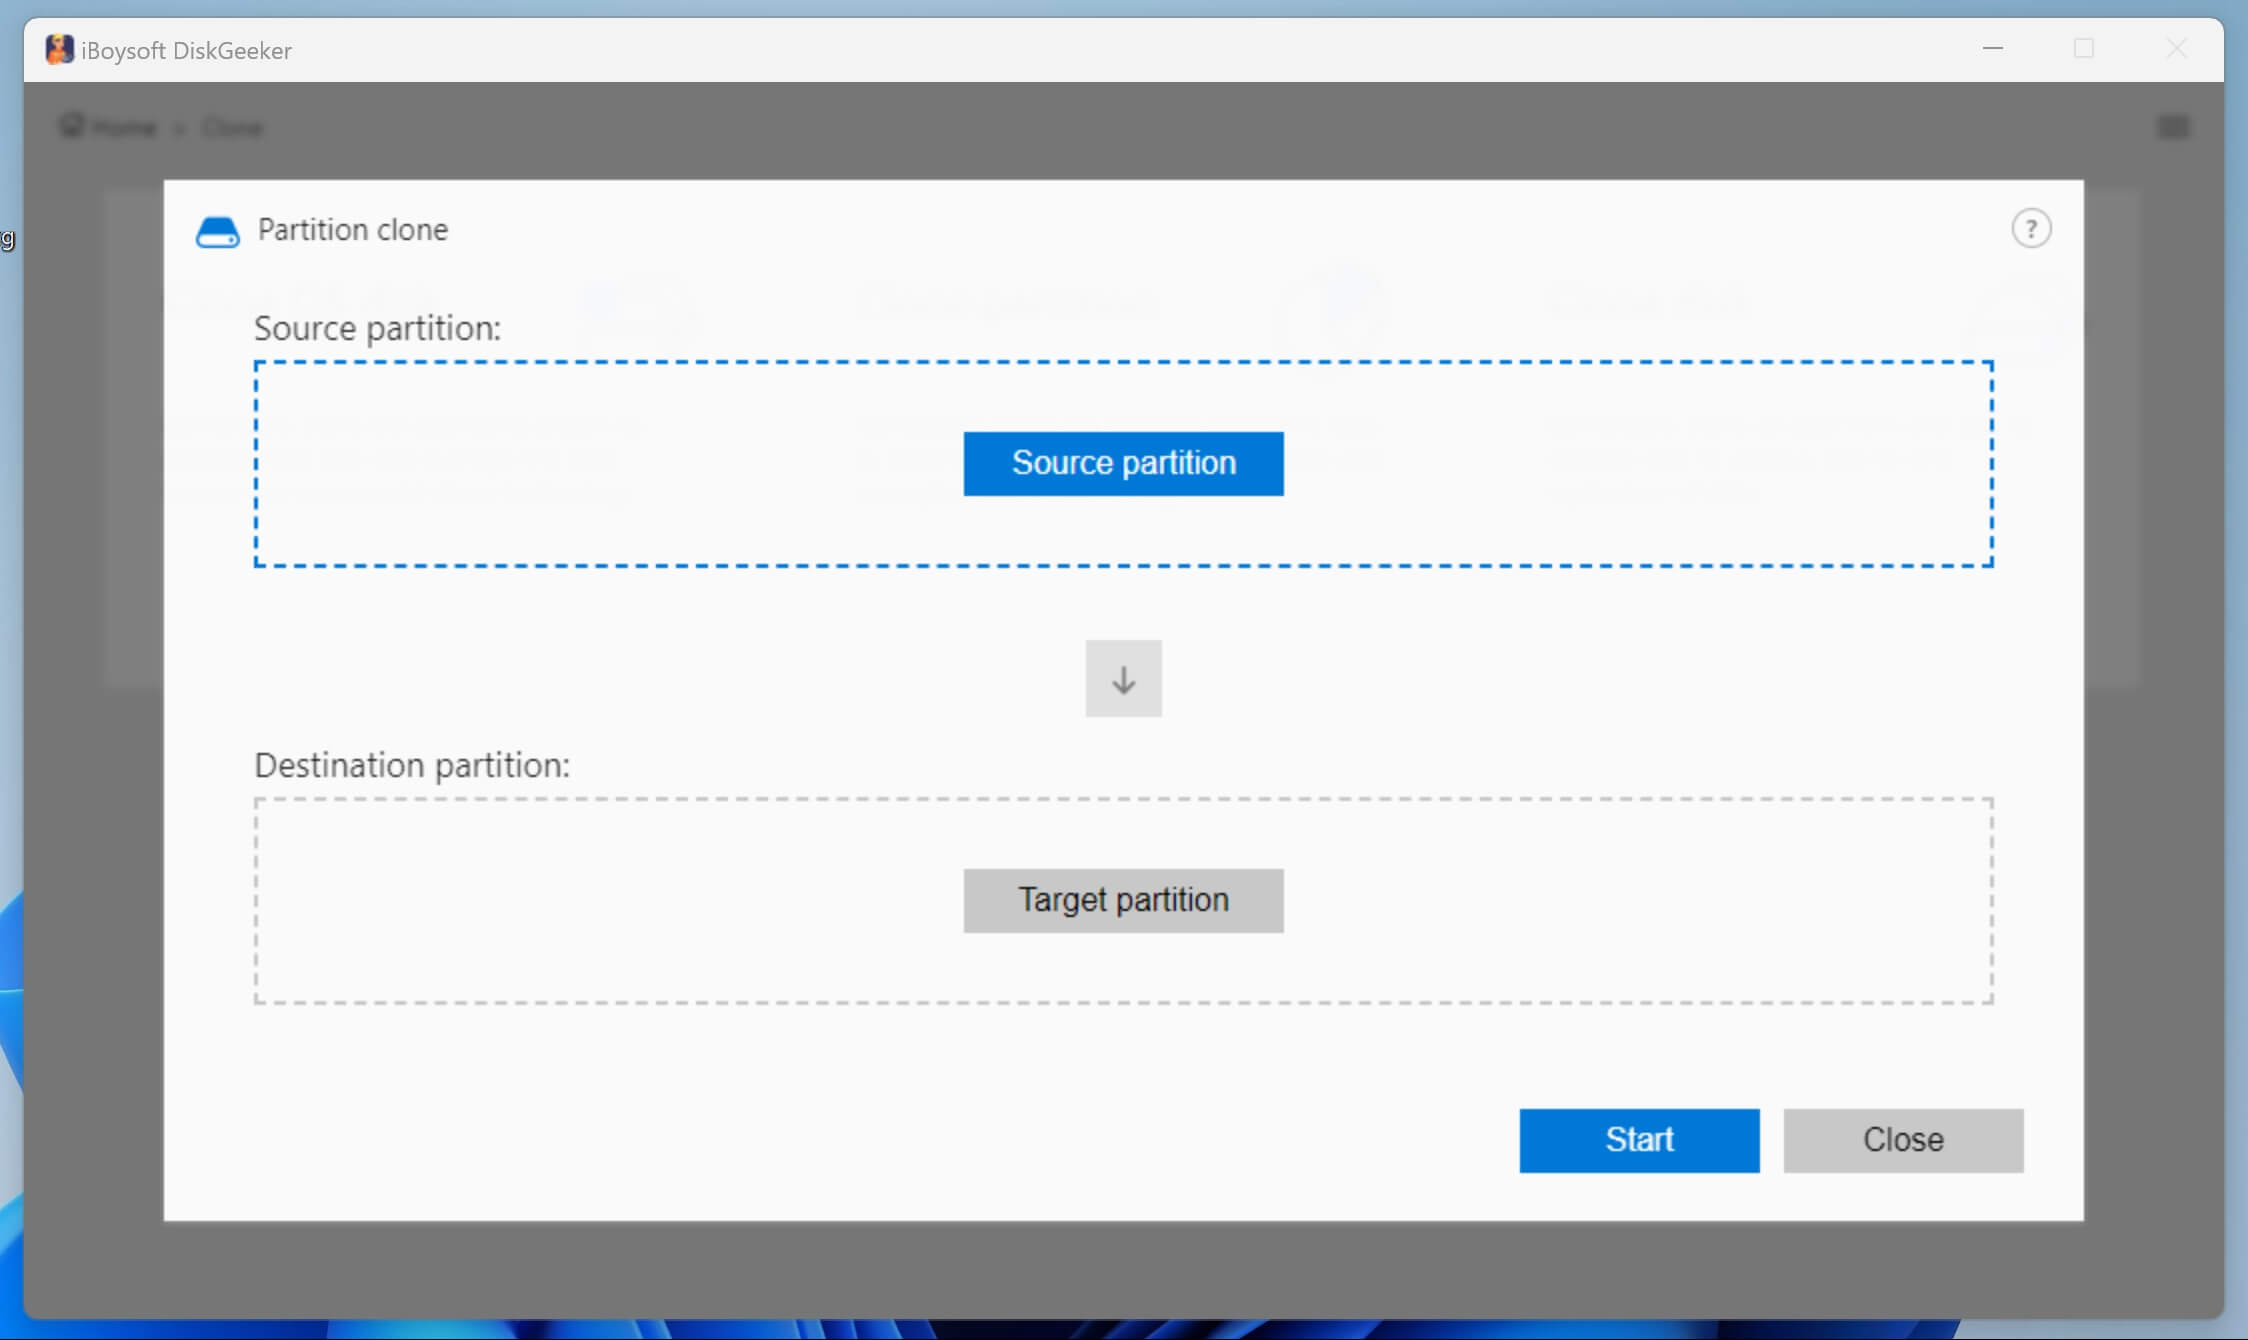
- Click the “Source partition” to choose the partition you want to back up.
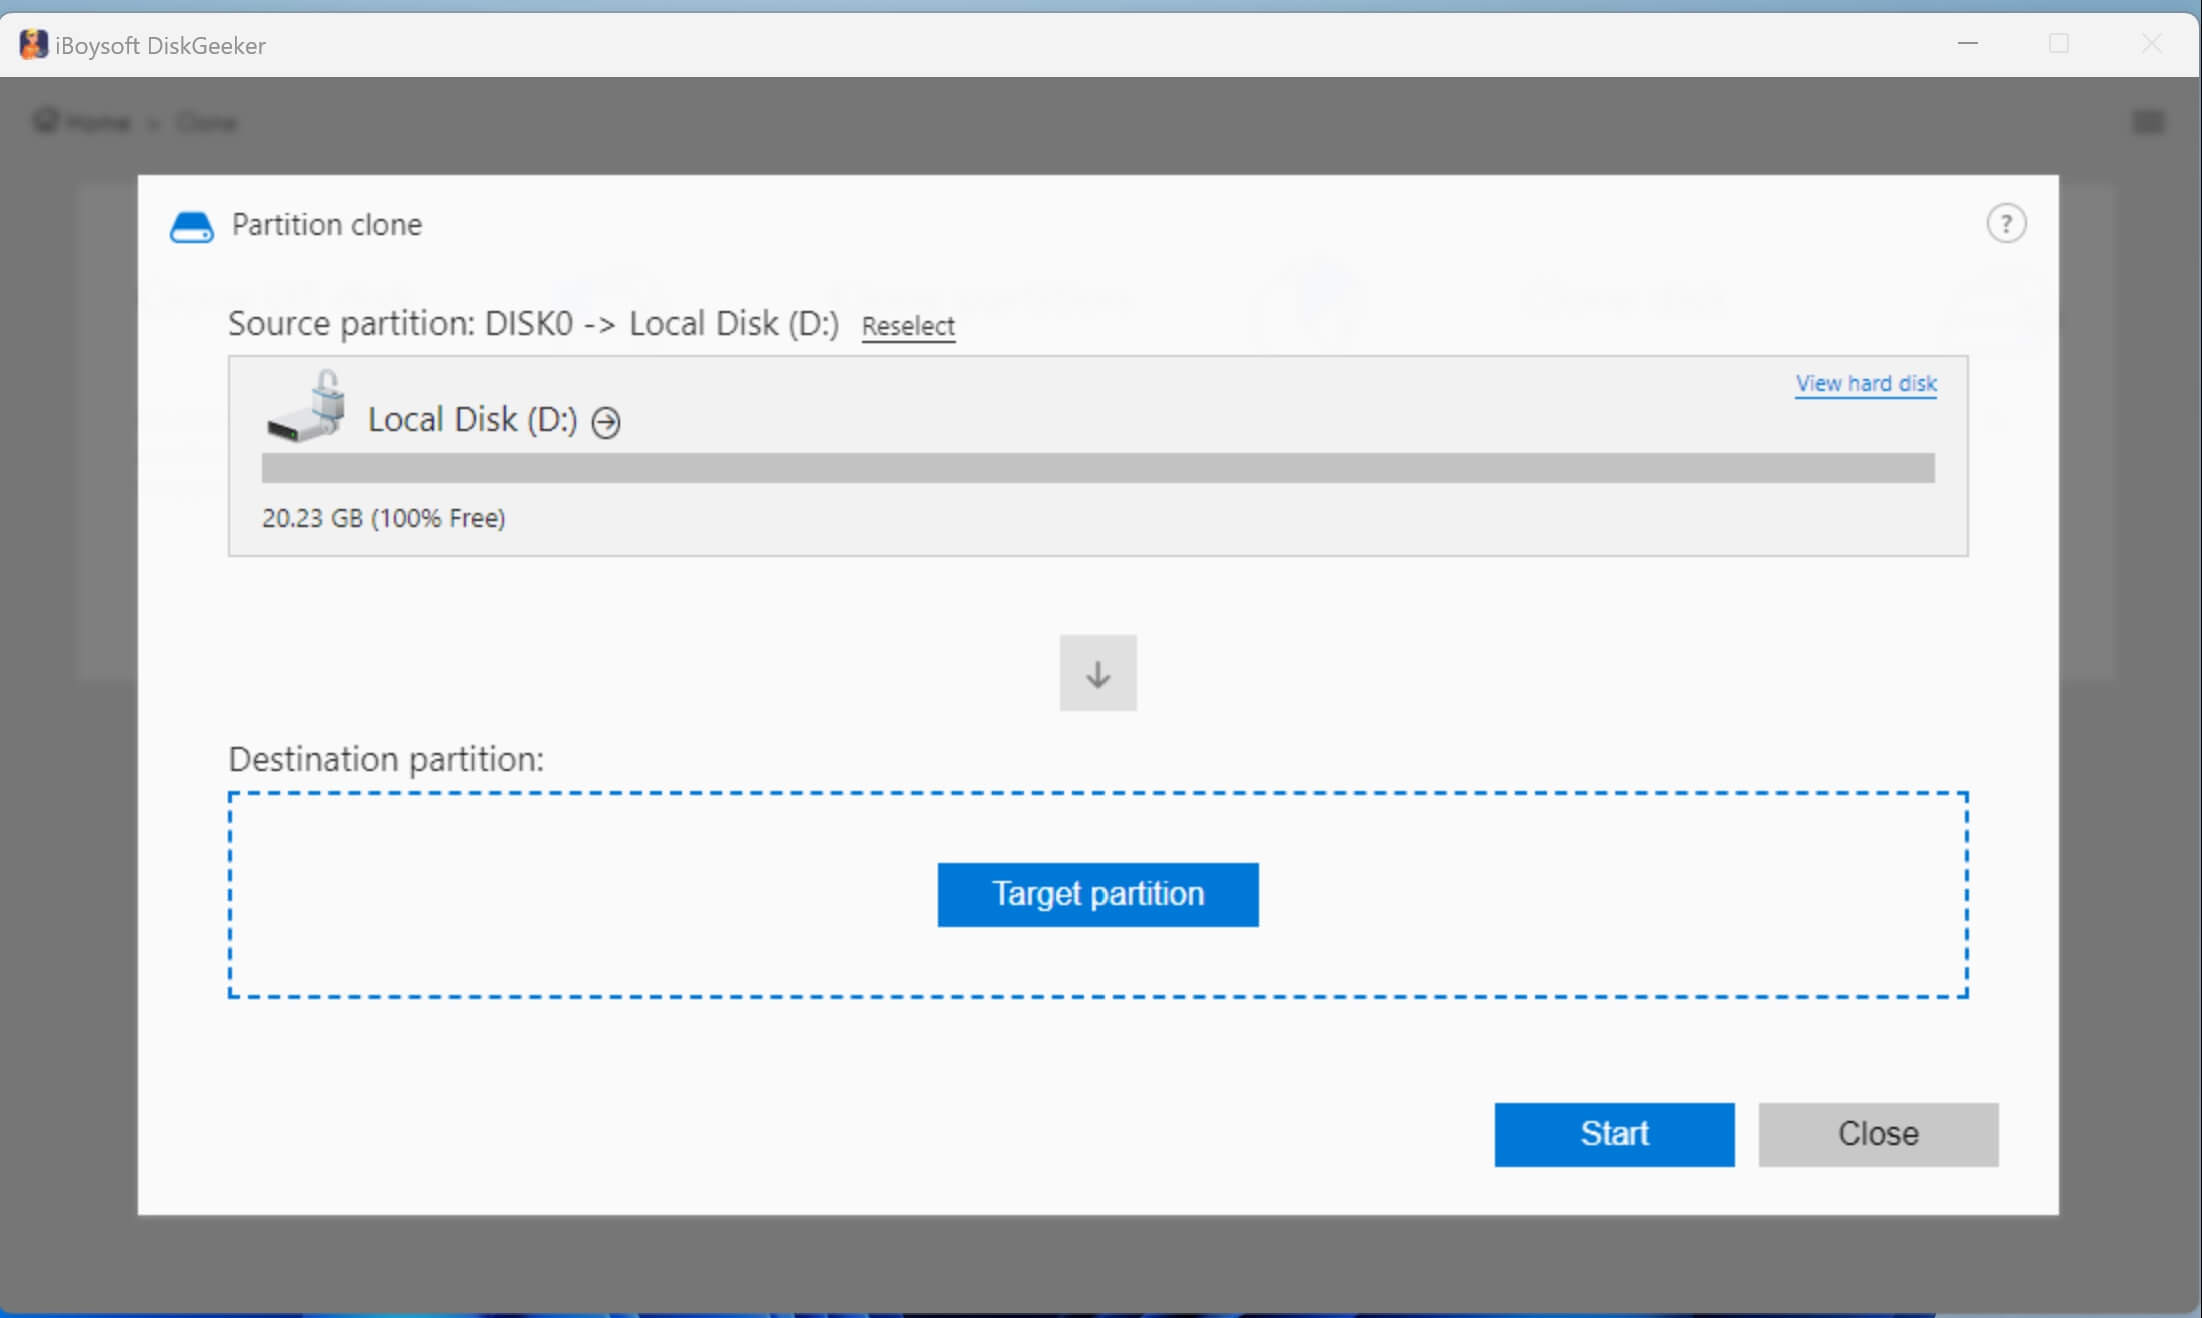
- Tap on the “Targe partition” to select the partition where the copied data will be stored.
- Choose between “Full clone”(default) and “Sector-level clone” according to your needs. Full clone mode clones all the data on the source partition but ignores the unused space in a sector. Sector-level clone mode clones the partition sector by sector, and the used and unused space in sector are included.
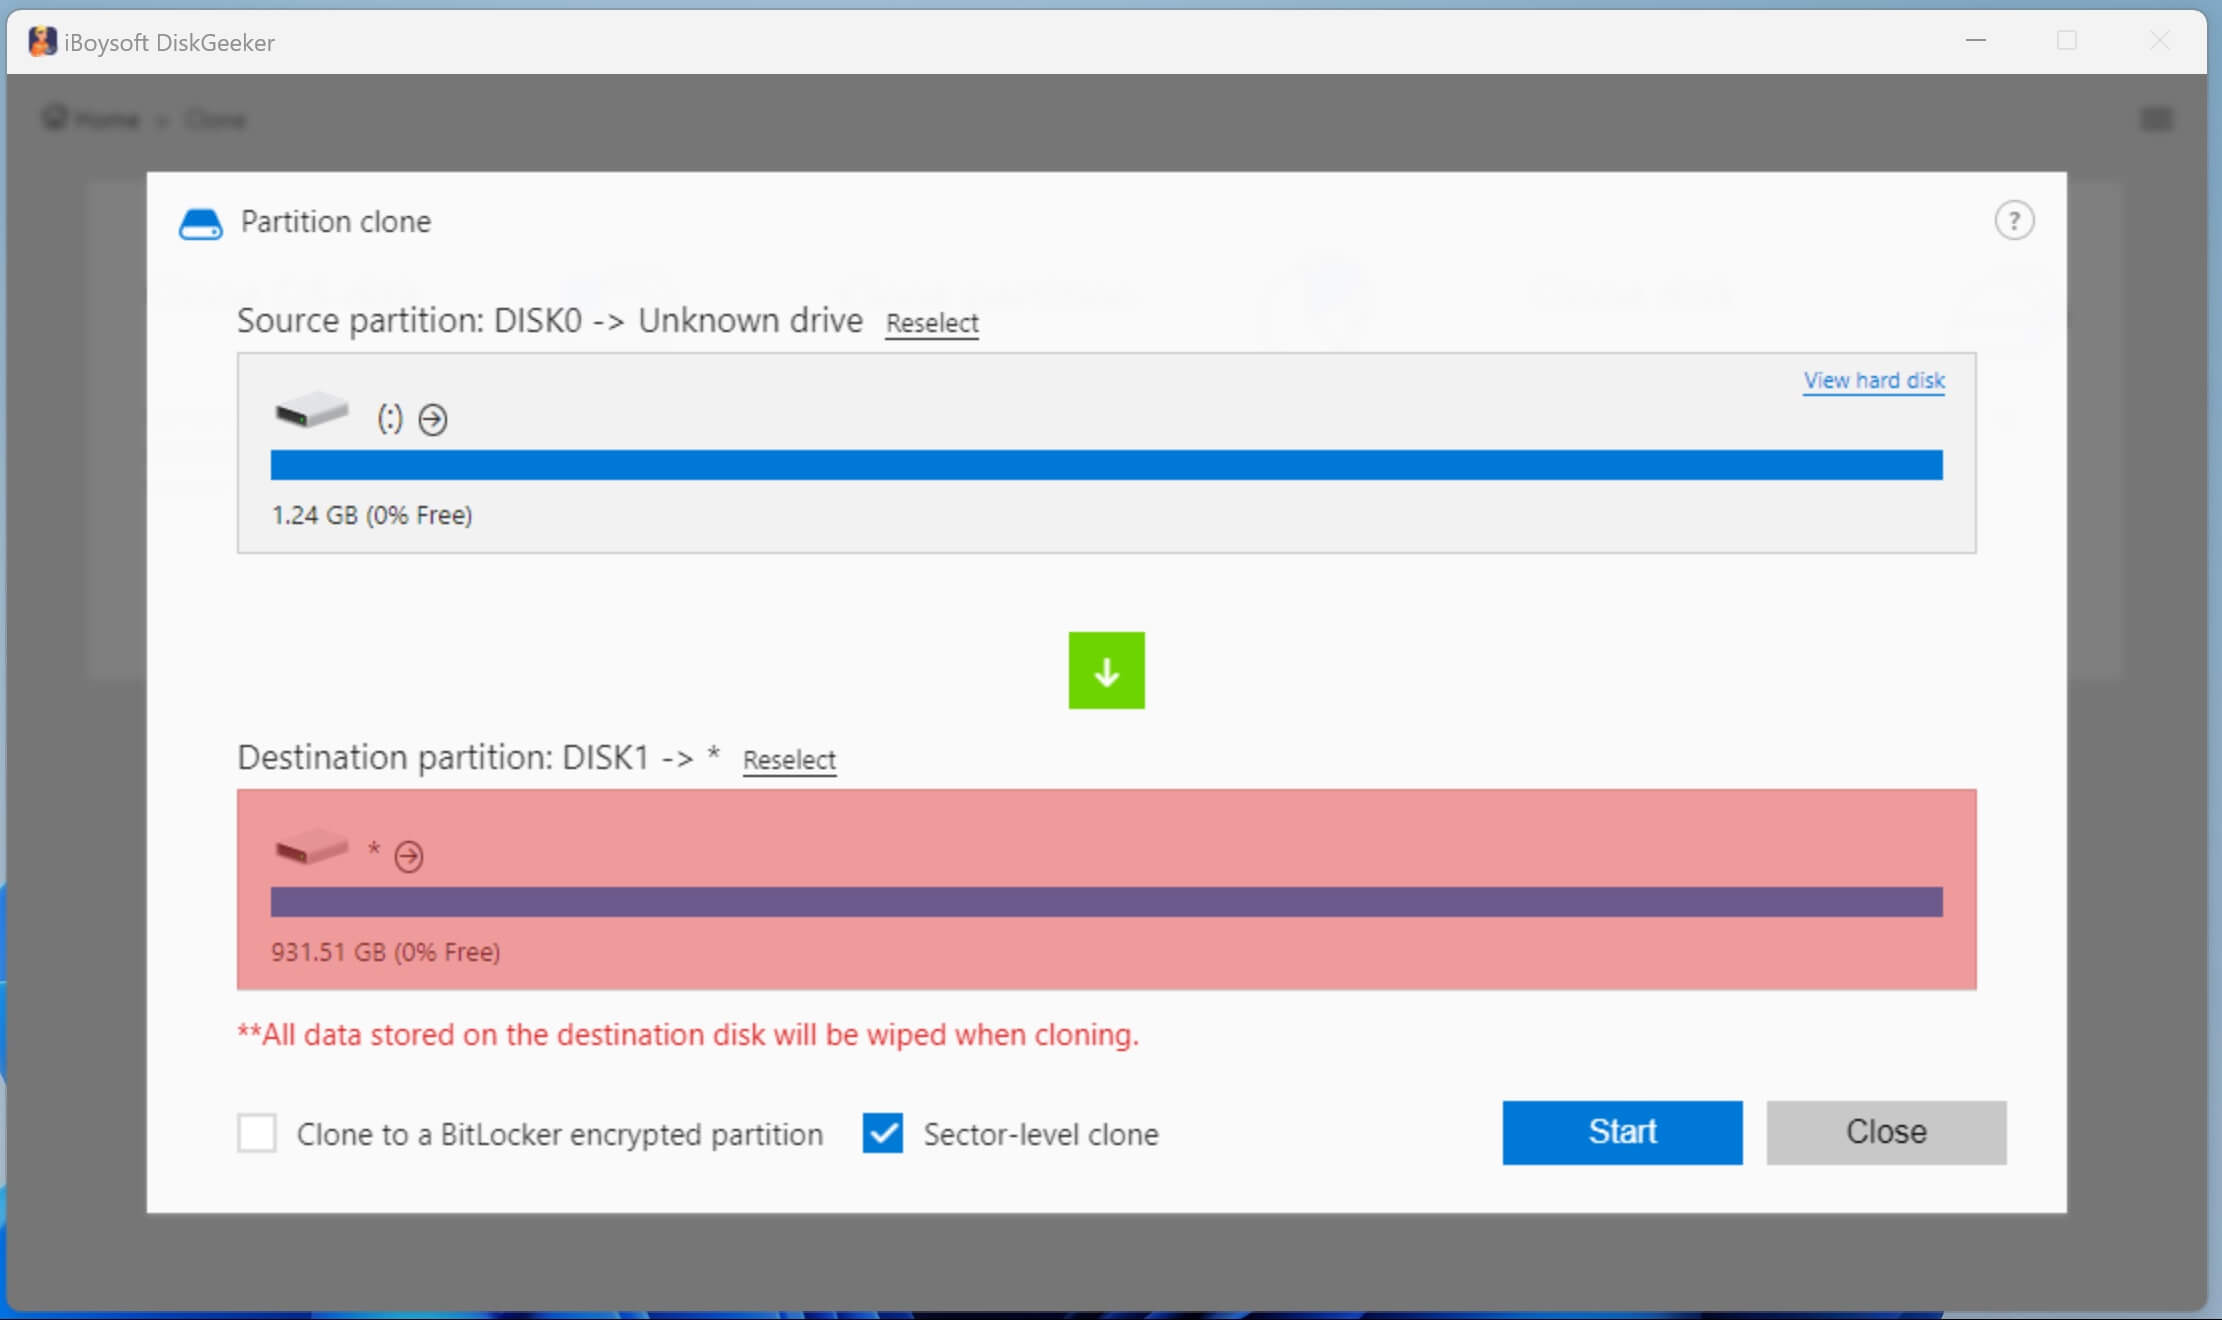
- Click “Start” and “Confirm” to let the cloning begin.
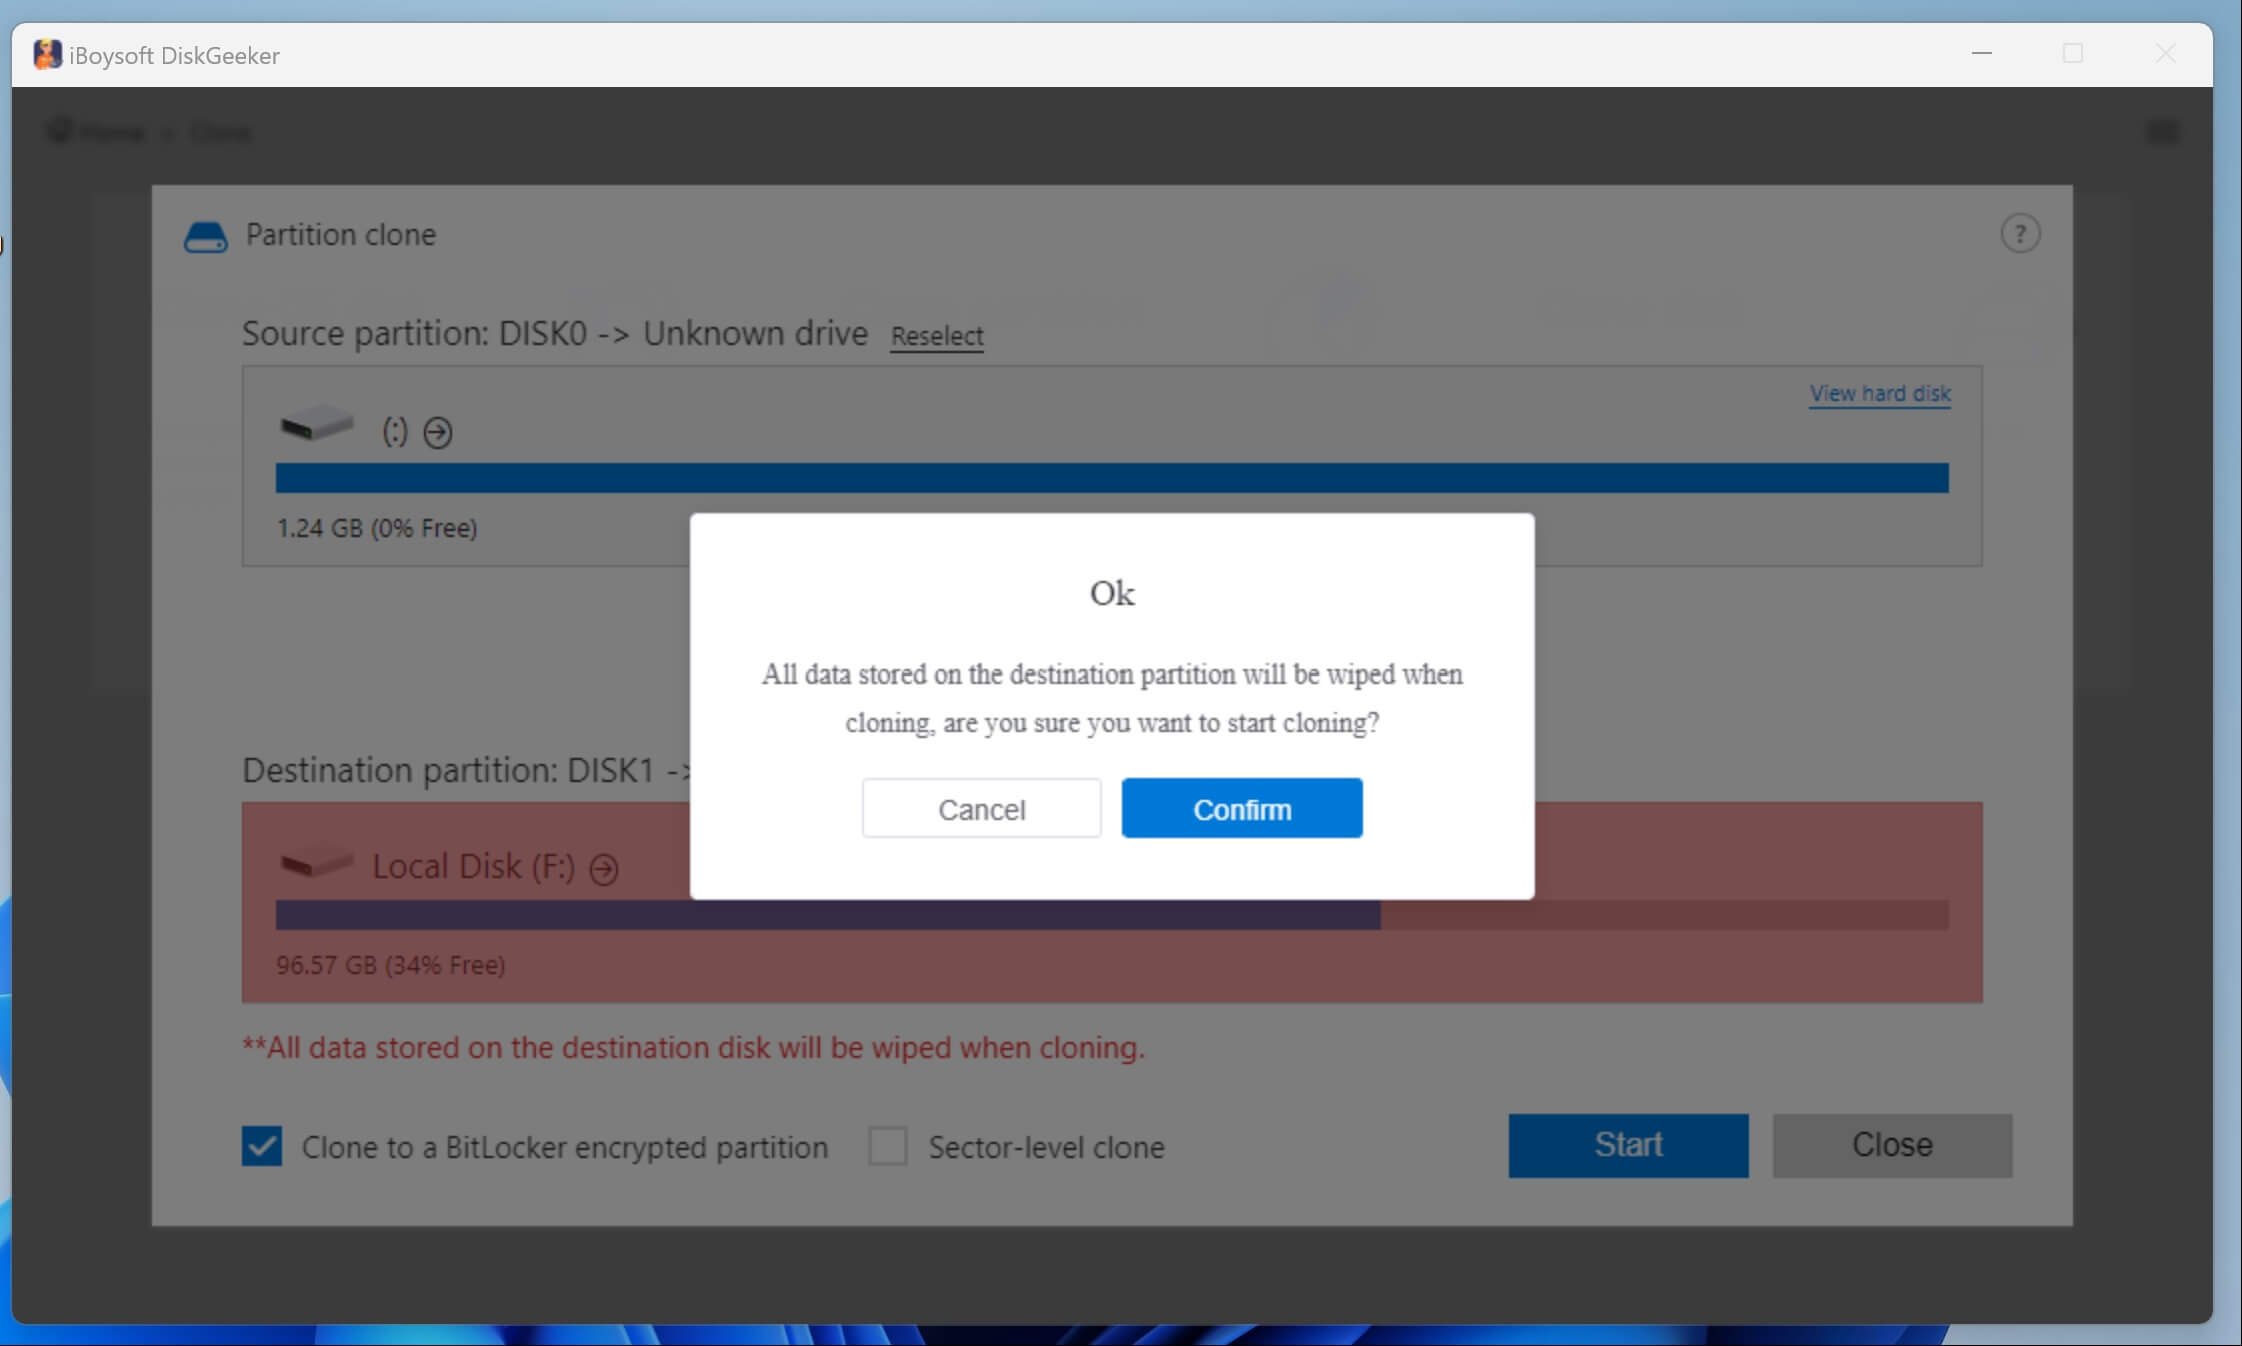
You can share this wonderful disk management tool with your friends:
How to merge two partitions in Windows 11
You have to be very clear about what the source partition and the target partition are beforehand. The source partition will be deleted during the partition merge because you want this partition to be merged into another one, and at the same time, deleting the source partition will wipe out all the contents in it. The target partition is the one created after you finish merging partitions.
Using the Disk Management tool in Windows is the most common and easiest way to merge partitions, you can follow the steps below to complete partition merge:
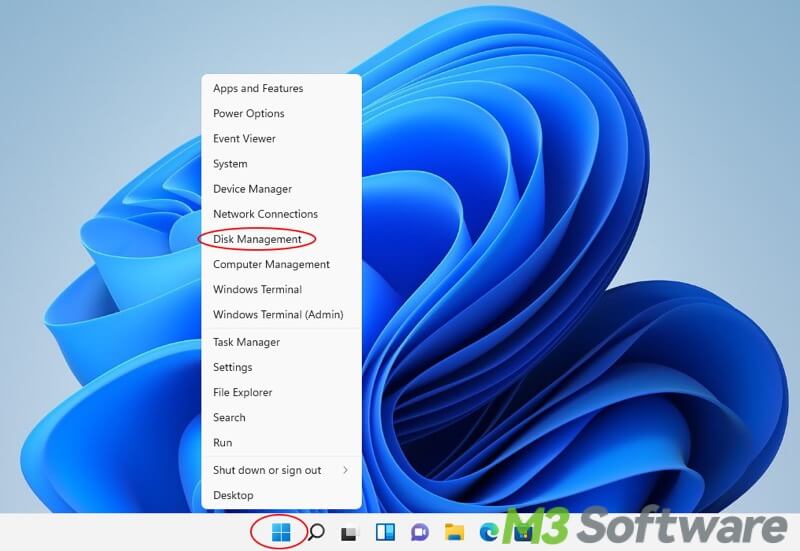
- Right-click on the “Start” button and select “Disk Management”. All your drives and partitions are displayed in the Disk Management window.
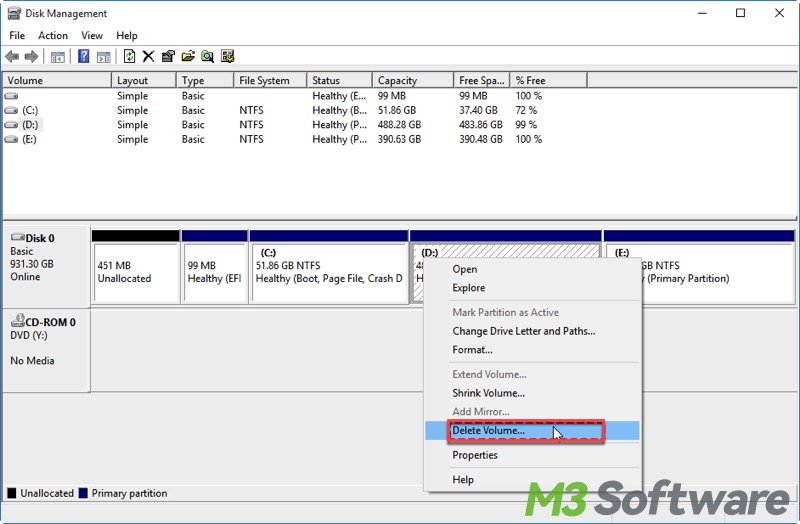
- Right-click on the source partition and select “Delete Volume”. Before deleting the source partition, identify the two partitions you want to merge. For example, if you want to merge D: drive into C: drive, D: will be your source partition.
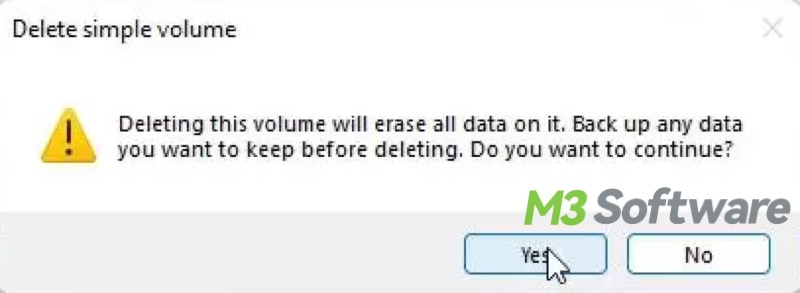
- Click “Yes” on the warning message, which indicates that all data will be lost.
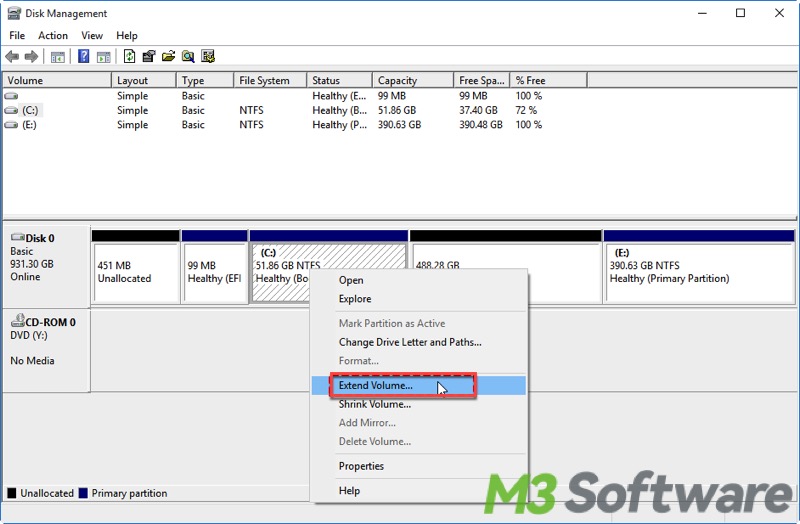
- Right-click on the target partition and select “Extend Volume”.
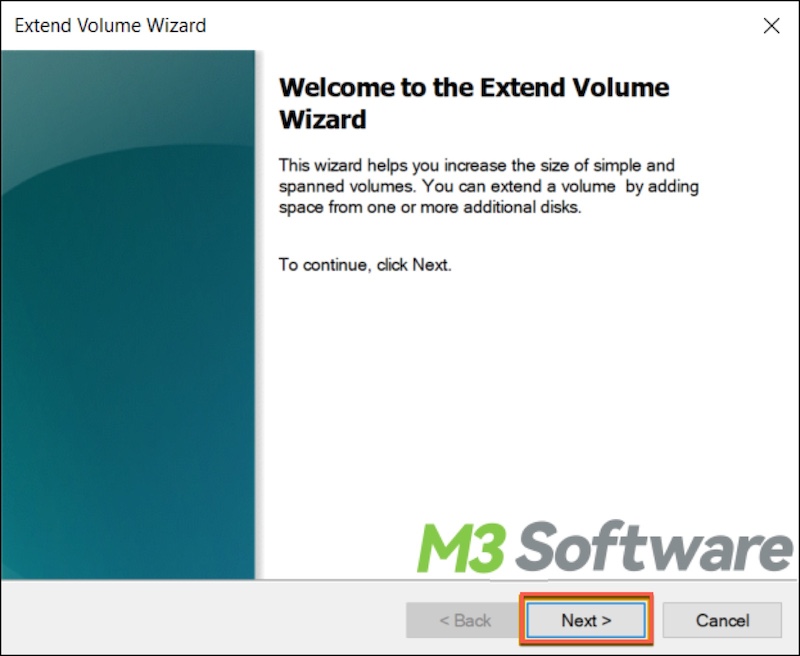
- Click “Next” in the popping-up Extend Volume Wizard.
- The wizard will automatically detect the unallocated space from the deleted partition.
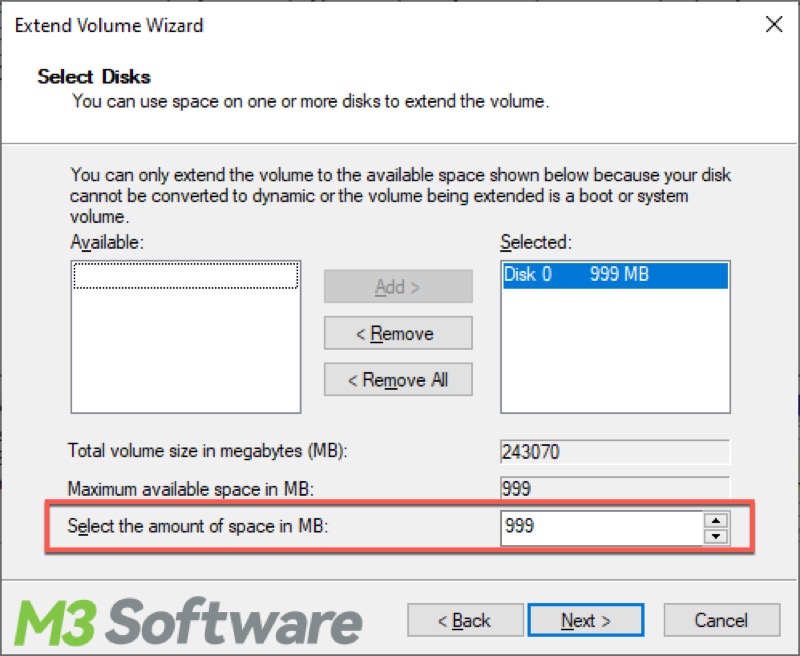
- Click “Next” to confirm and then Finish.
Note: After the process is complete, you will see that the two partitions have been merged, and the target partition's size has increased. Open This PC in File Explorer to verify the new size of the partition and ensure all data is intact.
Why merge partitions in the Windows operating system?
- Higher storage efficiency: Combining partitions contributes to gaining more free space, reducing fragmentation, and making the most of disk space.
- Easier file management: Managing a single, larger partition can be easier than switching among multiple smaller ones. This simplifies file organization and can streamline backup processes.
- Better performance: Larger partitions can sometimes result in better performance, especially if smaller partitions are frequently accessed and lead to excessive seeking by the disk head.
- More ease of software Installation: Installing software or applications sometimes requires a significant amount of contiguous free space. Merging partitions ensures that there is sufficient space for these installations.
- Easier to find files: Many computer users tend to save their files into different partitions, and they usually find it harder to locate what they need. Things would become easier if the common files were stored in an orderly way in one large partition.
- More flexibility: Managing a single large partition makes it more flexible in allocating space for different types of data, without being constrained by predefined partition sizes.
- Faster backup and recovery: Managing multiple partitions may cost you a lot of time especially when you try to make a copy of the partitions and recover data from them. With fewer partitions, backup and recovery tasks can be simplified and faster.
Conclusion
By following the steps above, you can successfully merge two partitions in Windows 11. This can help optimize your storage space and improve system performance. Partition backup is extremely crucial before merging partitions in Windows, iBoysoft DiskGeeker for Windows is a reliable and trustworthy disk management tool that can help you clone disk partitions.
We hope this guide has been helpful. If you found it useful, please share it with your friends.
