
Written by
Yuri ZhangTo add widgets to your desktop in Windows 11, you'll need to use the Widgets feature. However, note that in Windows 11, widgets are primarily integrated into the taskbar and pop up as a side panel, rather than directly being placed on the desktop.
Third-party tools are needed if you tend to add widgets on the home screen. Let's dig into how we can add widgets to the Windows 11 desktop using the available options.
Option 1. Enable widgets on the taskbar for Windows 11
Tired of third-party software? you can choose the Widgets feature built-in Windows 11. Here's how to enable and add Widgets on the Taskbar:
- Right-click on an empty space on the taskbar.
- Choose "Taskbar settings" from the context menu.
- Under the Taskbar items section, toggle on the Widgets option.
Once widgets are enabled, you can access them by clicking the Widgets icon (it looks like a small square or grid of squares) on the taskbar. If you don't see it, it might be hidden—just right-click the taskbar and follow the steps above to turn it on.
![]()
Tips: You can also press Windows + W to open the widgets panel. The widgets you see (like weather, calendar, news, etc.) can be customized by clicking the three dots in the top right of each widget and choosing "Manage widgets." From there, you can add, remove, or rearrange widgets based on your preferences.
Spread this article to help those who need ample widgets.
Option 2. Add widgets to desktop on Windows 11 home screen with tools
Windows 11 doesn't natively support adding widgets directly to the desktop background (or home screen), as it only offers them through the taskbar or the widgets panel that slides out from the side.
However, if you want to put interactive widgets directly on your desktop, you'll need to use third-party software. Here are some popular third-party tools:
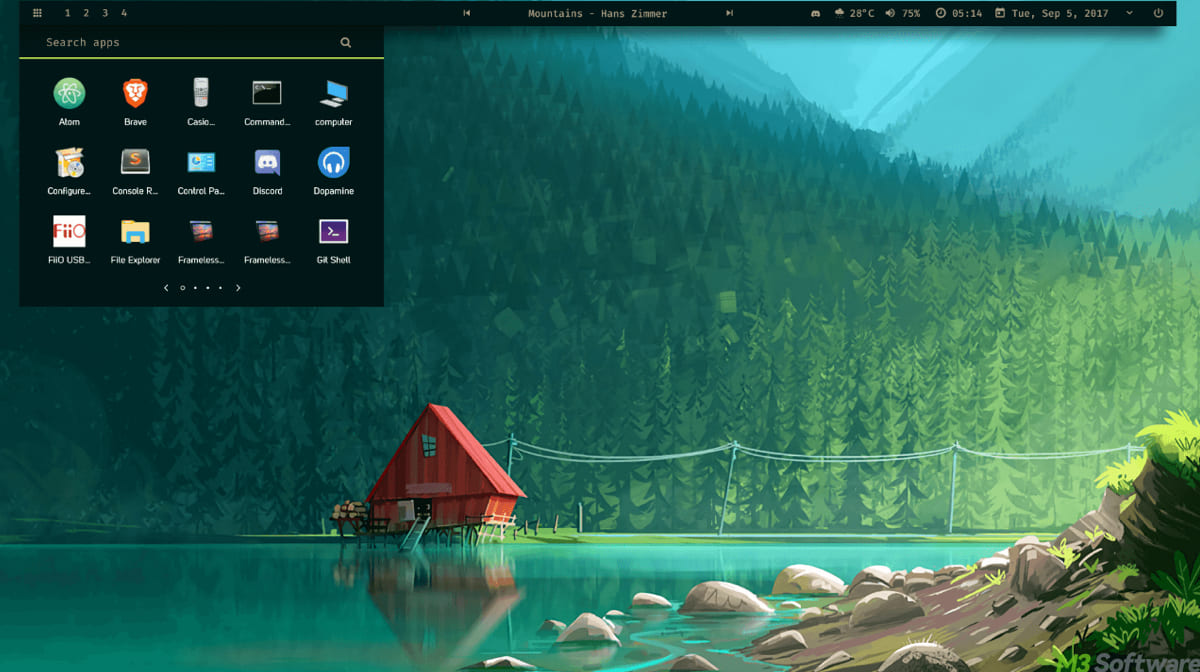
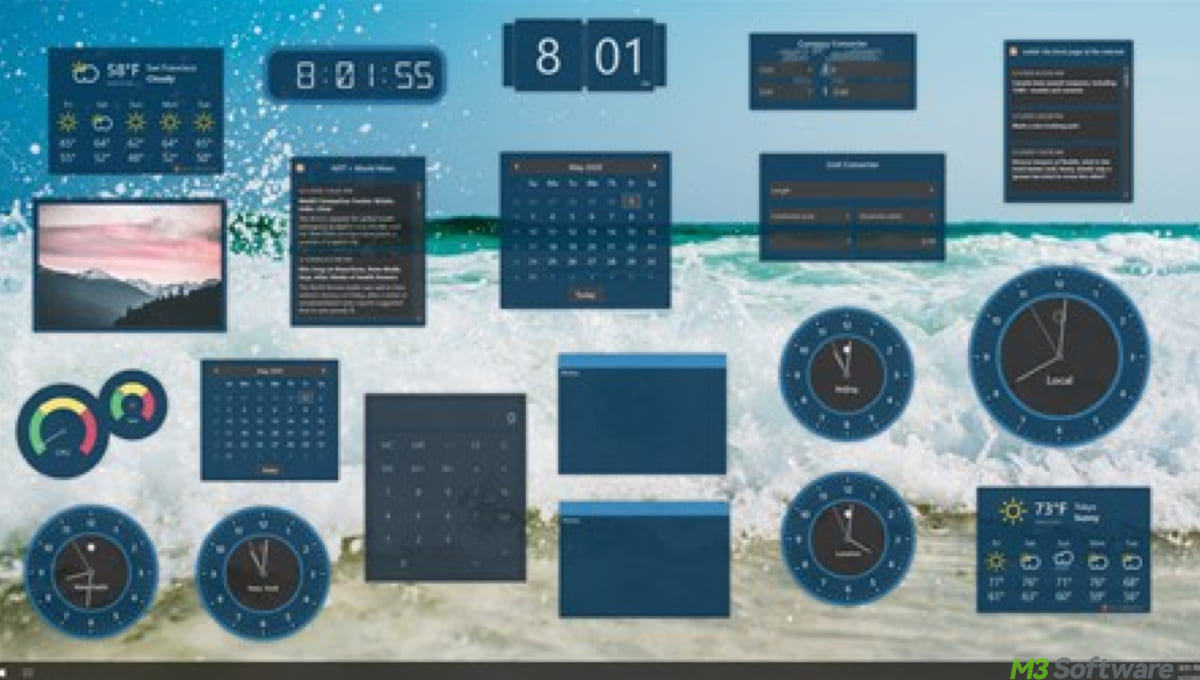
- Rainmeter: A very popular tool for customizing the desktop with widgets like weather, system stats, clocks, and more. Once you find a widget you like, you can add it to the desktop by simply opening it within Rainmeter's settings.
- Widget Launcher: It allows you to add multiple widgets to the desktop, similar to how Windows 11's taskbar widgets work, but on the desktop itself.
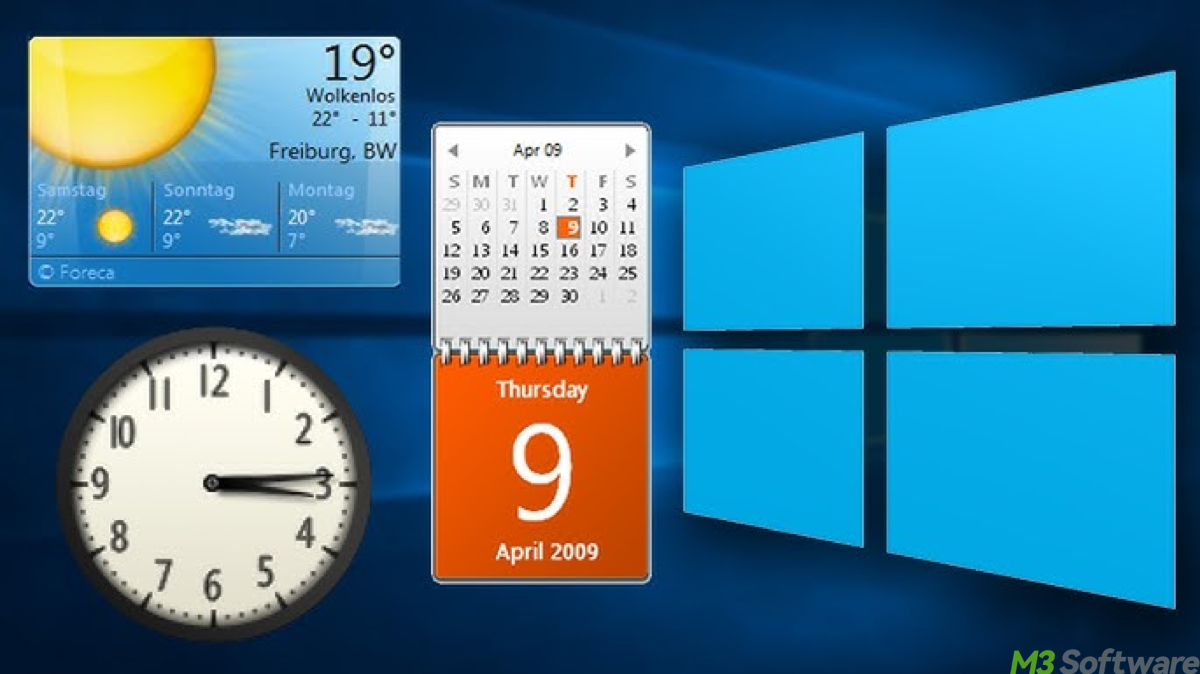
- Desktop Gadgets Revived: This is an older app that brings back classic desktop gadgets (widgets) from Windows 7 to modern versions of Windows. Once installed, you can add widgets to your desktop and move them around.
While these third-party options allow for desktop widgets, remember that they might use some system resources. Share and keep reading to see which tool's interface is your favorite.
Empirical example: Add a clock widget to desktop in Windows 11
Windows 11 doesn't have native support for directly adding widgets like clocks to the desktop itself. Here's how you can use third-party software to add a clock widget to your desktop:
1. Using Rainmeter (highly customizable clocks)
Steps to add a clock using Rainmeter:
- Download and install Rainmeter from its official website.
- After installation, Rainmeter will automatically load a few default skins. These skins might include basic clock widgets, but you can customize them further.
- Go to websites like DeviantArt and search for "Rainmeter clock skins".
- Download the skin you like.
- Double-click the downloaded .rmskin file to install it in Rainmeter.
- Once installed, right-click on the Rainmeter icon in your system tray and choose Manage.
- You'll see the list of skins you can enable. Activate the clock skin by clicking on it. You can move, resize, and customize the clock's appearance here.
2. Using Desktop Gadgets Revived (for classic clocks)
Steps to add a clock using Desktop Gadgets Revived:
- Download and install Desktop Gadgets Revived from its official website.
- After installation, launch the program, and you'll be able to select from various classic gadgets, including a clock.
- You can drag and resize the clock widget on your desktop.
- Customize the clock's appearance if desired (some classic gadgets support changing the style or theme).
3. Using Widget Launcher (for simple and lightweight clocks)
Steps to add a clock using Widget Launcher:
- Open Microsoft Store and search for Widget Launcher.
- Install and open the app.
- Browse through the available widgets and choose the clock widget.
- Place the clock widget on your desktop and resize or move it as needed.
Note: If you're okay with just a basic clock, you can use a digital clock app that sits on your desktop such as ClocX or T-Clock. These are often simple, no-frills tools that display the time on your screen, and you can move them around.
Final thought
To directly add a clock widget to your Windows 11 desktop, your best option is to use Rainmeter for maximum customization and flexibility. If you prefer something simpler and more nostalgic, Desktop Gadgets Revived or Widget Launcher would work well. Pay attention to the fact that the Widget built-in Windows 11 mainly appears in the side panel or taskbar.
Related articles
How to Disable Widgets in Windows 11/10: Declutter Desktop
Proactive Guide to Hide/Customize Taskbar in Windows
How to Share Large Video Files Without Further Ado
Share this if you find it sharpens your craft to add widgets.