
Written by
Wilsey YoungThe built-in defrag tool in Windows can optimize the hard drive performance by reorganizing fragmented files, which allows the system to read the file faster. In addition, defragmentation optimizes free space and improves system responsiveness.
Despite its benefits and convenience, defragmentation also brings problems. Some Windows 10/7 users come across the "lost disk space after defrag" issue and are desperate to know the causes. This post shows how to fix the "lost disk space after defrag" problem to restore the disk space. If you wonder what takes up the space on your PC, please refer to: How to See What Takes Up Space on PC? Best Ways for Windows!
The following buttons can help you share the post!
How to fix lost disk space after defrag on Windows 10/7?
The solutions introduced in this part also show the possible factors that may cause the "lost disk space after defrag" problem.
Run a virus scan through Settings on Windows 10/7
The malware or viruses in the system may be to blame for the "lost disk space after defrag" issue. You can follow the steps below to run a quick or deep virus scan:
- Click the gear icon in the Start menu or press the Windows+I keys to open Settings.
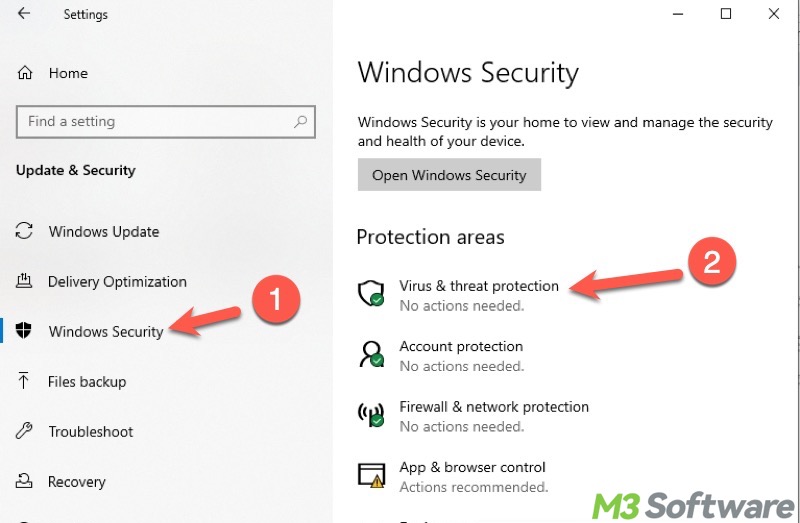
- Click Update & Security and choose Windows Security.
- Tap on "Virus & threat protection" on the right.
- Click the "Quick scan" button below to scan for the virus or malware.
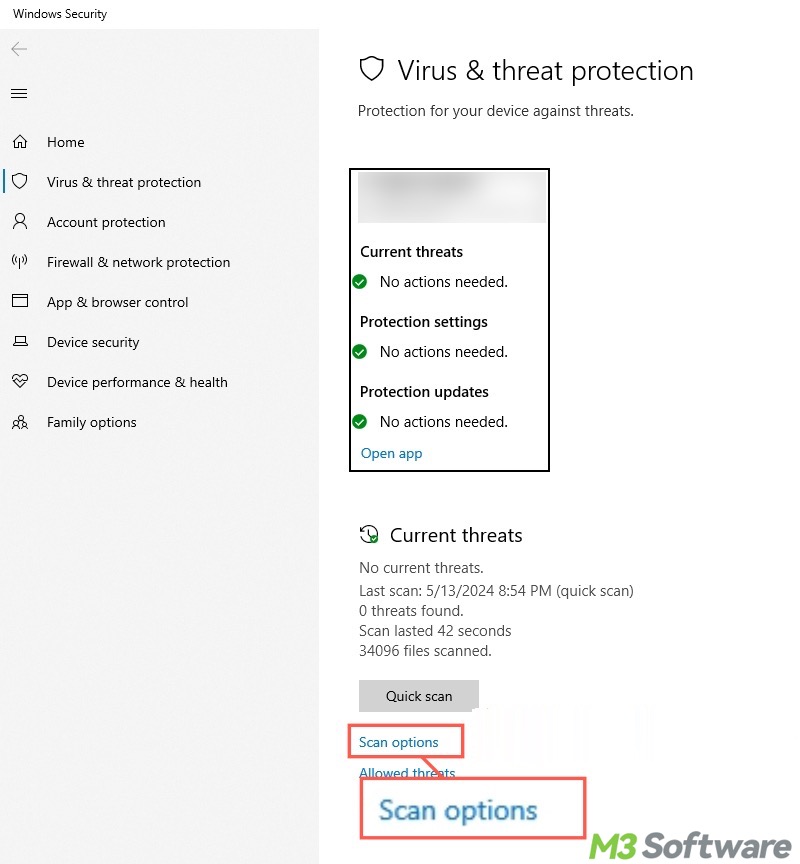
- Alternatively, click the "Scan options" to choose the deep scan on the new page.
Delete system restore points and adjust drive space used by VSS
Windows OS includes a system restore feature that relies on VSS (Volume Shadow Copy Service) to create restore points in case the system needs to be reverted to the previous state. Therefore, the existing system restore points and disk space used by VSS may be the culprit for the "lost disk space after defrag" issue.
Here's how to delete system restore points:
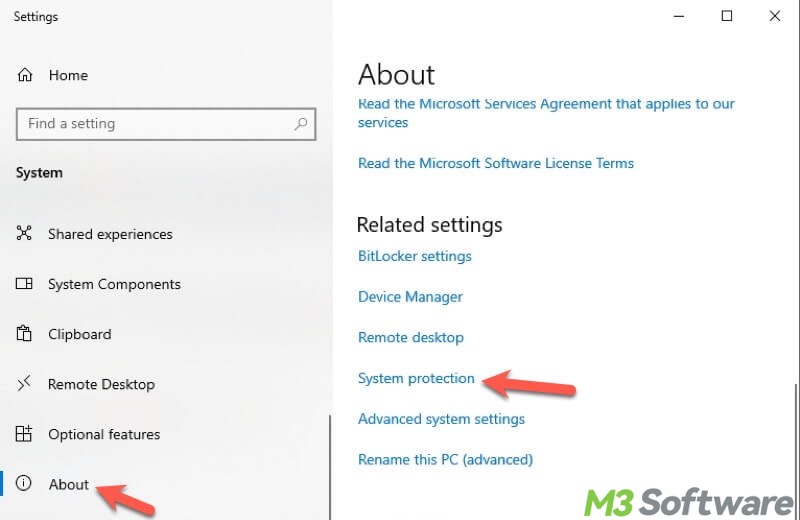
- Open Settings and tap on the System.
- Choose the About option on the left side panel, then click "System protection" on the right.
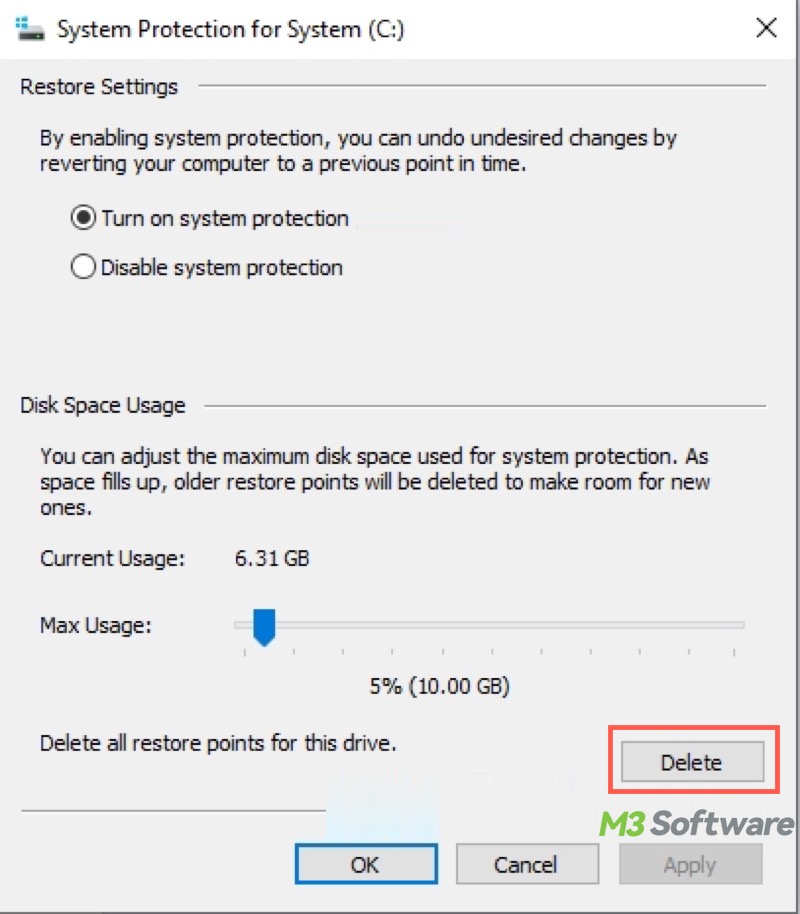
- Choose the drive containing the system restore points and tap on the Configure button under the System Protection tab.
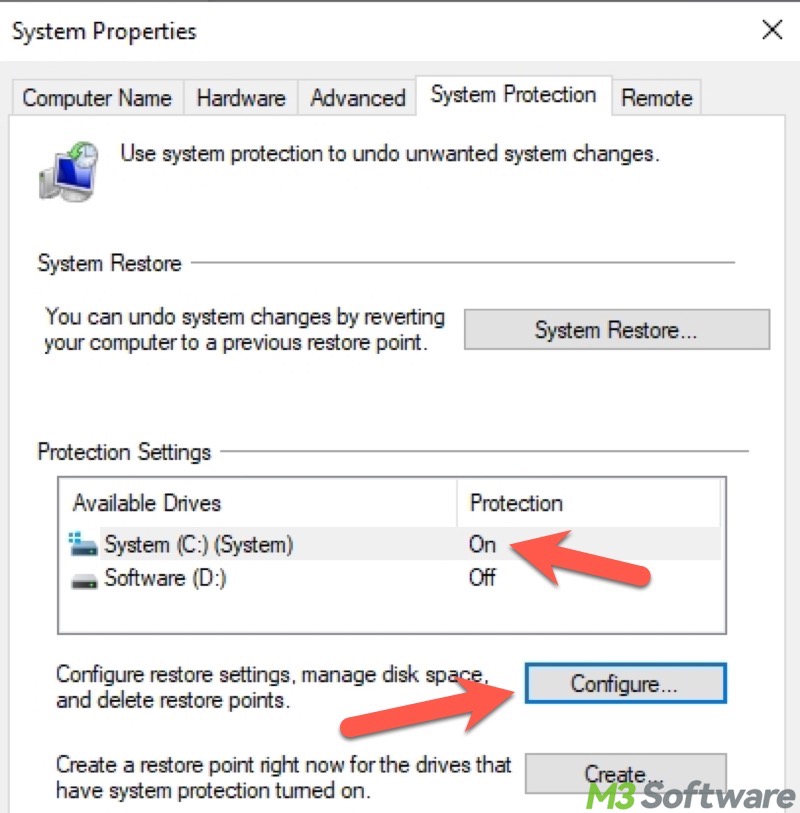
- Click the Delete button to delete all restore points. Click Apply and OK.
Here's how to adjust the drive space used by VSS:
- Open the System Protection window again where you can configure restore settings.
- Move the slider of the Max Usage to adjust the maximum disk space used by VSS.
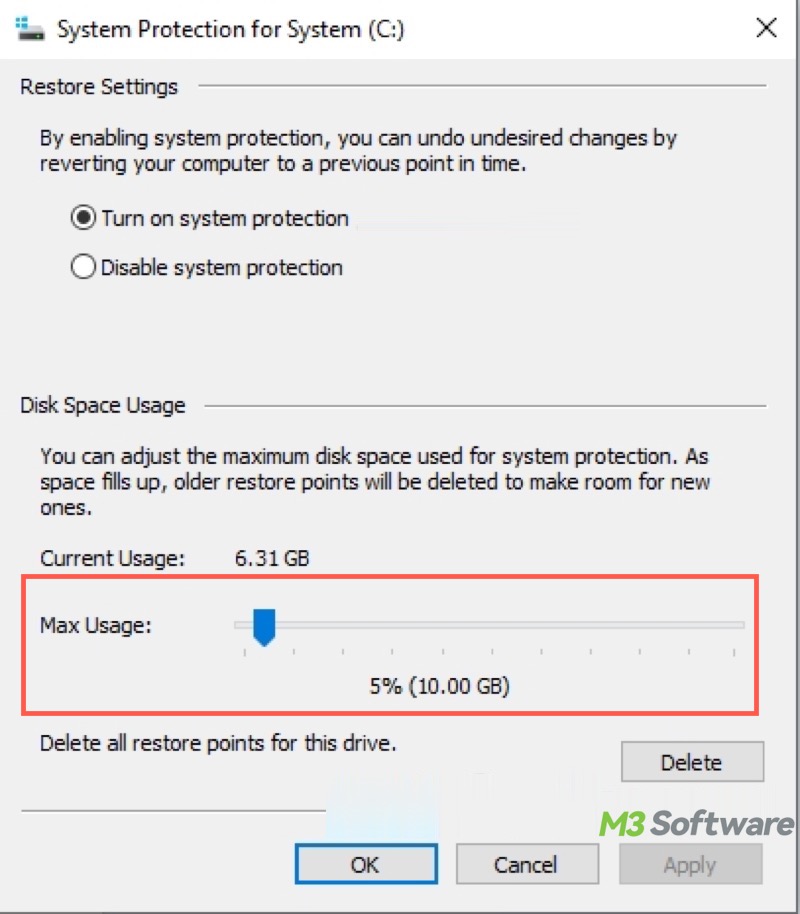
- Click Apply and OK.
If the disk space on your PC is low, but it seems nothing to delete, please refer to: Low Disk Space but Nothing to Delete: Causes & 7 Solutions!
Delete shadow copies made by VSS
If you defragmented the disk that contains the system partition and found out the disk space got lost, directly deleting the volume shadow copies mistakenly created by VSS may resolve the "lost disk space after defrag" issue on Windows 10/7. Here's how to delete those shadow copies:
- Double-click This PC or My Computer on the Desktop to open File Explorer.
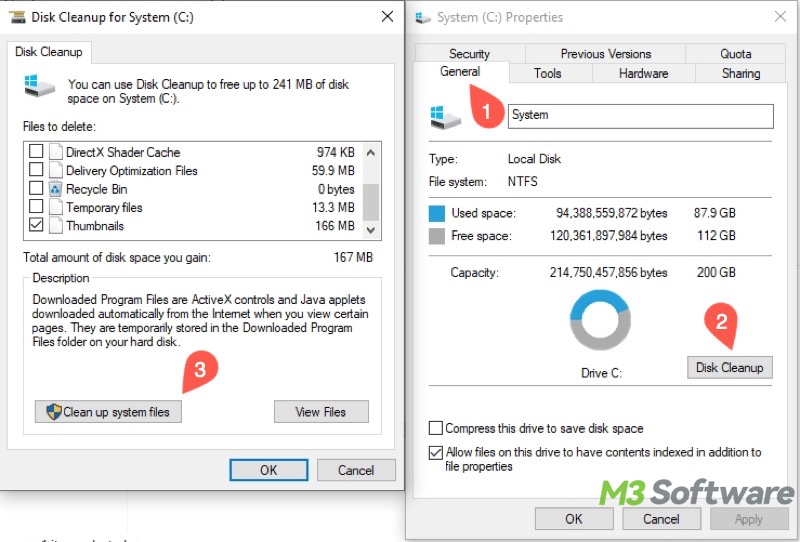
- Right-click on the Local Disk C/C Drive and choose Properties.
- Tap on the Disk Cleanup button under the General tab.
- Click "Clean up system files."
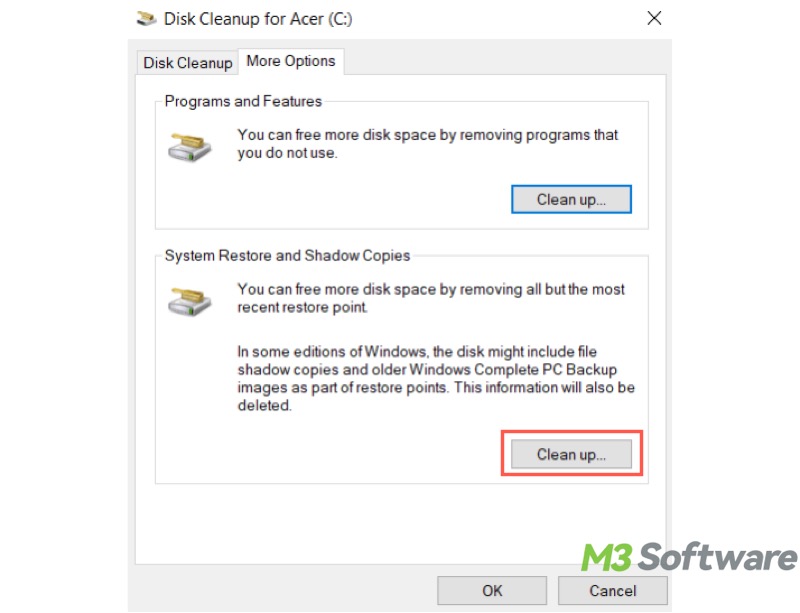
- Go to the "More Options" tab and click the "Clean up" button under the System Restore and Shadow Copies section.
Format the disk
Formatting the disk is the last resort that can be used to resolve the "lost disk space after defrag" issue, as formatting erases all the data stored on the target disk. Of course, if you have had the disk divided into different partitions, it is suggested that you only format the partitions other than the system partition.
Backing up the data should precede formatting the disk. Regarding data backup, iBoysoft DiskGeeker for Windows is a professional and user-friendly tool that can help you easily clone all the data from one disk to another disk. The clone feature provided by this tool is to create an identical and uncompressed replica of the disk or partition, which means the partition structure and file systems will remain unchanged.
Here's how to clone the disk using iBoysoft DiskGeeker for Windows:
- Download, install, and launch iBoysoft DiskGeeker for Windows.
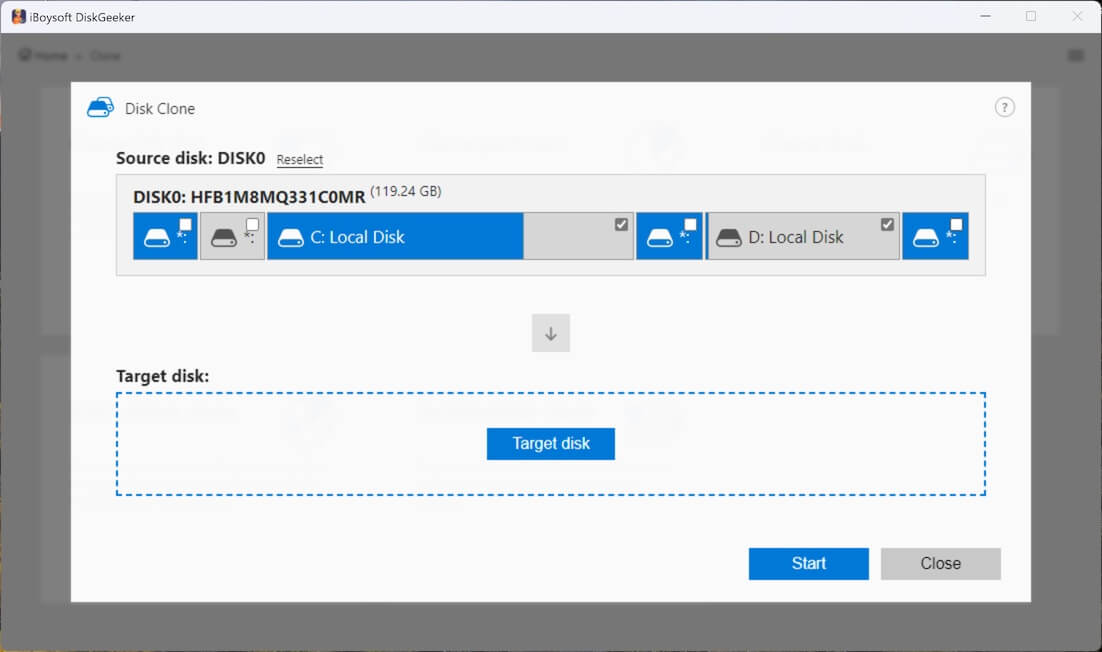
- Tap on the "Source disk" button to select the disk you want to clone.
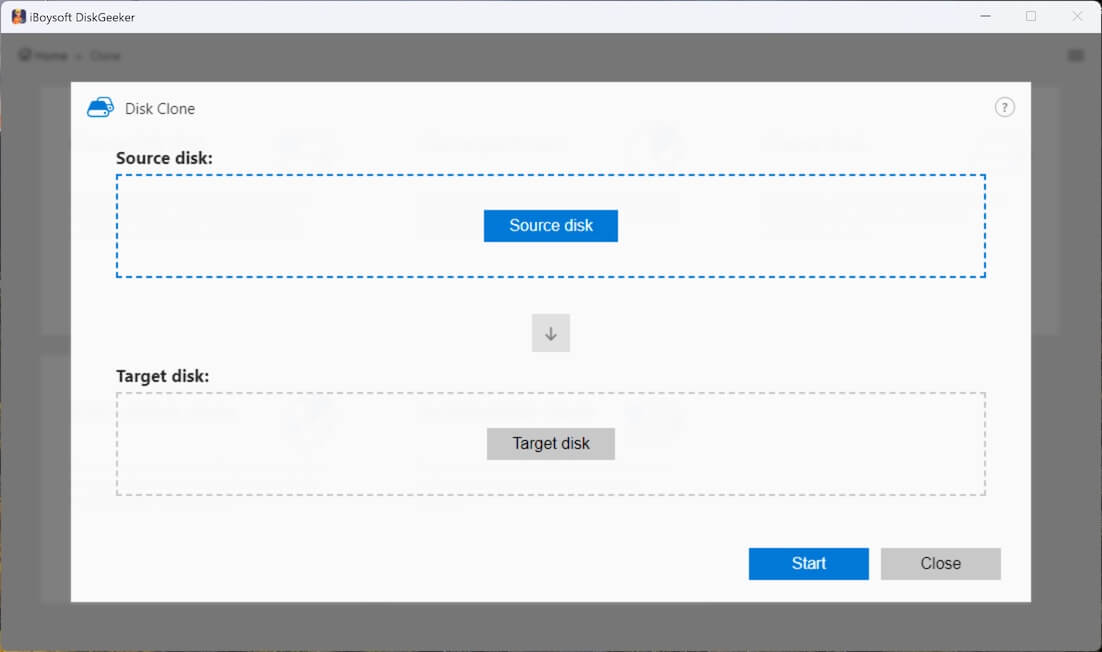
- Click the "Target disk" button to choose where you would like to create a clone of the source disk.
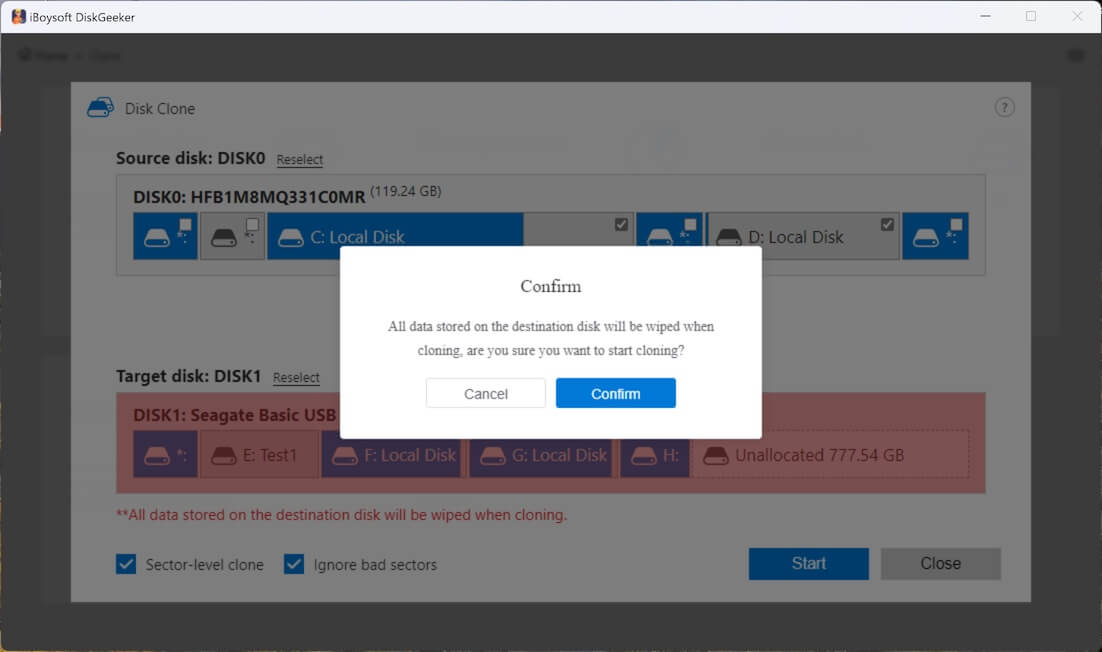
- Check "Sector-level clone" if you need a 1:1 copy. Tick "Ignore bad sectors" if you don't want to be interrupted by bad sectors.
- Click the Start button and the tool will ask for your confirmation.
- Wait patiently.
Tips: iBoysoft DiskGeeker for Windows also boasts the partition clone feature, which is useful when you plan to format one of the partitions in the disk.
Now you can move on to format the affected disk on Windows 10/7:
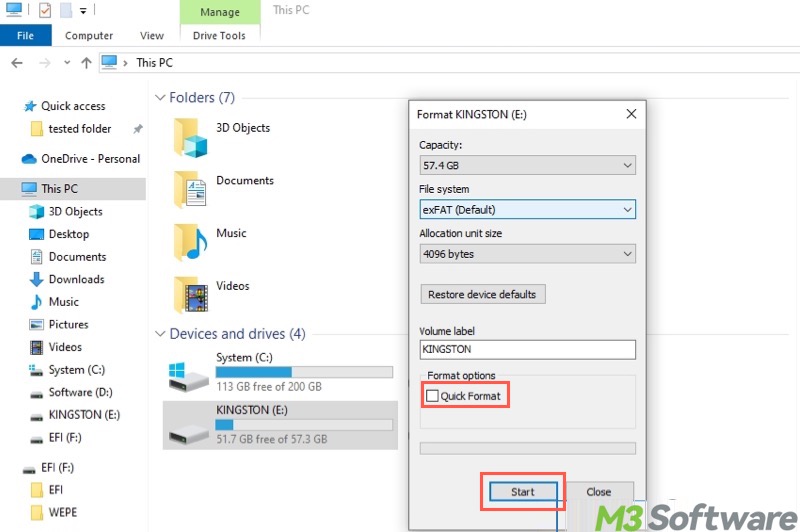
- Double-click This PC or My Computer to open File Explorer.
- Right-click on the affected disk and choose Format.
- Choose Quick Format and click the Start button.
Conclusion
Suppose you hardly use the built-in tools or programs that rely on the VSS (Volume Shadow Copy Service), such as System Restore and Windows File History. In that case, you can delete the system restore points, adjust the disk space usage, or disable the corresponding features, so the “lost disk space after defrag” issue may be fixed.
You can share this post by clicking the buttons below: