How to use your Mac's disk utility?
How to access Mac disk utility?
To access the Disk Utility in macOS, just press Command+Space to open Spotlight search, type "Disk Utility" into the search box, and then press Enter. You can also click the Launchpad icon on your dock, click the Other folder and then click Disk Utility. Or, open the Finder, click Applications folder in the sidebar, double-click the Utilities folder and then double-click Disk Utility.
To access the Disk Utility in macOS recovery mode, press and hold down Command+R keys immediately upon hearing the startup chime. Hold down the keys until you see the Apple logo or a spinning globe. Startup is complete when you see the macOS Utilities window:
How to repair the file system problems with First Aid?
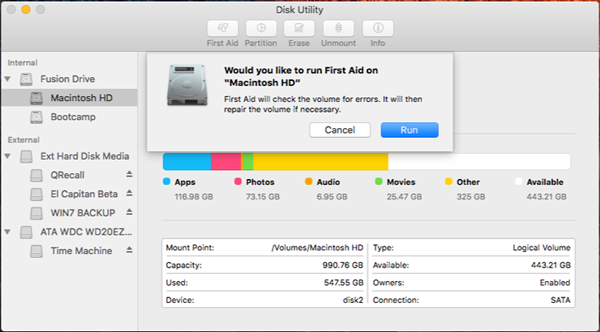
First Aid is a utility built-in the Macintosh operating system for checking and repairing file system errors on the specific drive.
Step 1: Open Finder and click Applications folder in sidebar.
Step 2: Double-click Utities and double-click Disk Utility.
Step 3: In the left panel of Disk Utility, select the drive you want to repair.
Step 4: Click "First Aid" button on the top of Disk Utility window.
Step 5: Click "Run" button to start the repair on the specific drive.

In some situations, disk utility cannot repair the corrupted disk, please try iBoysoft Mac Data Recovery to recover lost data if you lost the important data.
How to erase disk with disk utility?
Step 1: Open Finder and click Applications folder in sidebar.
Step 2: Double-click Utities and double-click Disk Utility.
Step 3: In the left panel of Disk Utility, select the drive you want to repair.
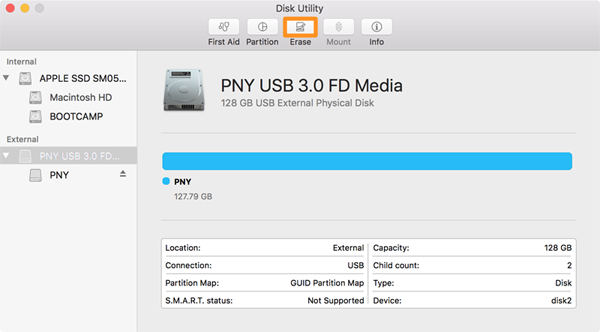
Step 4: Click "Erase" button on the top of Disk Utility window.

Step 5: Enther the name, select file system and partition partition scheme.
Step 6: Please click "Erase" to begin erasing. If there is the important data stored in the drive, please back up the important data firstly and then erase it.
If the drive is erased by mistake, please try iBoysoft Data Recovery for Mac to recover lost data from erased drive.