
Written by
Wilsey YoungSummary: Windows was unable to repair the drive. Close this dialog box... This post aims to fix this error caused by the USB drive, SD card, or external hard drive connected to your Windows PC. -From m3datarecovery.com
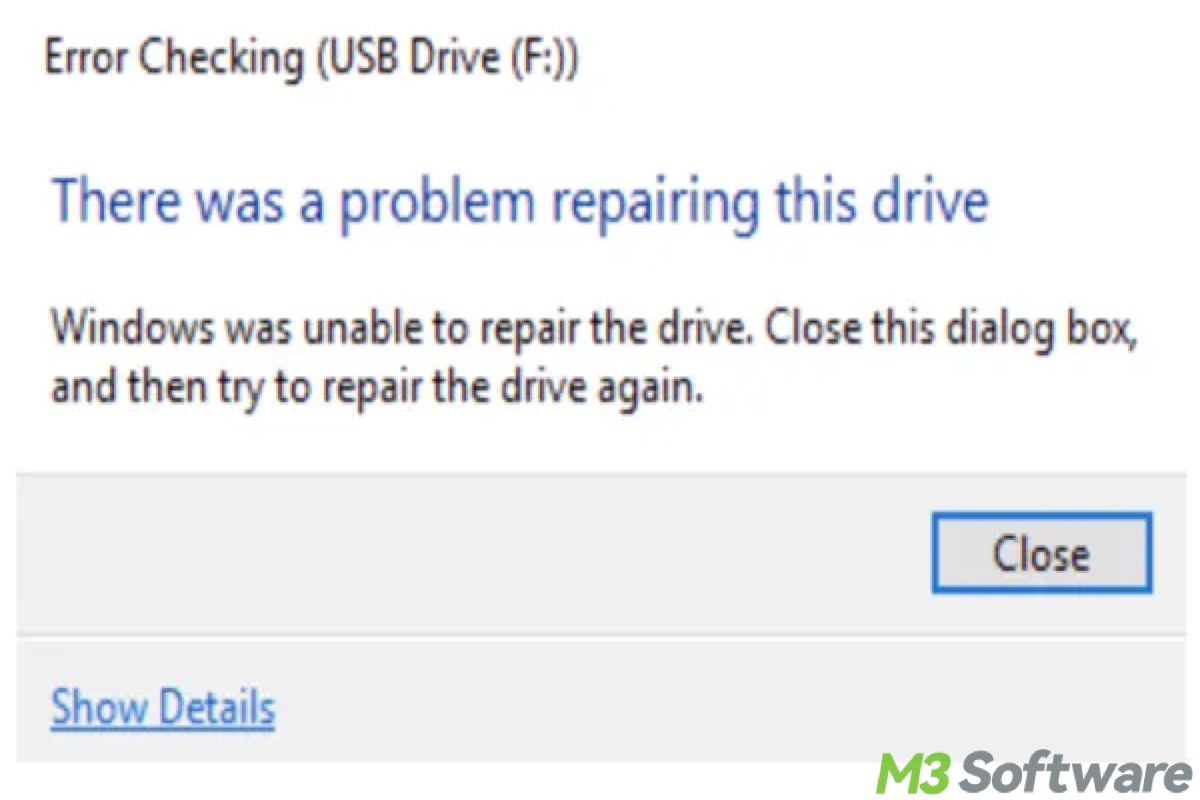
"Windows was unable to repair the drive. Close this dialog box, and then try to repair the drive again." Windows users may encounter this error message when they connect an SD card, USB drive, or external hard drive to the Windows PC.
This error message typically indicates a corrupted file system or bad sectors of the faulty storage device, and it can also be caused by sudden power failure, unsafe device ejection, or virus/malware.
This post primarily introduces different solutions that can help you fix the error "Windows was unable to repair the drive" on Windows 10 or other Windows versions.
You can share this post by clicking the buttons below:
How to fix Windows was unable to repair the drive Windows 10
The following solutions can help you fix the corrupted/damaged file system, bad sectors, or other errors that lead to the error message "Windows was unable to repair the drive. Close this dialog box, and then try to repair the drive again." 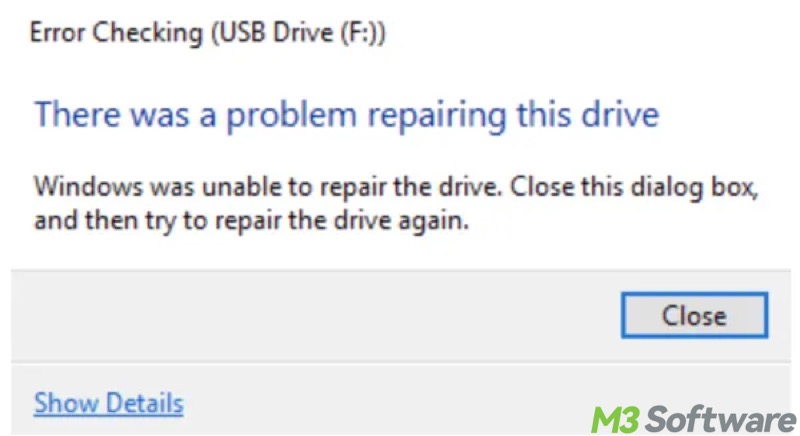
Repair corrupted file system and rescue your data through iBoysoft Data Recovery for Windows
When the error message "Windows was unable to repair the drive..." pops up, it typically means that the storage device has become RAW and inaccessible due to the corrupted file system or bad sectors. Additionally, you may lose the data in it during or after the error repair.
Therefore, repairing the RAW drive and restoring important data from the corrupted device are extremely crucial. To do so, we suggest using iBoysoft Data Recovery for Windows, a professional and user-friendly tool.
iBoysoft Data Recovery for Windows boasts a powerful file system repair tool. It can fix errors resulting in a corrupted file system that the CHKDSK command on Windows can't repair. In addition, it excels in restoring lost/deleted data from corrupted and inaccessible storage devices, such as SD cards, USB flash drives, HDDs, SSDs, and more.
"Windows was unable to repair the drive..." - fix corrupted SD card, USB drive, or external hard drive and restore lost data through iBoysoft Data Recovery for Windows:
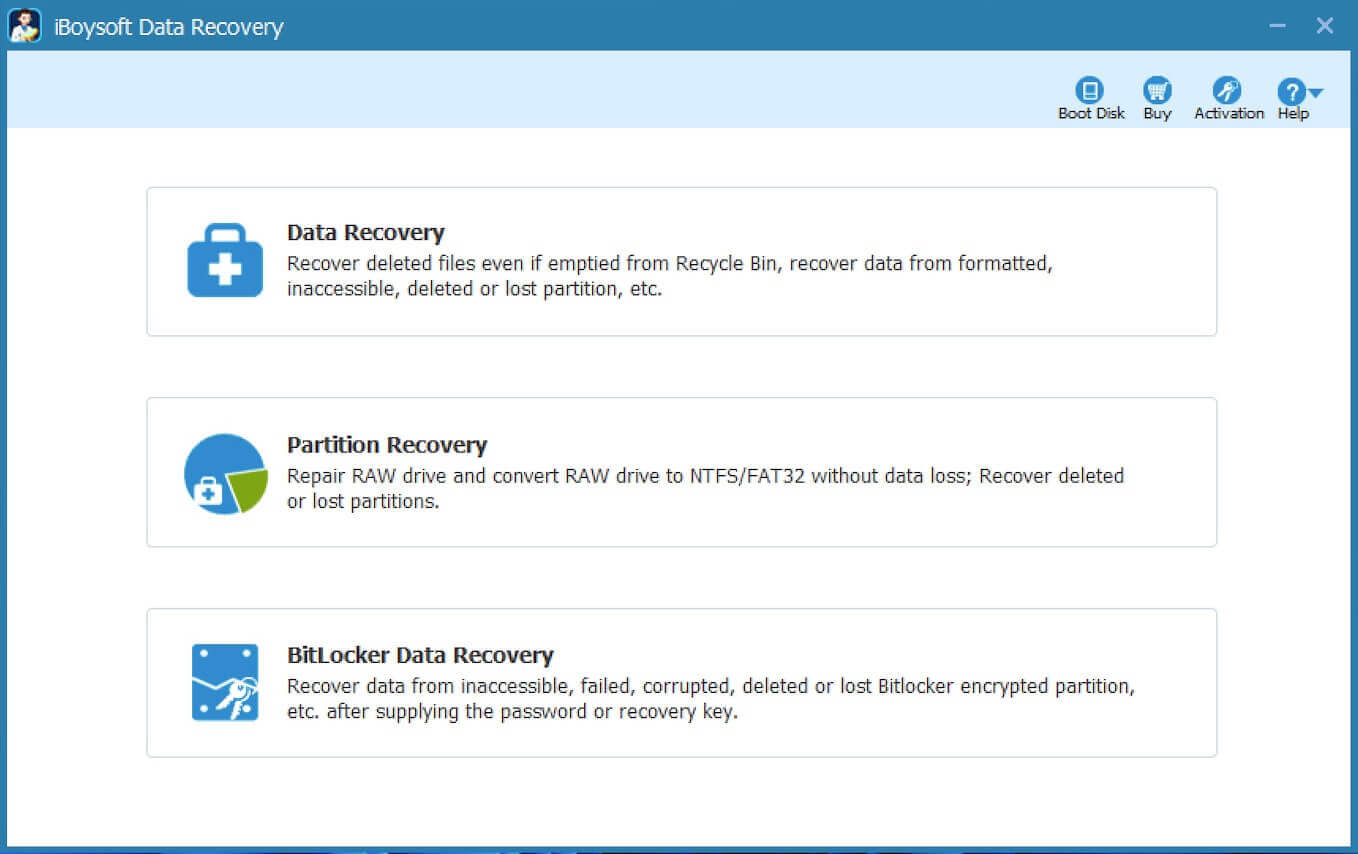
- Download, install, and launch iBoysoft Data Recovery for Windows.
- Select the “Partition Recovery” module from the main interface.
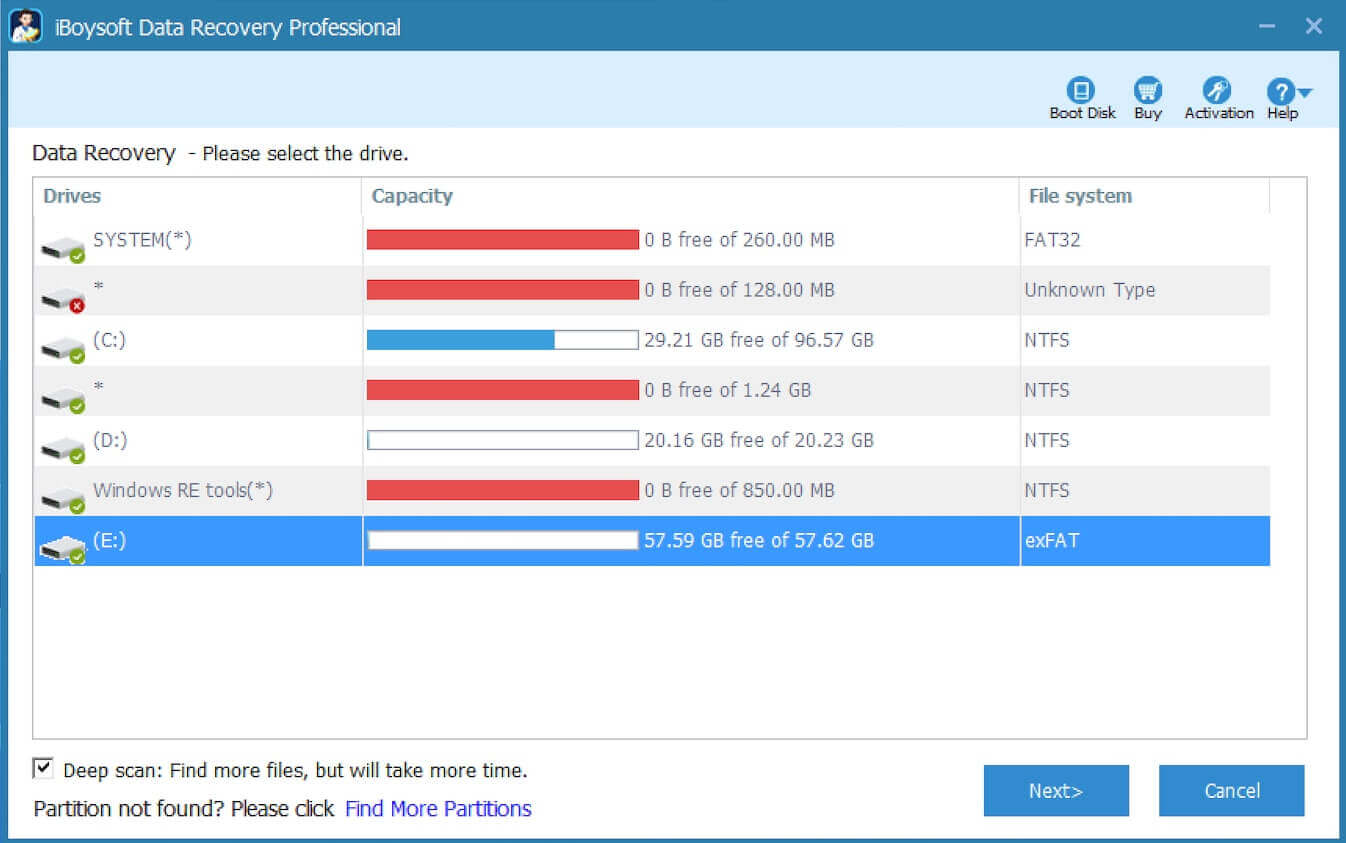
- Choose the corrupted SD card, USB drive, or external hard drive from the list and click “Next.”
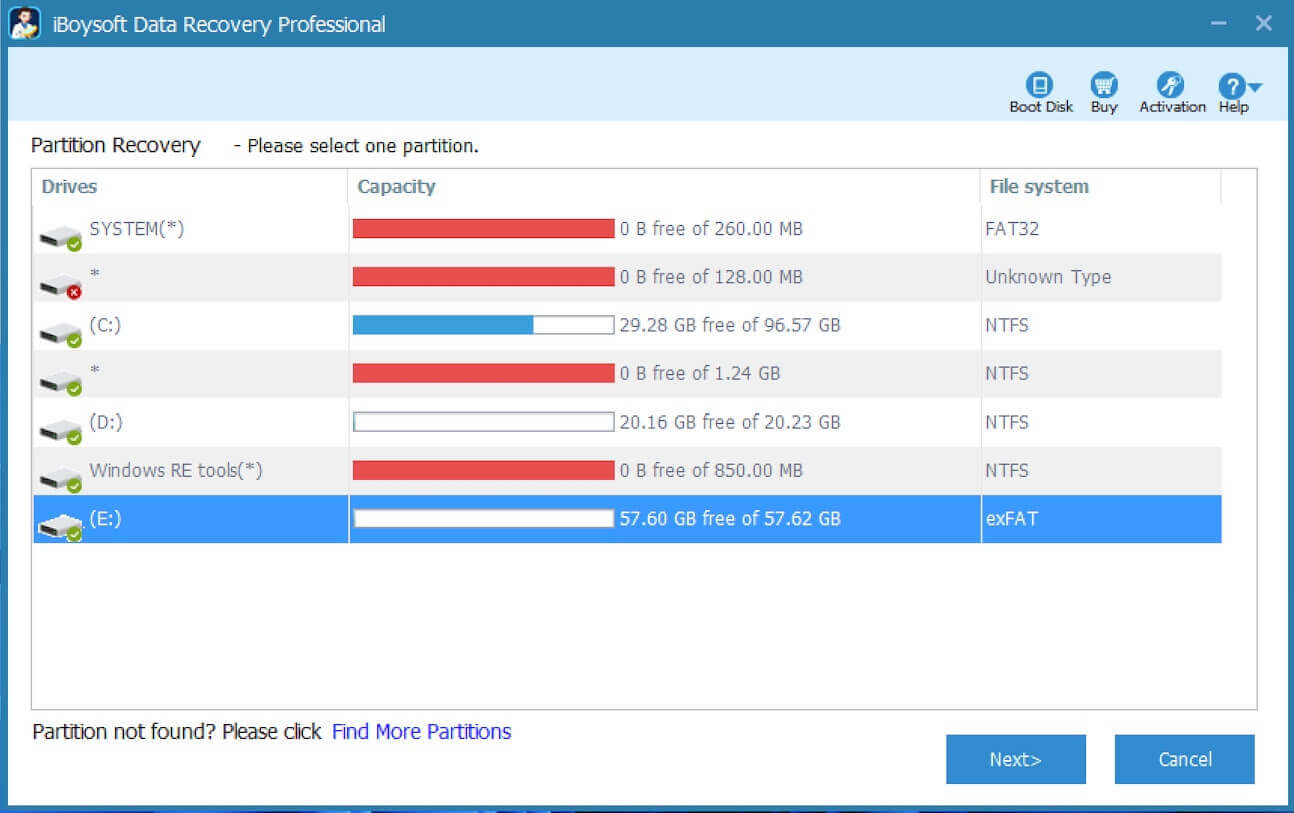
- Tap on the “Fix Drive” button to repair the drive.
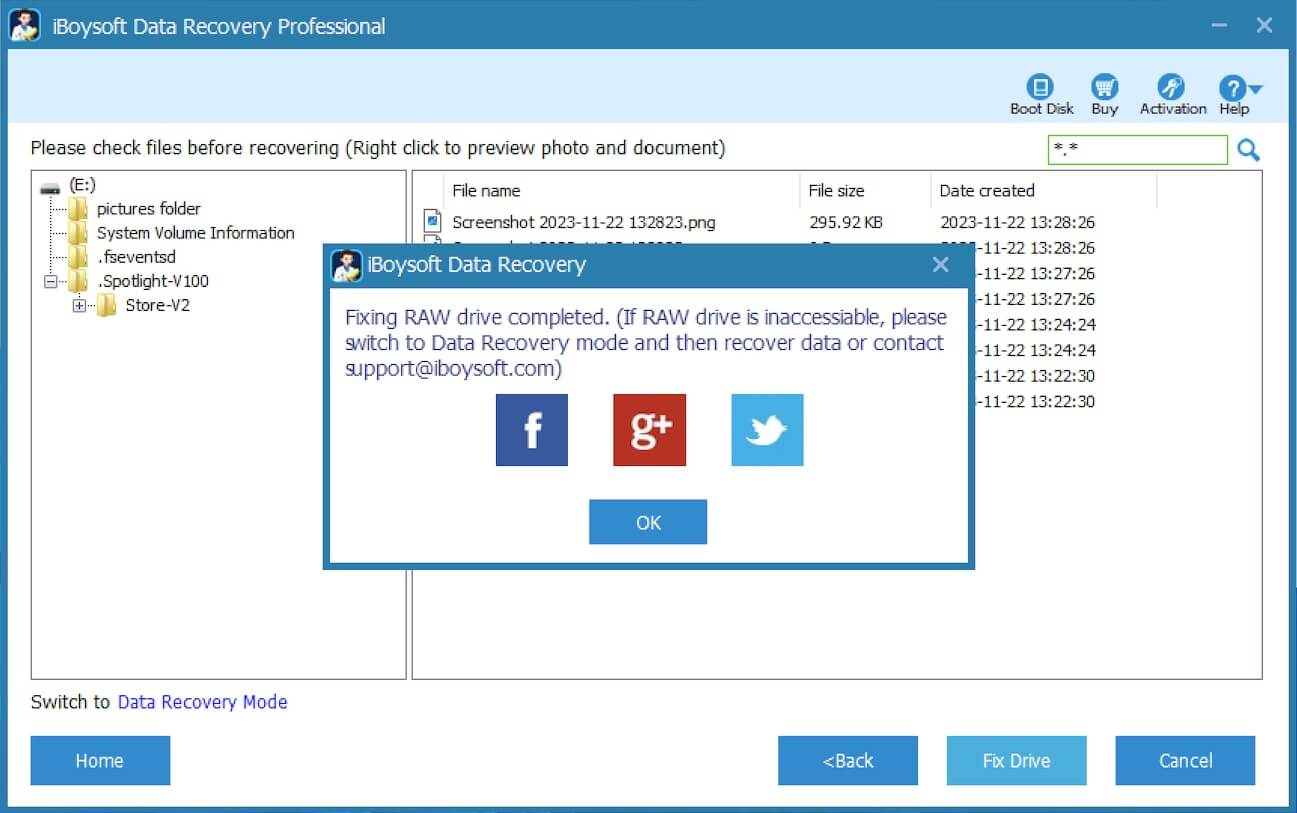
- Check your drive to see if the error is repaired and the data is intact. If not, move on to the following steps.
- Click “Switch to Data Recovery Mode” or choose the “Data Recovery” Module in the main interface.
- Select the faulty SD card or drive from the list, and click the “Next” button to scan for lost data.
- Preview the found files and see if they are recoverable.
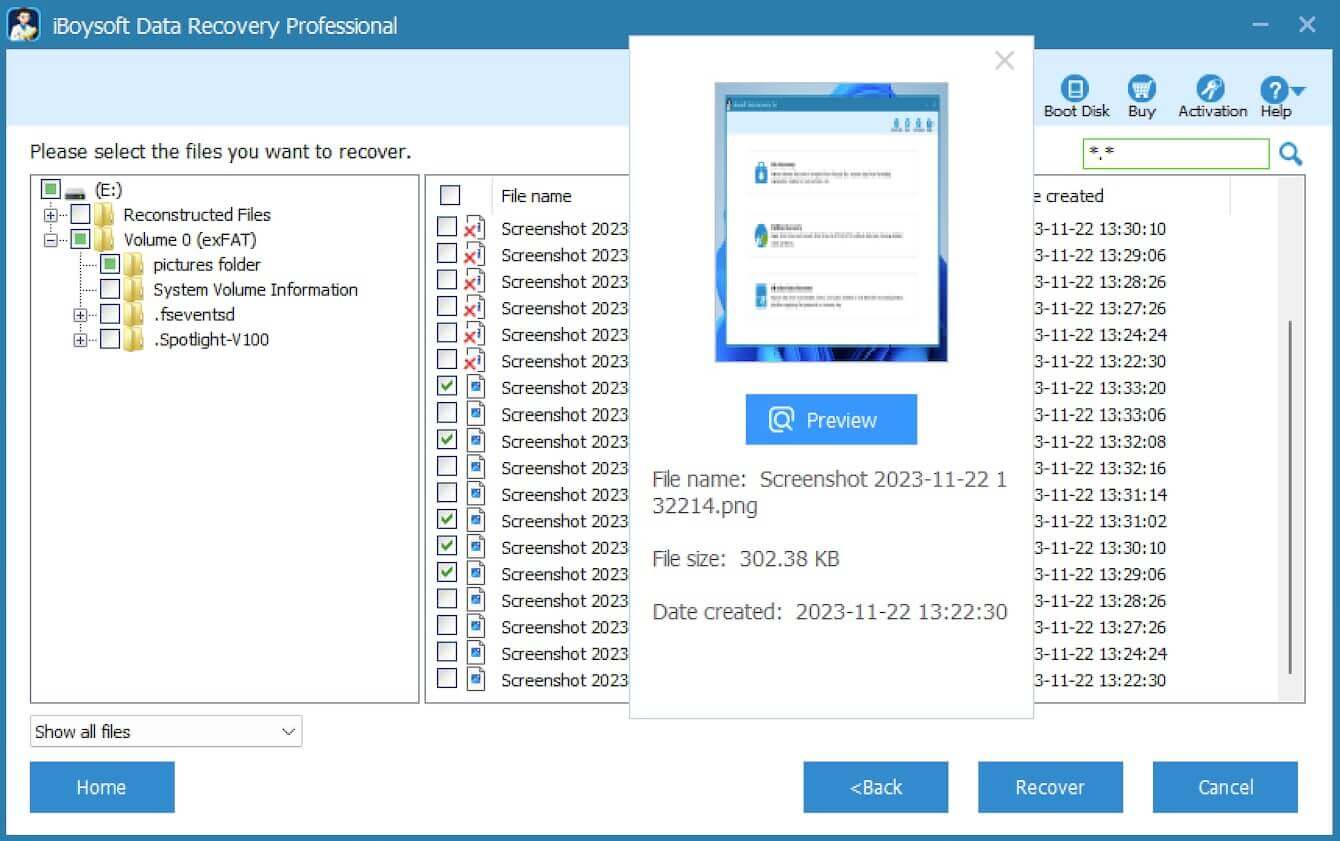
- Tick the files you want, click the “Recover” button, and save them to another destination to prevent overwriting.
You can share this tool with your friends
Run a CHKDSK scan through the Command Prompt
Running the CHKDSK tool through the Command Prompt can help you scan and fix the corrupted file system, bad sectors, or other errors that cause the "Windows was unable to repair the drive" message to appear.
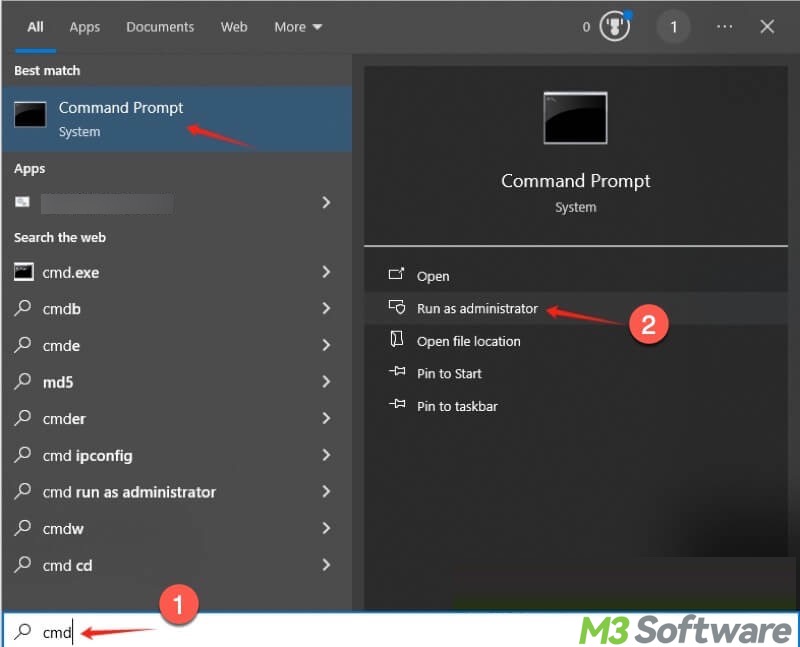
- Tap on the search box at the bottom left or press the “Windows+S” keys to open the Windows search box.
- Type “cmd” in the Windows search box and choose "Run as administrator."
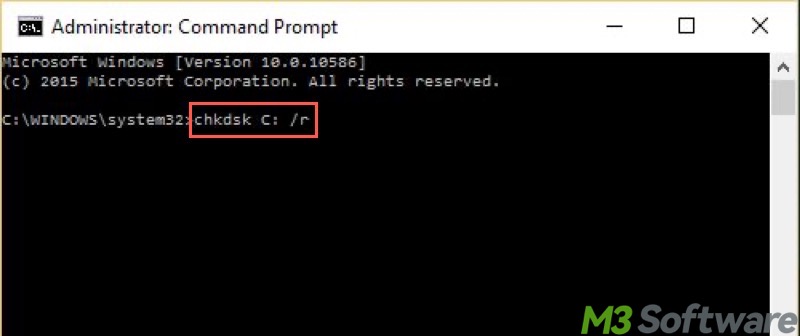
- Input chkdsk X: /r into the command window, replace X with the letter of the faulty drive, and hit the “Enter” key on your keyboard. For example, to scan the C drive with CHKDSK:
- Wait patiently and see if this error can be fixed.
Run an SFC scan through the Command Prompt
The corruption of system files could be to blame for the error "Windows was unable to repair the drive." The SFC (System File Checker) tool on Windows can help you detect and repair corrupted system files.
- Tap on the search box at the bottom left or press the “Windows+S” keys to open the Windows search box.
- Type “cmd” in the Windows search box and choose "Run as administrator."
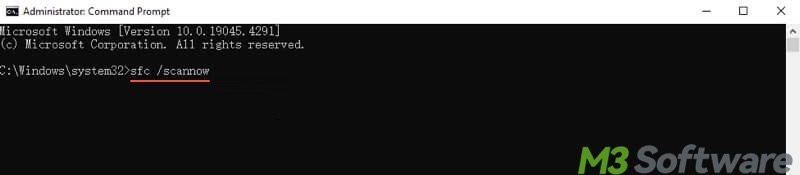
- Input the command sfc /scannow and hit the “Enter” key on your keyboard.
- Wait patiently and see if the error can be fixed.
Use the built-in troubleshooter on Windows
Errors like "Windows was unable to repair the drive" could be fixed by the troubleshooter on Windows:
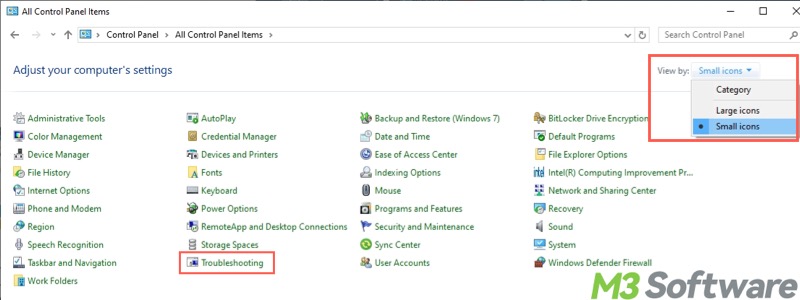
- Type Control Panel in the Windows search box and click the result.
- Switch to "View by Small icons" and select “Troubleshooting” from the listed items.
- Locate “Hardware and Sound” from the right pane and select the “Configure a device” option under it.
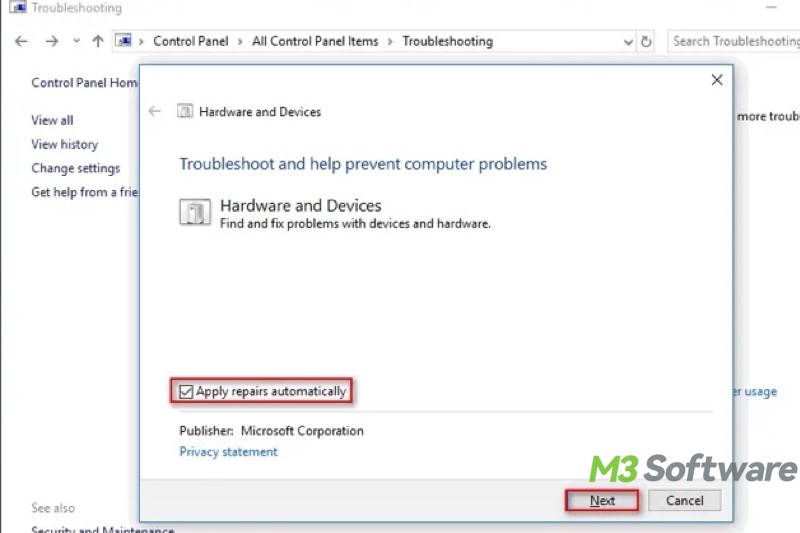
- Click on the “Advanced” option in the window and tick “Apply repairs automatically.”
- Click the “Next” button and follow the instructions to repair.
Enter the Safe Mode on Windows
The Safe Mode starts up the system with only essential system drivers, services, and the most basic configuration. This means the third-party apps and unnecessary services are not enabled.
When you encounter the error "Windows was unable to repair the drive", Safe Mode is helpful to check if the error message is caused by installed apps, services, or drivers.
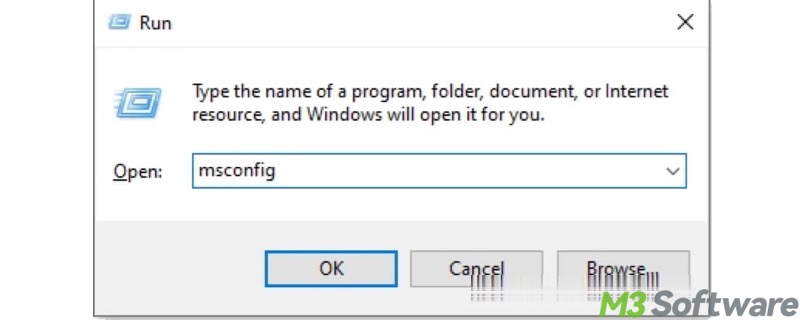
- Press the “Windows+R” keys to launch the Run dialog box.
- Type “msconfig” in the box and click “OK” to open System Configuration.
- Go to the “Boot” tab.
- Choose “Safe Mode”, click “Apply”, and “OK.”
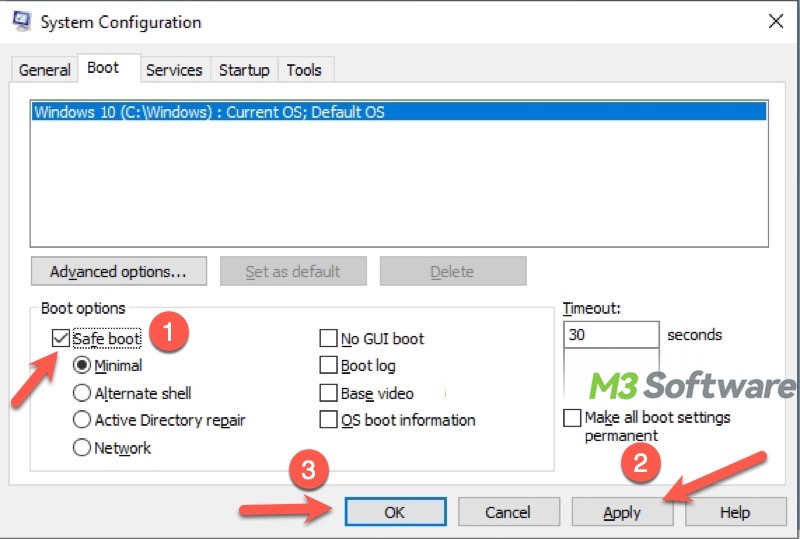
- Restart your PC to let the system boot into Safe Mode.
- Check if the error is fixed. If not, restart your PC again to exit Safe Mode.
Run Startup Repair on Windows
When you run into the error "Windows was unable the repair the drive", run Startup Repair, a built-in troubleshooting tool on Windows, to detect and fix problems, such as corrupted or missing system files.
- Click the gear icon in the Start menu or press the “Windows+I” keys to open Settings.
- Select “Update & Security.”
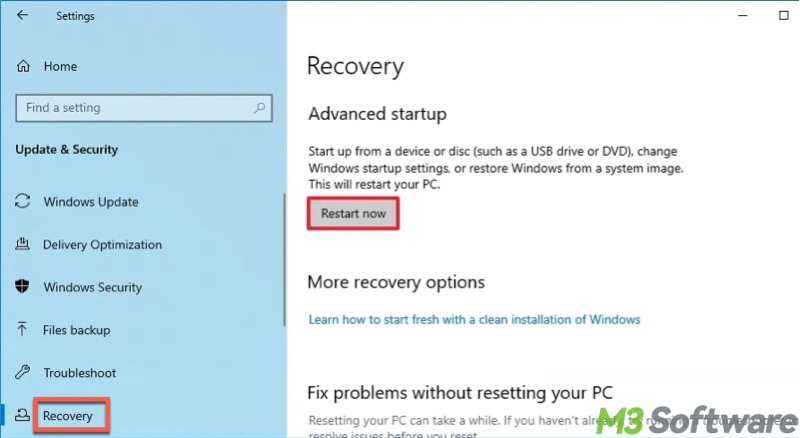
- Choose “Recovery” from the left side panel.
- From the right pane, click the "Restart now" button under the "Advanced startup" section.
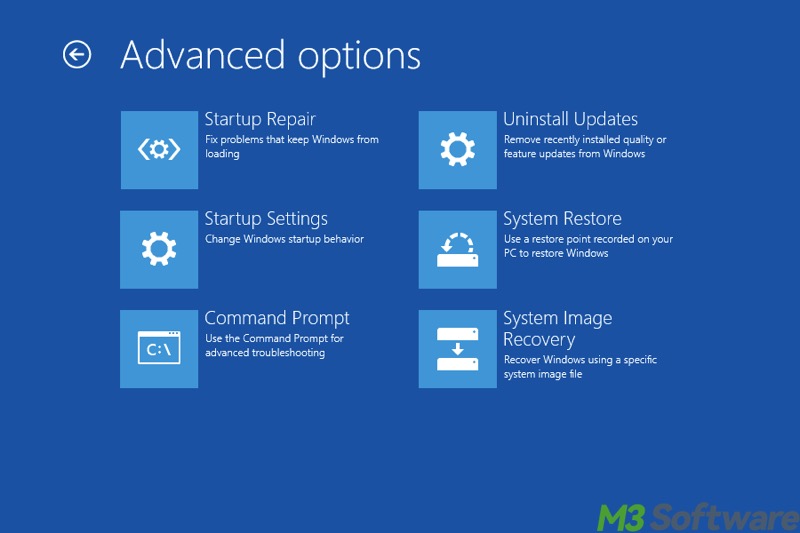
- After the system restarts and the menu appears on the blue screen, tap on the “Troubleshoot” button and select the "Advanced options."
- Click “Startup Repair” from the "Advanced options" window.
- Choose the account and input the password.
- Tap on the Continue button and wait until the error is fixed.
Conclusion
You can also fix the error “Windows was unable to repair the drive” by formatting the corrupted SD card, USB drive, or external hard drive, particularly when the aforementioned solutions do not work. Restoring the data from the faulty device beforehand is also critical, as the CHKDSK or other built-in tools may incur data loss.
Tap on the following buttons to share the post